Improper framing, uneven spacing, and sloppy mounting techniques can quickly make high-quality prints look cheap. If your frames aren’t aligned, your artwork appears careless, and uneven gaps ruin the visual balance. Handling prints without care or applying adhesive poorly leads to bubbles and damage. Finishing details like choosing the right glass or matching frame style also matter. Avoid these common mistakes to elevate your display—keep going to discover how to guarantee your prints always look their best.

Prime made for students and young adults
- Fast, free delivery for dorm and study essentials
- Prime Video and Amazon Music included
- Member-only deals
Key Takeaways
- Incorrect framing alignment or uneven cuts create a careless appearance that diminishes quality.
- Inconsistent spacing around the print makes the display look unprofessional and rushed.
- Dust, fingerprints, or uneven adhesive application can ruin the polished look of mounted prints.
- Using low-quality materials or improper sealing can cause long-term damage, making the print appear cheap.
- Neglecting finishing details like proper framing or glass selection reduces the artwork’s visual impact.
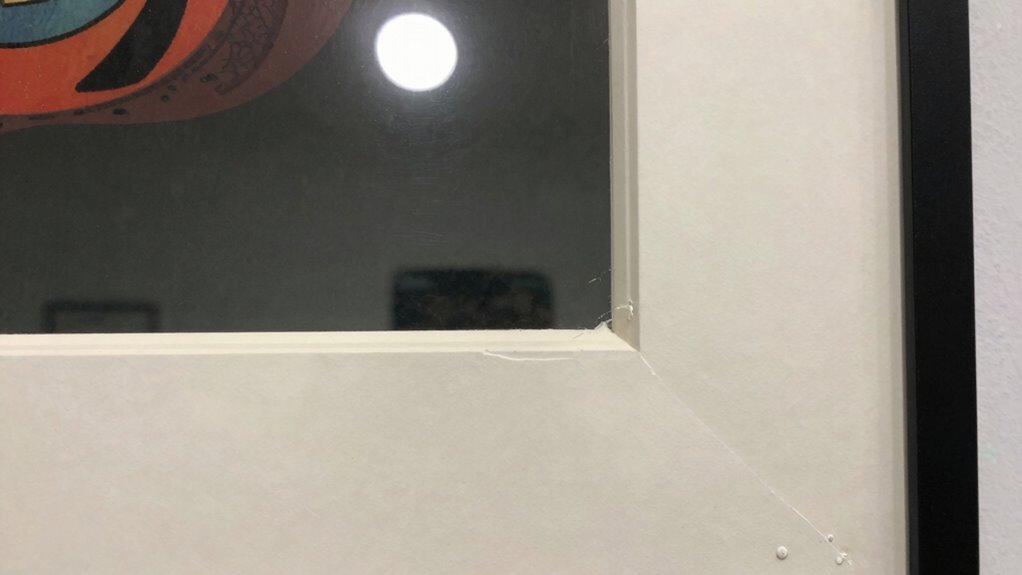
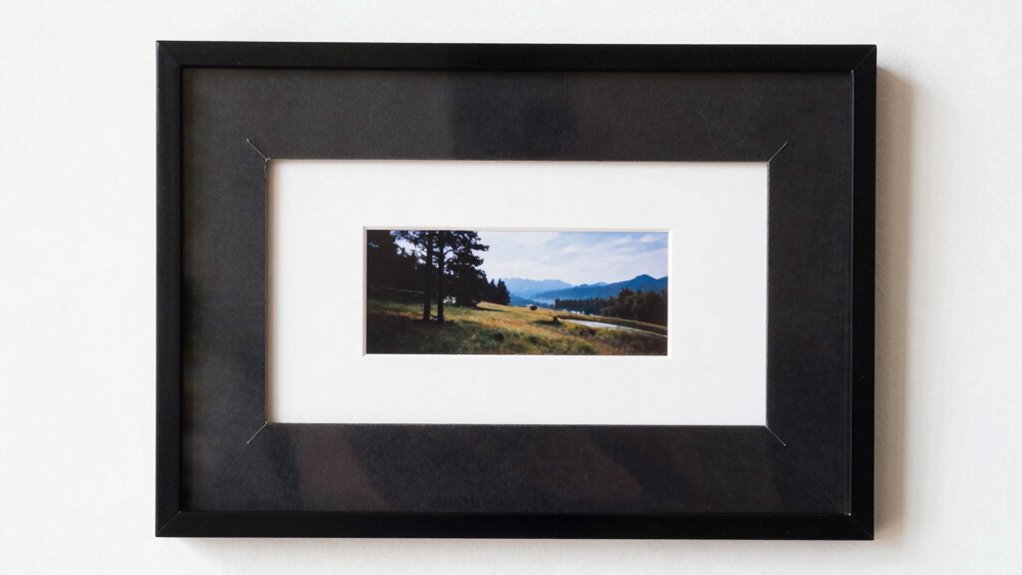
Even the best prints can lose their elegance when mounted poorly, turning high-quality artwork into a cheap-looking display. One of the most common mistakes is framing inaccuracies. When the frame isn’t perfectly aligned or is unevenly cut, it immediately catches the eye and diminishes the artwork’s overall appeal. A crooked frame or one that doesn’t sit flush against the print creates a sense of carelessness, making even the most stunning image appear cheap. It’s essential to measure carefully and double-check before securing the frame, ensuring that all sides are perfectly straight and corners meet precisely. Small misalignments might seem insignificant, but they have a significant impact on the finished look. Proper mounting techniques are vital to achieving a polished presentation.
Inconsistent spacing is another mistake that ruins the presentation. When the print isn’t centered properly within the frame or the mat, it looks unprofessional and sloppy. Even a slight variation in spacing can throw off the balance, making the display appear rushed or poorly thought out. To avoid this, take your time to measure the gaps equally on all sides, and use spacers or rulers if necessary. Proper spacing not only emphasizes the artwork but also makes it easier to appreciate each detail. Ignoring this step often results in a cluttered or uneven presentation, which cheapens the perceived value of the print.
Beyond framing inaccuracies and inconsistent spacing, many overlook the importance of clean, precise mounting. Dust, fingerprints, or uneven adhesive application can cause the print to appear murky or wrinkled. When mounting, always handle the print with clean hands or gloves, and use high-quality materials that won’t damage the paper over time. If you’re using adhesive, apply it smoothly and evenly to prevent bubbles or warping. These small details matter because they contribute to the overall professionalism of the display. A poorly mounted print with bubbles or dust spots looks unrefined and cheap, regardless of its quality.
Finally, don’t underestimate the power of finishing touches. Properly sealing or framing your print with a clear, well-made glass or acrylic cover adds a polished look. Choosing the right frame style and color enhances the artwork’s features, making it stand out instead of blending into the background. When you pay attention to these details, you elevate the appearance of your print, showcasing its true beauty. Conversely, neglecting the basics—like accurate framing and consistent spacing—can undo all the effort you put into selecting a stunning piece. Keep these common mounting mistakes in mind, and your prints will always look their best.
professional picture framing kit
As an affiliate, we earn on qualifying purchases.
As an affiliate, we earn on qualifying purchases.
Frequently Asked Questions
How Do I Fix Uneven Mounting on My Prints?
To fix uneven mounting, start by choosing the right frame and adhesive type for your print. Use a level or straightedge to guarantee the print is aligned correctly before applying the adhesive. For better results, consider using a spray adhesive or mounting tape that offers even coverage. Carefully press the print into place, smoothing out bubbles or wrinkles with a clean cloth or squeegee. Recheck alignment before the adhesive sets.
What Materials Are Best for Professional-Looking Print Mounts?
Like a vintage 8-track player, choosing the right materials makes all the difference. For professional-looking print mounts, opt for acid-free foam core or gatorboard for durability and a sleek finish. Use high-quality, archival adhesives like spray mounts or double-sided tape designed for art. These materials resist warping, guarantee longevity, and provide a smooth, clean presentation that elevates your prints from amateur to gallery-worthy.
How Can I Prevent Glare on Mounted Prints?
To prevent glare on mounted prints, choose a matte finish over glossy, as it reduces reflections and minimizes glare. If you prefer a glossy look, apply a protective coating like a UV laminate or anti-reflective spray to lessen glare and enhance durability. Position your prints away from direct light sources and angle them appropriately. These steps guarantee your artwork remains clear and eye-catching without distracting reflections.
What Are the Common Signs of Poor-Quality Mounting?
You’ll notice poor-quality mounting through uneven framing techniques or visible air bubbles and wrinkles. Bad adhesive choices can cause peeling or warping over time, making the print look cheap. Watch for misaligned edges or gaps that indicate improper framing techniques. To avoid these issues, choose the right adhesive suited for your material and guarantee precise, clean framing to keep your prints looking professional and polished.
How Often Should Mounted Prints Be Replaced or Refreshed?
You should invigorate mounted prints every few years to keep them looking pristine. Regularly reassess your framing techniques and consider color correction to prevent fading and dullness. Over time, environmental factors like light, humidity, and dust can diminish their vibrancy. By updating your prints periodically, you preserve their punch and polish, ensuring your display stays stunning and sophisticated. Rejuvenating maintains the magic, making your artwork always appear fresh and flawless.
gallery quality glass for framing
As an affiliate, we earn on qualifying purchases.
As an affiliate, we earn on qualifying purchases.
Conclusion
Remember, even the finest artwork can fall flat if you overlook proper mounting. Like a well-tailored suit that’s misfit, a poor mount diminishes its worth. Pay attention to details—choose the right materials, guarantee perfect alignment, and avoid shortcuts. When you do it right, your prints will stand tall, commanding the respect they deserve. Don’t let mounting mistakes turn your masterpiece into a mere shadow of its potential; treat each step with the care it warrants.
As an affiliate, we earn on qualifying purchases.
As an affiliate, we earn on qualifying purchases.
Fall Picks
fall essentials
As an affiliate, we earn on qualifying purchases.