
Resin stays tacky when it doesn’t fully cure due to incorrect mixing of resin and hardener, environmental factors like low temperatures or high humidity, or rushing the process. To avoid this, measure carefully, mix thoroughly, and control your workspace’s temperature and humidity. Patience is key—allow sufficient curing time at ideal conditions. If you want to master flawless finishes and troubleshoot tackiness effectively, there’s more to discover below.
Key Takeaways
- Tacky resin occurs when polymerization is incomplete due to improper mixing, insufficient curing time, or environmental factors like low temperature and high humidity.
- Correct resin-to-hardener ratios and thorough mixing are essential to ensure full curing and prevent surface tackiness.
- Environmental conditions such as temperature and humidity significantly influence curing speed and quality, requiring careful control during the process.
- Post-curing techniques like gentle heat or UV light can improve hardness and eliminate tackiness after initial curing.
- Proper inspection and troubleshooting, including gentle warming and sealing with clear resin, help avoid tacky surfaces and achieve a smooth, durable finish.

Youyoute Mini Heater for 3D Printer, Resin 3D Printer Temperature Controller 100W Heating Thermostat Temp Control for LCD DLP 3D Printers
Our heater is equipped with buttons to set the target temperature ( from 10°C to 50°C). The optimal…
As an affiliate, we earn on qualifying purchases.
As an affiliate, we earn on qualifying purchases.
How Resin Cures: The Science Behind the Process
Have you ever wondered how resin transforms from a liquid to a solid? It all comes down to resin chemistry and the polymerization process. When you mix resin and hardener, chemical reactions begin, initiating polymerization. Brewing methods During this process, small molecules called monomers link together, creating long chains called polymers. This change causes the resin to thicken, harden, and eventually become solid. The speed of curing depends on factors like temperature, resin formulation, and the amount of hardener used. As polymerization progresses, the resin’s molecules form a tightly bonded network, giving it strength and durability. Understanding this science helps you control curing times and achieve the desired finish. Chemical reactions Proper training and knowledge of resin chemistry can significantly improve your results and prevent issues like tackiness or improper curing. Recognizing the polymerization process can help artists troubleshoot curing problems more effectively. So, every time your resin sets, it’s a complex, chemical transformation rooted in resin chemistry and polymerization.

TAKIMO 68OZ Crystal Clear Epoxy Resin Kit – 1:1 Mixing Ratio, Bubble Free & Anti-Yellowing – High Gloss Casting & Coating Resin for Jewelry, River Tables, Bar Top, Countertops & Wood – Heat Resistant
CRYSTAL CLEAR & HIGH GLOSS FINISH: Achieve a professional, glass-like finish with TAKIMO’s premium formula. Engineered with higher-grade…
As an affiliate, we earn on qualifying purchases.
As an affiliate, we earn on qualifying purchases.
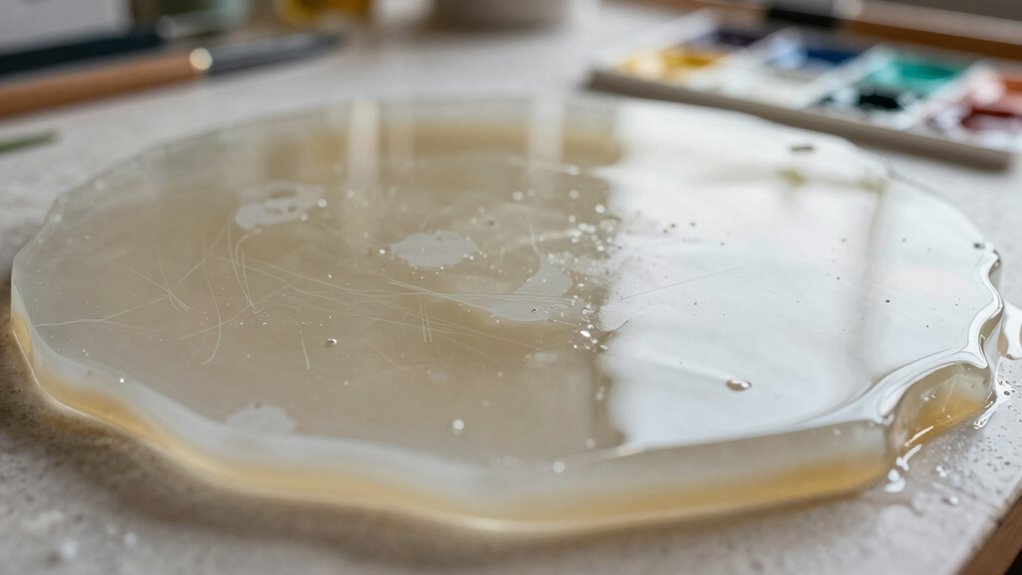
Why Does My Resin Stay Tacky? Common Causes Explained
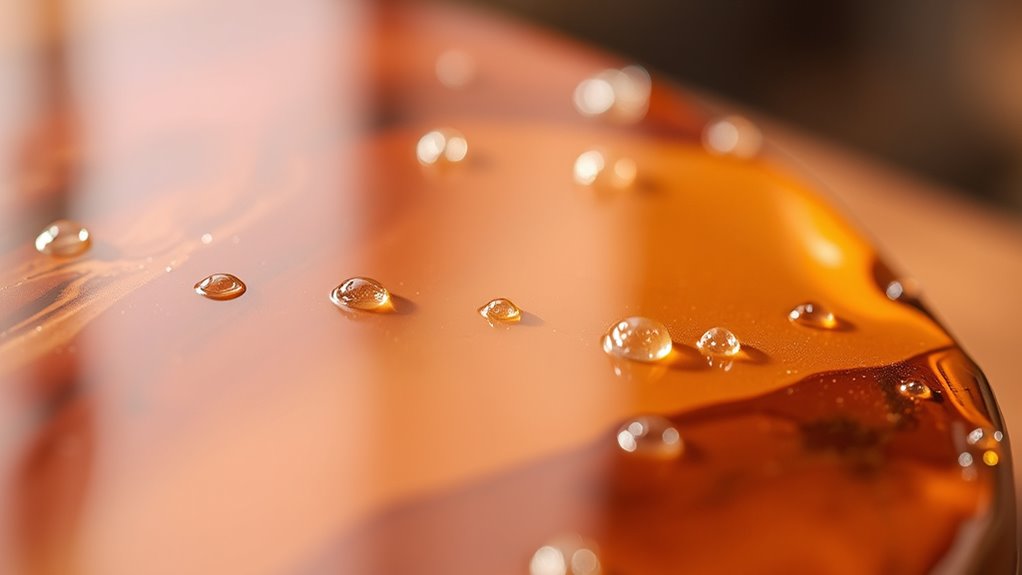
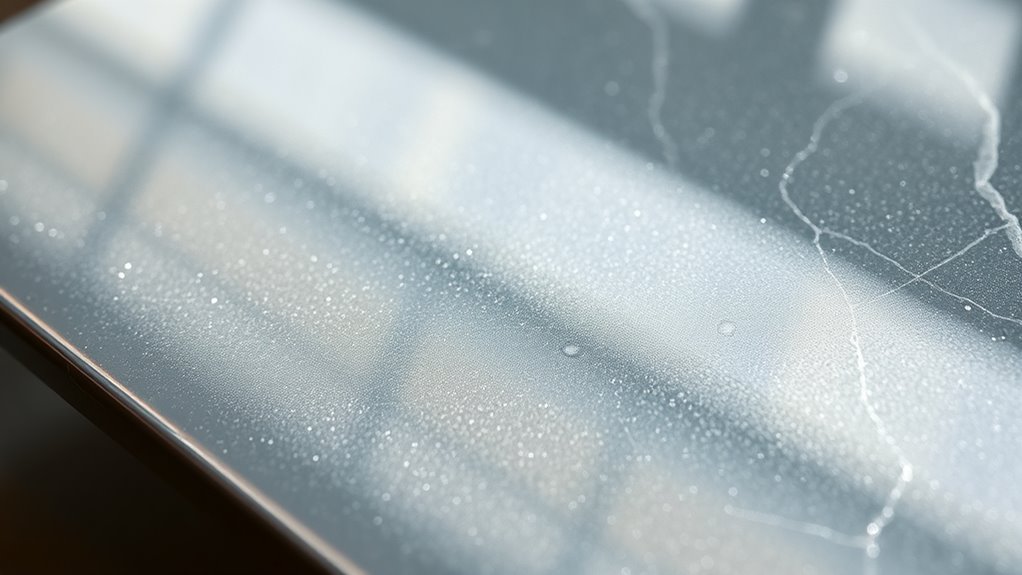
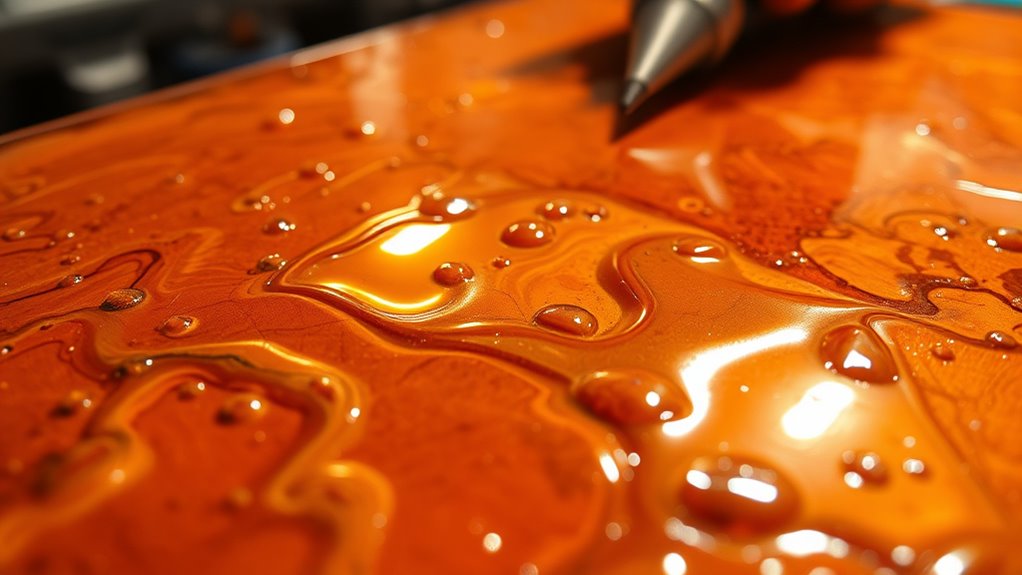
If your resin stays tacky even after the recommended curing time, it’s usually due to incomplete polymerization or improper curing conditions. The resin surface remains sticky when the curing duration wasn’t enough for the resin to fully harden.
This can happen if you didn’t allow sufficient time, especially if the resin was thick or uneven. Additionally, environmental factors like low temperatures or high humidity can slow down curing, leaving the surface tacky. Proper curing conditions are essential to ensure complete polymerization and a fully hardened surface.
Sometimes, mixing ratios might be off, preventing the resin from curing properly. To avoid this, verify you follow the recommended curing duration closely and give the resin enough time to fully set.
Ensuring optimal color temperature and proper environmental conditions can significantly improve curing results. If issues persist, double-check your working conditions and resin mix to promote complete curing and a smooth, non-tacky surface.

LET'S RESIN Upgraded UV Light for Resin, Large Size Portable UV Resin Light, Fast Curing&Portable UV Lamp, Jewelry Making Supplies for Resina UV, DIY Craft, Decor
Professional UV Resin Light&Faster Curing:LET'S RESIN UV Light customized professional UV light has 18pcs double light source lamp…
As an affiliate, we earn on qualifying purchases.
As an affiliate, we earn on qualifying purchases.
How Do Temperature and Humidity Impact Resin Curing?
Temperature and humidity play significant roles in the resin curing process. Your resin composition reacts differently depending on the environment, affecting both curing duration and final clarity. Proper piercing aftercare is essential to prevent complications, and a controlled environment helps ensure consistent results. When temperatures are too low, resin cures more slowly, increasing the risk of tackiness or uneven hardening. Conversely, high temperatures can speed up curing, but may cause overheating or cracking. Humidity also influences curing; high humidity can introduce moisture into the resin, leading to cloudiness or tackiness. Controlling environmental factors is crucial for achieving a smooth finish. Maintaining optimal environmental conditions is crucial for achieving a smooth finish. Low humidity helps attain a clearer, more durable finish. Additionally, understanding the specific resin type you are working with can help tailor your environmental controls for the best results. To optimize results, keep the workspace stable, maintain the recommended temperature range, and control humidity levels. Doing so ensures your resin cures evenly, minimizes tackiness, and produces the best possible finish. Furthermore, using appropriate tools such as hygrometers and thermostats can assist in monitoring and maintaining ideal curing conditions.

Epoxy Resin Kit for Beginners 16 OZ with Molds, Clear No Bubble Fast Curing Heat Resistant for Casting Coating Art DIY Craft Jewelry Making, Keychains
Crystal Clear & UV Resistant: We have added UV stabilizers + HALS (Hindered Amine Light Stabilizers), which can…
As an affiliate, we earn on qualifying purchases.
As an affiliate, we earn on qualifying purchases.
What Can I Do When My Resin Is Tacky? Troubleshooting Tips
When your resin remains tacky after the expected curing time, it’s a clear sign something has gone wrong during the process. First, check if you used the correct amount of resin additives or curing agents, as improper ratios can prevent full curing. Using reliable sizing and load‑planning tools can help you better understand the necessary quantities for complete curing. If you suspect incomplete curing, gently warm the resin to accelerate the process, but avoid overheating. Additionally, proper mixing techniques are crucial to ensure the resin reacts correctly and cures fully. If still tacky, you might consider applying a thin layer of clear resin or a coating of epoxy resin to seal the surface. Be sure to verify proper ventilation and follow manufacturer instructions for curing agents. Sometimes, adding a small amount of fresh resin mixed with the original can help complete the curing. Always test small batches first to troubleshoot effectively and prevent waste.
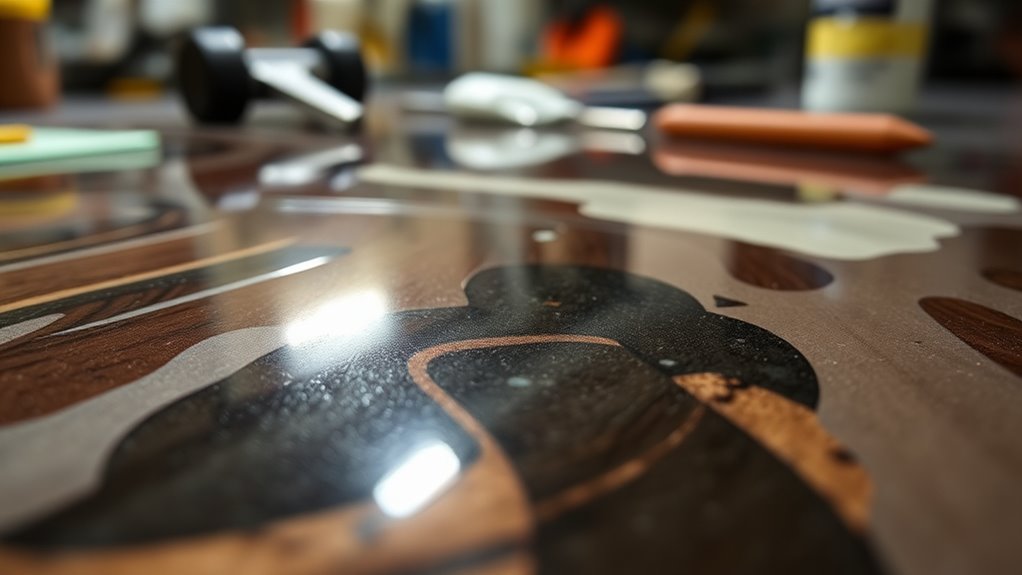
How to Achieve a Perfectly Cured Resin Finish
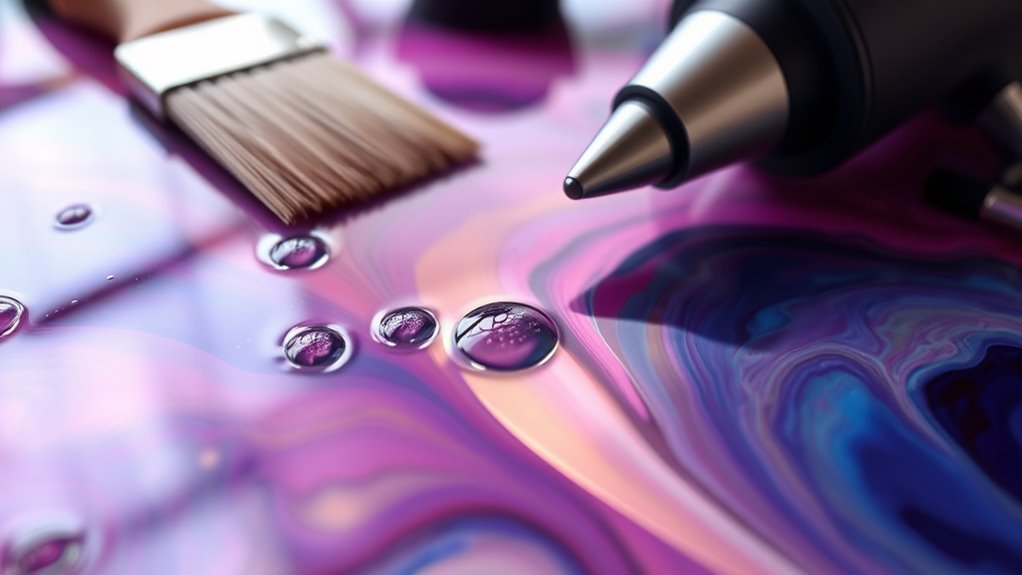
Achieving a perfectly cured resin finish requires attention to detail throughout the entire process. Start with proper resin layering, applying thin, even coats to prevent issues like tackiness or uneven curing. Incorporating proper curing techniques and monitoring environmental conditions can further enhance your curing process and final quality. When using color additives, mix them thoroughly into each layer to guarantee consistent color distribution and avoid streaks or cloudiness. Maintain the recommended curing environment—temperature and humidity can markedly impact the final result. Use a level surface to prevent resin from pooling or uneven curing. Avoid rushing; curing times vary based on resin type and thickness. If layering multiple colors or effects, wait for each layer to reach the appropriate tacky stage before adding the next. Additionally, understanding resin chemistry can help artists troubleshoot common issues and optimize their technique. Recognizing curing time and adjusting for environmental factors ensures the resin reaches full hardness without remaining tacky. Implementing ambient temperature control can significantly improve the curing consistency and final appearance. This careful approach ensures a clear, glossy, and fully cured resin finish.
What Are Post-Cure Steps for Better Resin Results?
To improve your resin results, you need to follow proper post-curing steps, including using the right curing techniques. Pay attention to temperature and humidity, as they can affect the final outcome. Additionally, understanding the importance of consistency in your curing process can help ensure uniform results across different projects. Consistent timing and conditions reduce the risk of uneven curing that can compromise the appearance and durability of your resin piece. Maintaining a controlled environment during curing can also minimize air bubbles and other imperfections, leading to a more professional finish. Proper ventilation and monitoring can further enhance the curing process and the quality of your final product. Using controlled conditions helps optimize the curing process and achieve better results. Ultimately, inspecting your piece thoroughly helps guarantee it’s fully cured and ready for use.
Proper Curing Techniques
After your resin piece has initially cured, applying proper post-curing steps is essential to maximize its strength, durability, and clarity. First, verify you’re aware of your resin type, as different resins react differently to post-curing. Follow the manufacturer’s instructions, especially regarding curing agents, since some require additional UV or heat exposure.
For example, epoxy resins often benefit from gentle heat, while polyurethanes may need specific UV light. Maintain a clean environment to prevent dust or debris from settling on the surface during post-curing. Properly timed and controlled post-curing helps eliminate tackiness, enhances hardness, and improves transparency.
Always monitor the process closely to avoid over-curing, which can cause cracks or discoloration. This careful approach results in a professional, high-quality finish.
Temperature and Humidity Factors
Temperature and humidity play crucial roles in guaranteeing your resin cures properly. Fluctuations in temperature can cause uneven curing, while inappropriate humidity levels can lead to tackiness or cloudiness. To optimize results, keep your workspace stable, ideally between 70-75°F (21-24°C), and humidity below 50%. Use a dehumidifier if necessary, especially in humid environments. Here’s a quick guide:
| Condition | Ideal Range | Effect of Deviations |
|---|---|---|
| Temperature Fluctuations | Less than 2°F change daily | Causes uneven curing, tackiness |
| Humidity Levels | 30-50% | Prevents cloudiness, tackiness |
| Ambient Temperature | 70-75°F | Ensures proper curing time |
| Workspace Stability | Consistent environment | Reduces defects |
Controlling these factors helps achieve a clear, hard, and glossy finish. Maintaining a stable environment minimizes the risk of curing issues, and understanding how environmental conditions impact resin results is essential for professional-looking projects.
Post-Cure Inspection Steps
Once your resin has cured, inspecting it thoroughly guarantees it meets quality standards before final use or finishing. Begin with resin surface inspection, checking for smoothness, clarity, and evenness. Look for any tackiness, bubbles, or imperfections that might indicate incomplete curing. To maintain a calm and organized workspace, ensure you have the right tools and a clean environment for inspection. Conduct a curing completeness assessment by gently pressing the surface; it should feel firm and solid, not sticky or soft. Use a flashlight to examine transparency and identify any cloudy areas or air bubbles. If issues are present, consider additional curing or sanding before proceeding. Ensuring proper post-cure procedures are followed can also help in achieving a fully cured and durable resin piece. Proper post-cure inspection ensures the resin has fully hardened, reducing the risk of future defects. Taking these steps helps achieve a durable, professional finish and prevents problems caused by residual tackiness or incomplete curing.
How to Prevent a Tacky Resin in Future Projects
To prevent a tacky resin in future projects, you need to focus on proper mixing techniques, ensuring the resin and hardener are thoroughly combined.
Controlling environmental conditions like temperature and humidity also plays a vital role in achieving a smooth, fully cured surface.
Additionally, selecting high-quality resin can make a significant difference in the curing process and final finish.
Use Proper Mixing Techniques
Proper mixing techniques are essential to prevent a tacky resin and guarantee a smooth, durable finish.
First, measure your resin and hardener accurately, adhering strictly to the recommended mixing ratio. Using the wrong ratio can lead to incomplete curing and tackiness.
When mixing, employ a steady stirring technique, scraping the sides and bottom of the container to combine all components thoroughly. Avoid quick or vigorous stirring, as this can trap air bubbles, which may contribute to tackiness.
Mix for the specified time, usually 2-3 minutes, ensuring a uniform consistency.
Properly measuring and mixing thoroughly minimizes the risk of uncured resin, resulting in a clear, glossy surface that cures evenly and resists tackiness.
Control Environmental Conditions
Controlling environmental conditions is essential to prevent a tacky resin in future projects. Start by managing airflow to reduce dust and debris that can interfere with curing. Keep the workspace well-ventilated but avoid strong drafts that can cause uneven curing.
Temperature plays a crucial role; aim for a steady, warm environment within the resin manufacturer’s recommended range. Humidity levels should also be monitored, as excessive moisture can prolong tackiness.
Using resin additives designed to improve curing can help stabilize the process and reduce tackiness. These additives can modify curing times or improve surface hardness, making the final result smoother.
Choose Quality Resin
Choosing high-quality resin is one of the most effective ways to prevent a tacky finish in your projects. Good resin not only guarantees better curing but also promotes resin safety by reducing harmful fumes and skin irritation.
When selecting resin, check its recommended curing duration—using a product with predictable, consistent curing times helps you avoid under- or over-curing, which can lead to tackiness.
Lower-quality resins often have additives that compromise curing performance, increasing the risk of a sticky surface. Investing in reputable brands with clear instructions allows you to control the curing process more accurately.
What Are Simple Tips to Ensure a Flawless Resin Cure?
To achieve a flawless resin cure, paying attention to a few simple tips can make all the difference. First, focus on proper resin mixing—measure precisely and stir thoroughly to ensure a consistent blend. This prevents uneven curing and tackiness.
Next, create a controlled curing environment by working in a dust-free, temperature-stable space. Avoid drafts, direct sunlight, or fluctuating temperatures that can interfere with curing.
Use a level surface to prevent resin from pooling or unevenly settling. Additionally, follow the manufacturer’s recommended curing time without rushing.
Frequently Asked Questions
Can Different Resin Brands Cause Tackiness Issues?
Yes, different resin brands can cause tackiness issues due to resin compatibility and brand differences.
Some brands have formulas that cure faster or create a harder finish, while others may remain tacky longer or not cure properly when mixed with incompatible products.
Always check the manufacturer’s recommendations and verify you’re using compatible resins for your project to avoid tackiness and achieve the best results.
How Long Should I Wait Before Handling Cured Resin?
You should wait at least 24 to 48 hours before handling your cured resin, but this depends on curing time and environmental factors.
Warmer temperatures and low humidity speed up curing, while cooler or humid conditions slow it down.
Always check if the resin feels firm and tack-free. If it’s still tacky, give it more time, and guarantee you’re curing in ideal conditions for a complete, durable finish.
Does Mixing Resin Too Vigorously Affect Curing?
Yes, mixing resin too vigorously can adversely affect curing. When you mix at high speed, you introduce excess air bubbles, which can lead to a tacky surface or uneven curing.
To avoid this, mix slowly and steadily to minimize air incorporation. This gentle approach ensures a smoother curing process, reduces surface tackiness, and results in a clearer, more professional finish.
Are There Specific Additives to Prevent Tackiness?
Yes, you can use resin additives to prevent tackiness. Additives like silica or specific tackiness prevention agents help improve the curing process by reducing surface stickiness.
When you mix these resin additives properly, they promote a smoother, fully cured finish and prevent tackiness. Be sure to follow the manufacturer’s instructions for the right amount to add, and test small amounts to ensure compatibility with your resin.
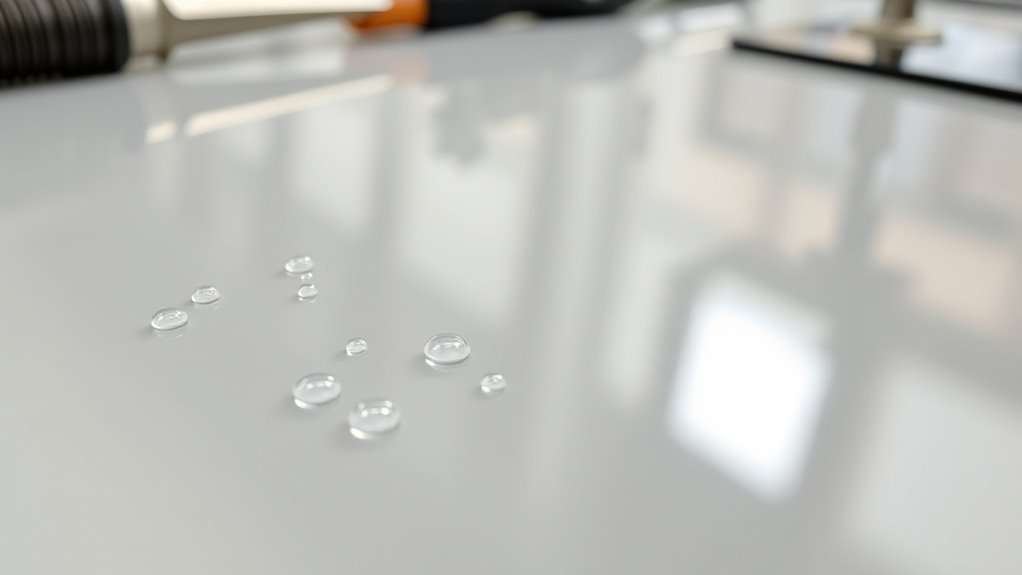
How Can I Tell if My Resin Is Fully Cured?
You can tell if your resin is fully cured by performing resin testing and observing curing indicators. Gently press the surface; if it feels firm and no tackiness remains, it’s likely cured.
You can also check for clarity and a solid, non-sticky feel. For more certainty, use a small file or sandpaper to see if the surface resists scratching.
These signs confirm your resin has reached full curing.
Conclusion
Understanding why your resin stays tacky helps you troubleshoot effectively. By controlling temperature, humidity, and following proper curing steps, you can achieve a flawless finish. Don’t rush the process or skip post-curing. With patience and attention to detail, you’ll create beautiful, durable resin pieces every time. Keep experimenting and applying these tips, and soon, tacky issues will be a thing of the past. Happy creating!