
From sketch to finished work, most people don’t see the countless steps behind the scenes. You start with brainstorming and quick thumbnail sketches, then refine your ideas by making adjustments, experimenting with colors, and selecting materials. The process involves multiple revisions, balancing consistency, and perfecting details. Final touches, quality checks, and presentation are essential to guarantee your work shines. If you continue, you’ll discover how these hidden efforts elevate your art to a polished finish.
Key Takeaways
- The unseen refinement process involves detailed adjustments in color harmony, shape, and placement to enhance visual harmony and functionality.
- Finalization includes meticulous checks for imperfections, consistency, and professional polishing through tools and external feedback.
- Behind-the-scenes work encompasses balancing technical skills with creative vision, ensuring each stage contributes to a cohesive final piece.
- Subtle tweaks in layout, spacing, and detailing are often overlooked but critical for achieving a polished, professional look.
- Effective presentation and storytelling help communicate the work’s narrative, engaging viewers beyond the visible creation process.

PANDAFLY Drawing Sketching Pencil Set, 22 Piece Pro Art Pencil Kit – Graphite Pencils (12B-2H), Black and White Charcoal Pencils, Charcoal Sticks, Stumps, Eraser, Sharpeners
PRO SKETCH PENCILS DRAWING SET – 22 Pack Art Pencil Set Include 8 Graphite Sketching Pencils(12B 10B 8B…
As an affiliate, we earn on qualifying purchases.
As an affiliate, we earn on qualifying purchases.
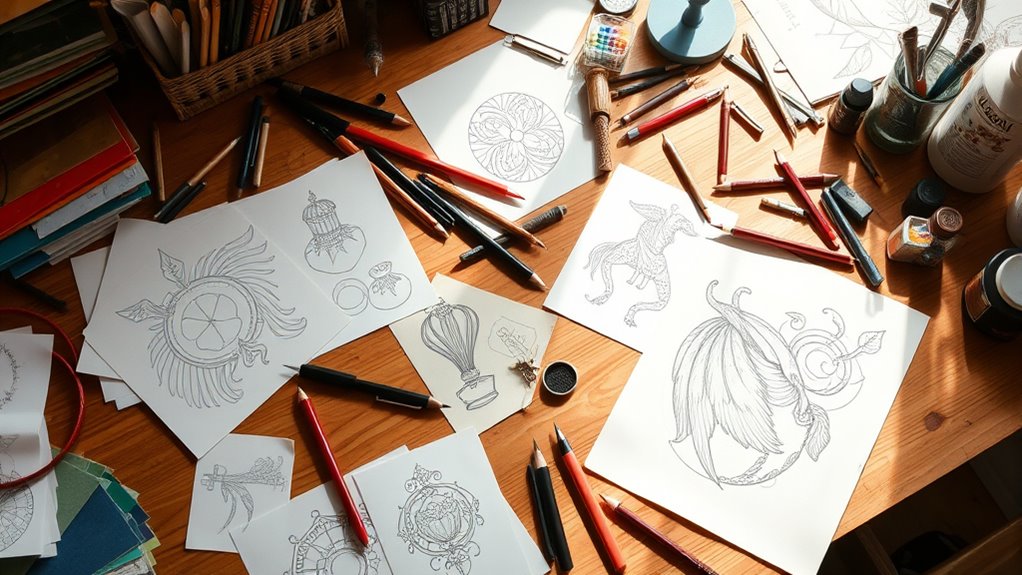
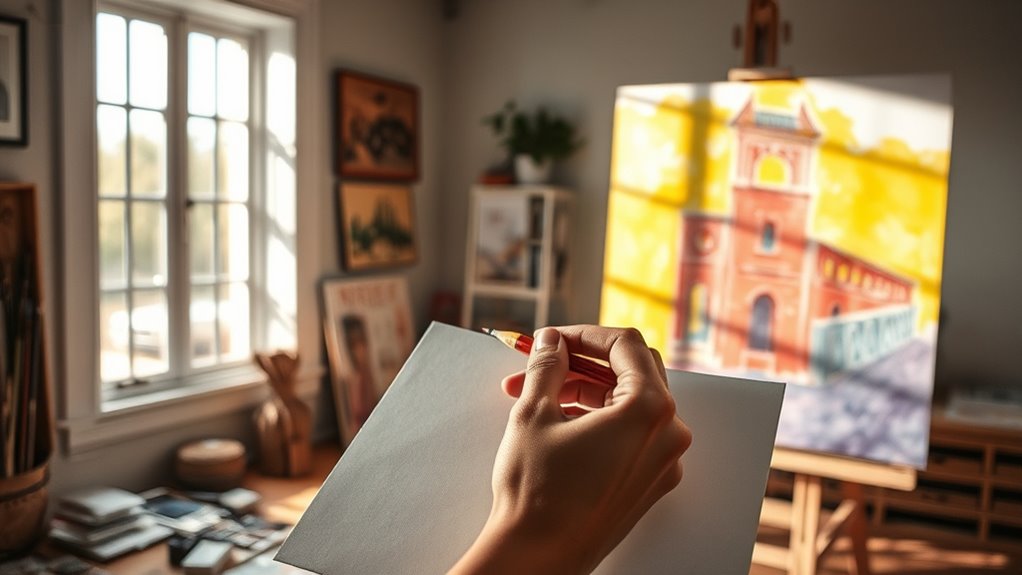
The Initial Concept and Brainstorming Phase
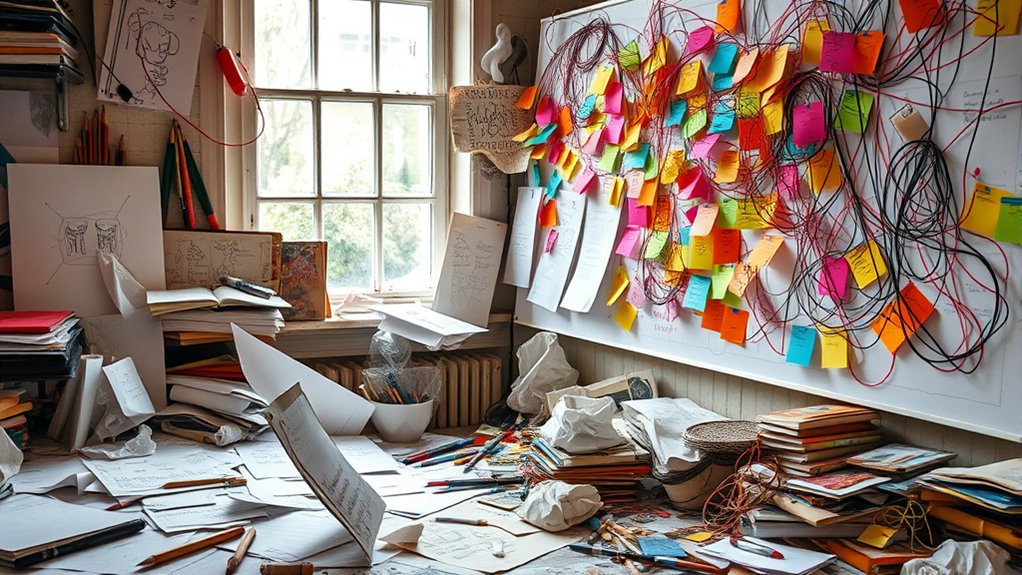
The initial concept and brainstorming phase set the foundation for your entire project. During this stage, you tap into your artistic inspiration, exploring ideas that spark your creativity. Using color theory as a guide, you consider how different hues evoke emotions and influence mood. This helps you develop a cohesive theme and visual direction. You might sketch quick thumbnails or jot down ideas, focusing on how colors interact and complement each other. Don’t rush this process; it’s about capturing raw, authentic inspiration. This phase lays the groundwork for your work, ensuring your final piece has depth and purpose. Incorporating principles of Free Floating can help create a sense of openness and freedom in your design process. By grounding your ideas in color theory and personal insight, you build a strong, focused foundation that guides your subsequent steps. Additionally, understanding auditory processing can assist in developing better communication strategies for your project. Recognizing the importance of attention to detail early on can also help you identify potential issues before they develop further.
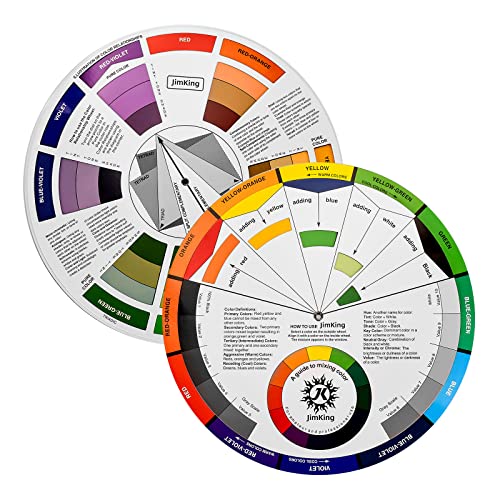
JimKing Creative Color Wheel, Paint Mixing Learning Guide, Art Class Teaching Tool for Makeup Painting Tattoo,Blending Board Chart Color Mixed Guide Hardboard(9.25inch)
Helps organise colours to make choices and combinations easier;Defines common terms and helps the artist to understand colour…
As an affiliate, we earn on qualifying purchases.
As an affiliate, we earn on qualifying purchases.
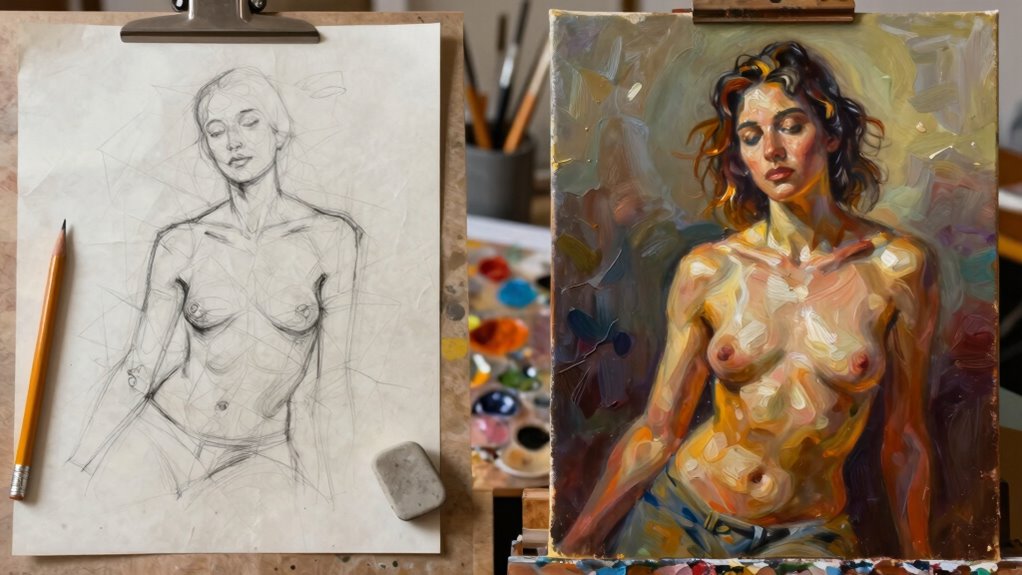
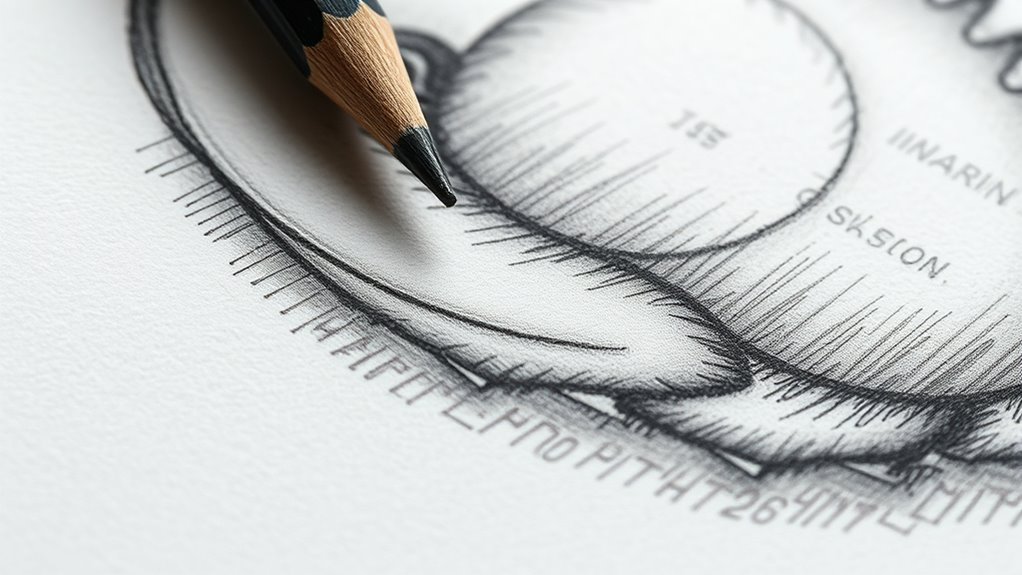
Creating the First Draft or Rough Sketch
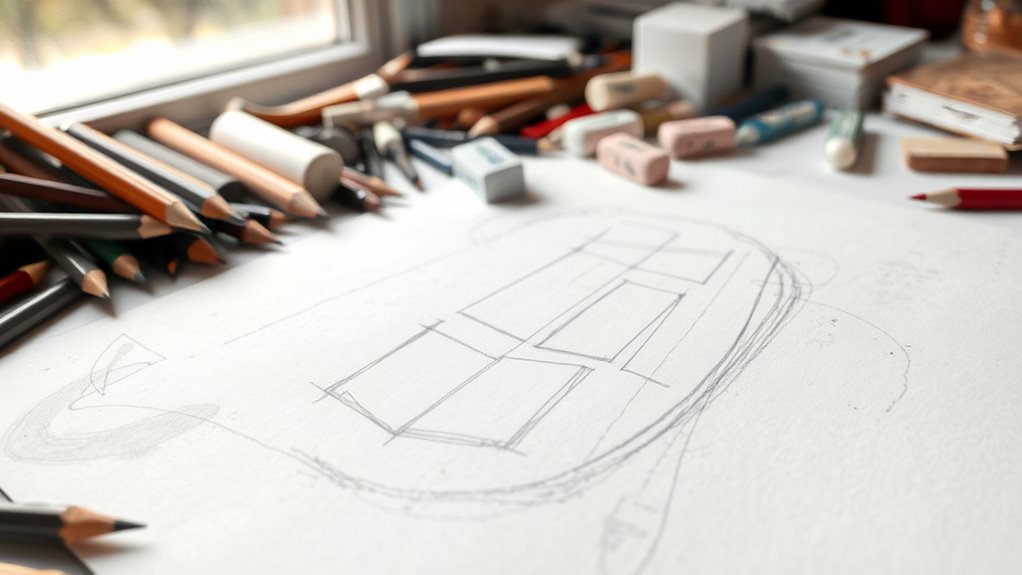
You start by translating your initial concept into a quick, rough sketch to capture the main ideas. Using rapid sketching techniques helps you work efficiently and stay flexible as you refine your outline. This first draft sets the foundation for developing your work into a polished piece. Recognizing the importance of creative process in art and design can further enhance your ability to visualize and execute your ideas effectively. Incorporating eco-friendly accommodations into your conceptualization can inspire sustainable and innovative design choices, especially when considering the reliance on cloud services and potential vulnerabilities highlighted during the Microsoft outage. Embracing a growth mindset allows you to view mistakes as opportunities for learning and improvement throughout your creative journey. Additionally, understanding how nutritional insights from fruit juices can influence health-conscious design concepts may broaden your perspective on incorporating functional elements into your work.
Initial Concept Development
Starting the creative process involves translating your initial ideas into a rough sketch that captures the overall composition and key elements. During this stage, focus on exploring different layouts and forms, using your artist inspiration to guide your choices. Consider how color theory might influence your palette, even in early drafts, to create harmony or contrast. Don’t worry about details; instead, aim to establish the core shapes and relationships. This rough sketch serves as a visual blueprint, helping you visualize how the final piece will come together. Your goal is to quickly communicate your concept without getting bogged down by perfection. Keep the process fluid, allowing space for adjustments as your ideas evolve into a more refined direction. Additionally, understanding basic design principles can enhance your ability to develop effective initial concepts and create compelling interior layouts. Incorporating some knowledge of garden design can also inspire your sketches, especially if you plan to include natural elements or outdoor settings in your work. Recognizing how astrological influences might subtly inform the mood or theme of your artwork can also provide a unique creative edge. Moreover, considering material properties can help you choose suitable mediums and techniques to bring your concept to life.
Rapid Sketching Techniques
How can you quickly capture your ideas without getting bogged down in details? The key is mastering rapid sketching techniques. Focus on gesture flow to convey movement and energy, using loose, flowing lines that capture the essence rather than perfect accuracy. Don’t worry about details at this stage—just get your ideas down swiftly. Use quick shading to suggest form and depth, adding volume without overworking the sketch. This approach helps you maintain spontaneity and keeps your creative process fluid. Keep your hand moving freely, prioritizing speed over precision. Remember, these rough sketches are about capturing the overall feel and composition, not final details. Once you’re confident with your gesture and shading, you can refine later. To streamline your workflow, consider organizing your sketches and notes to make future revisions easier and more efficient document management. Incorporating space-heating basics into your planning can also help you develop more functional and comfortable designs from the outset. Understanding cybersecurity vulnerabilities can further improve the safety and durability of your work environment and tools.
Refining the Outline
Have you ever wondered how to turn a loose sketch into a usable blueprint? Refining the outline is your next step. Focus on defining shapes, lines, and proportions, ensuring your design maintains color harmony and branding consistency. Start by blocking out major elements, then gradually add details. Keep your vision clear and cohesive. Use this table to guide your refinement:
| Step | Focus Area | Key Tip |
|---|---|---|
| Simplify Shapes | Basic form | Remove unnecessary lines |
| Balance Elements | Composition | Maintain visual harmony |
| Add Details | Refinement | Stay true to branding colors |
Additionally, paying attention to alarm clock timing can help ensure your work progresses smoothly and on schedule. Being mindful of project deadlines can also motivate you to stay focused during each phase of refinement. Recognizing the importance of a well-structured creative process can further enhance your efficiency. This process transforms your rough sketch into a solid foundation, ready for the next stage of your creative journey. Considering healing time and aftercare is crucial to ensure the longevity and safety of your finished design. Remember, understanding contrast ratio and its impact on image quality can help you make informed decisions as you finalize your design.

30X 10X Magnifying Glass with Light and Stand, 5 Color Modes Stepless Dimmable, Optical Grade HD Lens, LED Lighted Magnifier Hands Free with Flexible Gooseneck for Close Work, Craft, Hobby, Painting
30X 10X Magnification & Clear View: This magnifying glass with light features an optical HD lens, providing a…
As an affiliate, we earn on qualifying purchases.
As an affiliate, we earn on qualifying purchases.
Refining the Design and Making Adjustments
Refining your design is an ongoing process that benefits from a structured approach and attention to detail. As you refine your design, you’ll often go through an iterative process of testing and adjusting. Balancing aesthetics with functionality guarantees your work is both attractive and practical. Using data to guide your changes helps you make informed decisions and improve your design efficiently. Incorporating interior design basics such as mood boards and narratives can streamline this refinement process and clarify your vision. Additionally, embracing design thinking principles enables you to empathize with users and iterate effectively throughout the development cycle. Exploring best safety glasses for 2024 can also provide insights into protective features that enhance the overall usability and safety of your design. Recognizing space‑saving techniques from travel organization can inspire innovative solutions to optimize your workspace during the refinement process. Paying attention to wall decor placement and stability is crucial to ensure your finished work remains both attractive and secure in its environment.
Iterative Design Process
The iterative design process involves continuously refining your work by making targeted adjustments based on feedback and testing. You actively engage in creative collaboration, sharing ideas and insights with others to identify areas for improvement. This process helps you spot issues early, saving time and resources in the long run. Good project management keeps you organized, ensuring each cycle of refinement stays on track and aligns with your goals. As you test and gather input, you learn what works and what doesn’t, allowing you to make precise changes that enhance your design. Embracing iteration means you don’t settle for the first draft—you’re committed to honing your work until it reaches its best potential. This approach results in a more polished, effective final product.
Balancing Aesthetics and Functionality
How do you strike the right balance between making your design visually appealing and ensuring it functions effectively? Start by evaluating ergonomic considerations—are users comfortable and safe when interacting with your design? Adjust elements like shape, size, and placement to improve usability. Simultaneously, focus on color harmony; verify your color choices enhance aesthetic appeal without compromising clarity or readability. Sometimes, bold colors may grab attention but hinder functionality, so refine them to support both form and function. Remember, minor tweaks can make a significant difference. Test your adjustments, gather feedback, and refine until your design seamlessly marries visual appeal with practicality. Achieving this balance elevates your work from merely attractive to genuinely effective.
Making Data-Driven Changes
Have you considered how data can guide your design refinements? Predictive analytics allows you to analyze user behavior patterns and anticipate future needs. By examining real-time data, you can identify which features are engaging and where users drop off. This insight helps you make targeted adjustments, ensuring your design aligns with actual user preferences. Instead of guessing, you leverage concrete evidence to improve usability and satisfaction. Making data-driven changes streamlines the refinement process and reduces guesswork, leading to a more effective final product. Remember, continuous monitoring of user behavior provides ongoing opportunities to enhance your design, creating a seamless experience that truly meets your audience’s needs.

JEAWIWI 3PCS Black Lightweight Easel Stand for Wedding Signs, 66 Inch Adjustable Display Easel, Metal Poster Stand for Wedding, Art Display & Signs with Portable Bags
【Unique Design】Featuring a built-in elastic cord and foldable lightweight structure, this display easel can be set up or…
As an affiliate, we earn on qualifying purchases.
As an affiliate, we earn on qualifying purchases.
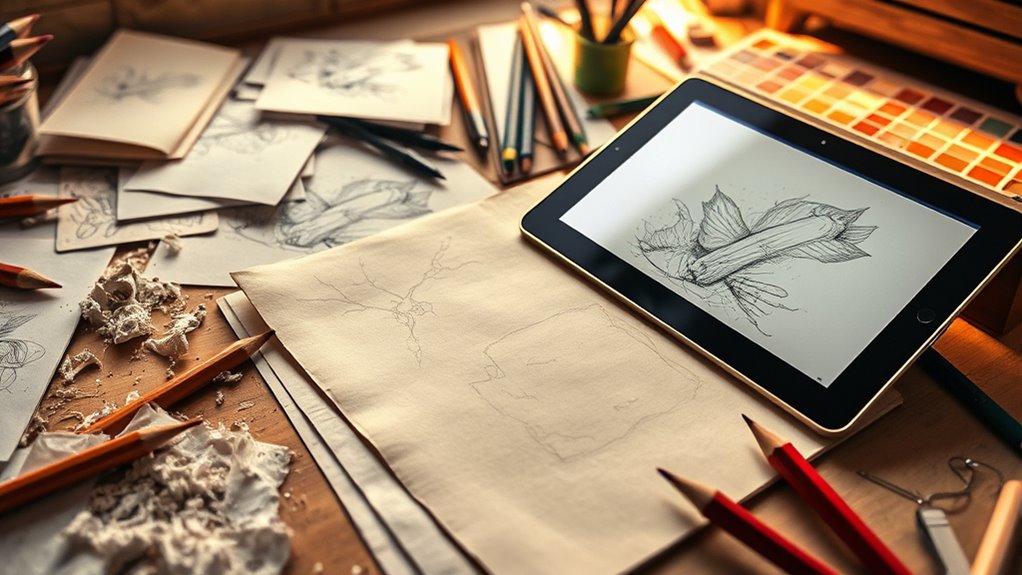
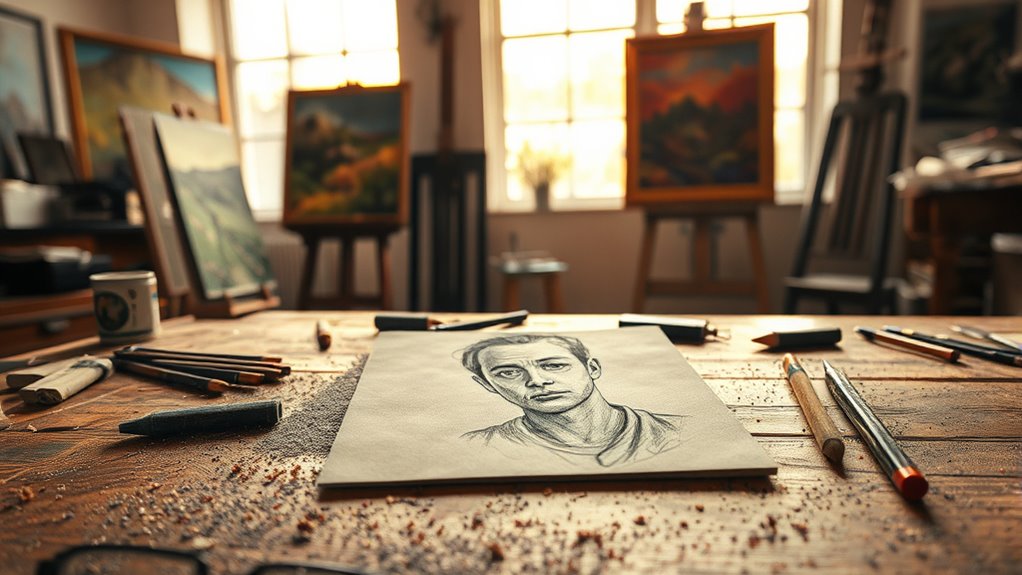
Selecting the Right Materials and Tools
Choosing the right materials and tools is essential to turning your sketch into a polished piece. Material selection impacts the final look and durability of your work, so choose wisely based on your project’s needs. For example, selecting quality brushes or pencils ensures smoother application and better control. Tool optimization means understanding how each tool functions best and using it accordingly, which enhances efficiency and accuracy. Using the proper materials prevents frustrations and setbacks, helping you achieve professional results. Keep in mind the specific demands of your medium—whether paint, clay, or digital tools—and select those that suit your style. When you invest in the right materials and optimize your tools, you set a solid foundation for the entire creative process.
The Iterative Process of Revisions and Feedback
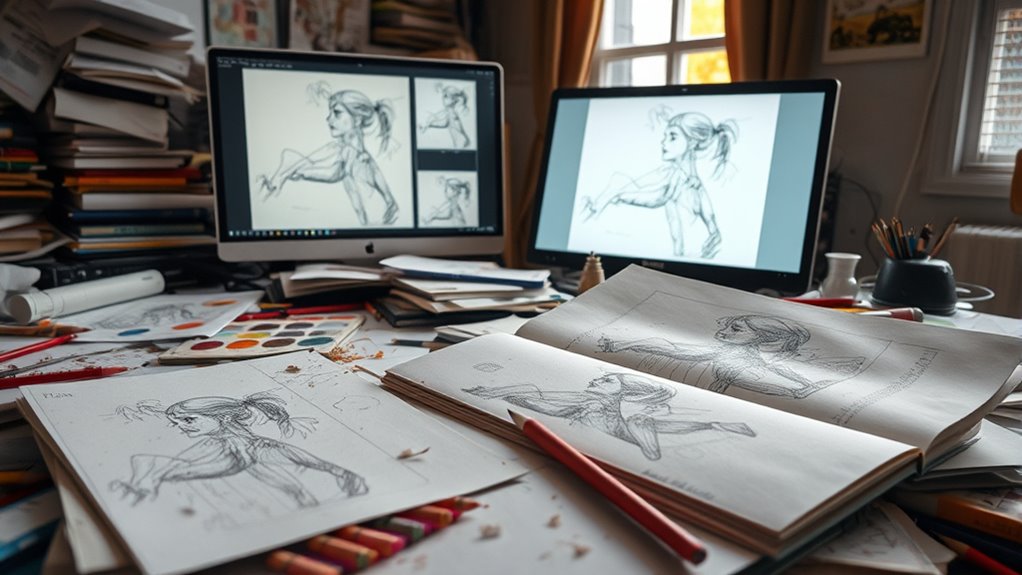
Once you’ve selected your materials and tools, your work enters the stage of refinement through revisions and feedback. This is where collaborative editing shines, allowing others to offer fresh perspectives and identify areas for improvement. Embrace creative critique as a valuable tool, not as criticism, to sharpen your work. You might find yourself revising multiple times, adjusting details, and refining your technique. This iterative process helps you see your project from new angles, ensuring each element aligns with your vision. Remember, feedback isn’t about perfection but about growth. Stay open-minded, analyze suggestions carefully, and don’t be afraid to experiment. Ultimately, this cycle of revision and critique elevates your work, transforming a good piece into a truly polished finished work.
Adding Details and Enhancing Depth
To add depth to your work, focus on layering techniques and textures that create richness and interest. Use shadows and highlights to define forms and add contrast, making your piece more dynamic. Pay attention to fine details and refinements that bring your work to life and showcase your skill.
Layering Techniques and Textures
Have you ever noticed how adding layers and textures can transform a flat sketch into a dynamic, lifelike piece? By carefully applying color blending, you create smooth progressions that add realism and depth. Texture layering involves building up different surfaces—rough, smooth, soft—that give your artwork tactile richness. You might start with broad washes or base tones, then gradually add finer details, adjusting opacity and brushstrokes to enhance the sense of dimension. Combining these techniques allows you to create complex surfaces, making elements stand out or recede naturally. The key is to work gradually, building up layers without overdoing it, so the textures feel authentic. Mastering layering techniques and textures elevates your work from simple drawings to vibrant, compelling visuals.
Shadows and Highlights Use
Adding shadows and highlights is essential for transforming flat sketches into three-dimensional forms. By applying lighting techniques thoughtfully, you create depth and realism that draw viewers in. Shadows help define the contours and volume of your design, while highlights emphasize the areas where light naturally hits, making your work appear more tangible. Use contrast strategically to guide the eye and add visual storytelling, conveying mood and focus. Proper placement of shadows and highlights enhances texture and form, giving your drawing a sense of weight and presence. Remember, subtle variations can make a big difference, so observe real-world lighting to inform your choices. Mastering this balance elevates your sketch from a simple outline to a compelling, lifelike representation.
Fine Details and Refinements
Incorporating fine details and refinements is essential for transforming a basic sketch into a polished, realistic piece. These touches add depth, texture complexity, and visual interest that elevate your artwork. Focus on small elements like subtle lines, intricate patterns, and delicate shading to create a sense of realism. Pay attention to color harmony, ensuring hues complement each other to unify the composition. Fine details can highlight the texture of surfaces, from rough stone to soft fabric, making the scene more believable. To effectively refine your work, consider:
- Enhancing textures with varied brushwork
- Adjusting color tones for harmony
- Adding subtle highlights and shadows for depth
These steps help your artwork move from flat to lifelike, revealing the skill behind the scene.
The Challenges of Maintaining Consistency
Maintaining consistency throughout a project can be one of the most challenging aspects of turning a sketch into a finished work. You need to guarantee that the color harmony remains cohesive, so all elements work together seamlessly. Any shift in tone or palette can disrupt the overall balance, making the piece feel disjointed. Style consistency is equally important; if your brushwork or detailing varies too much, it can detract from the image’s unity. Staying true to your initial vision while adapting as needed requires constant attention and self-discipline. It’s easy to get caught up in small details, but keeping a clear focus on the overall style and color scheme helps you maintain the harmony essential for a polished, professional result.
Finalizing the Composition and Layout

How do you guarantee your composition feels balanced and engaging before moving to the final stages? Start by evaluating your layout through the lens of color theory, ensuring the distribution of hues creates visual harmony. Use your artistic inspiration to refine focal points, guiding the viewer’s eye naturally across the piece. Adjust placement and scale of elements to build rhythm and prevent clutter. Consider these key steps:
- Balance warm and cool colors to evoke mood and depth
- Arrange elements to establish a clear visual hierarchy
- Use spacing and alignment to create a cohesive flow
The Finishing Touches and Quality Checks

Once you’ve refined your composition and layout, the final stage involves adding those finishing touches that elevate your artwork from good to outstanding. This is where polishing perfection becomes essential—carefully examining every detail, line, and color to guarantee consistency and precision. Take a step back and scrutinize your work, looking for any imperfections or inconsistencies that need correction. Quality assurance is key; it involves checking for smudges, uneven shading, or areas that need more refinement. Sometimes, small adjustments can make a significant difference. Use tools like magnifiers or even ask for a fresh perspective from someone else. These finishing touches bring clarity, polish, and professionalism, ensuring your artwork is ready to impress and stand the test of time.
Presenting and Sharing the Completed Work
Have you considered the impact of sharing your artwork with others? Presenting your finished piece isn’t just about display; it’s about fostering collaborative feedback and engaging your audience. When you share, you invite perspectives that can deepen your understanding and inspire growth. To make the most of this moment:
- Choose the right platform to reach your target audience
- Encourage constructive feedback to refine your skills
- Use storytelling to connect emotionally and boost audience engagement
Frequently Asked Questions
How Do Artists Overcome Creative Blocks During the Design Process?
When you face creative blocks, try mindfulness techniques like deep breathing or meditation to clear your mind. Taking a break often sparks new ideas. Don’t hesitate to seek peer feedback; fresh perspectives can inspire you and break mental stagnation. Trust in your process, stay patient, and remember that setbacks are part of growth. Combining mindfulness and community support helps you overcome creative hurdles and keeps your work flowing.
What Are Common Mistakes Made During Initial Sketching?
You often make mistakes during initial sketching by ignoring rough proportions, which can throw off the entire design. Neglecting details early on might save time but risks missing important elements that define your work. To avoid these errors, focus on establishing accurate proportions first, then gradually add details. This approach guarantees your sketch remains balanced and clear, setting a solid foundation for the finished piece.
How Do Artists Decide Which Materials Best Suit Their Work?
Imagine you’re creating a detailed watercolor landscape. You choose materials based on your artistic intuition, considering how watercolor paper’s absorbency affects your technique. Material selection depends on your style, desired texture, and finish. For example, a painter might prefer oil paints for richness or charcoal for bold contrasts. Trust your instincts, experiment with different mediums, and assess how each material enhances your work’s mood and detail to make the best choice.
What Techniques Help Maintain Consistency Across Multiple Revisions?
To maintain consistency across multiple revisions, you should focus on color consistency and revision tracking. Use a color palette and mark specific shades to keep hues uniform throughout your work. Keep detailed records of each revision, noting changes made and reasons behind them. This approach helps you stay organized, guarantees continuity, and makes it easier to revert to earlier versions if needed, resulting in a cohesive final piece.
How Can Artists Effectively Present Their Finished Work to a Wider Audience?
You should seize the opportunity and showcase your work at art exhibitions or build a strong online portfolio. Present your finished pieces professionally, highlighting your process and unique style. Use social media to reach a broader audience and engage with followers. Sharing behind-the-scenes stories or progress shots makes your art more relatable. Remember, a well-presented portfolio and active promotion can turn your work into a talking point beyond your immediate circle.
Conclusion
From initial ideas to final details, your creative journey involves planning, refining, adjusting, and perfecting. You sketch, select, revise, and finalize, each step building upon the last. You face challenges, make choices, and add finishing touches, all to bring your vision to life. It’s a process of continuous improvement, a cycle of creation and perfection. In this journey, every step matters, shaping your work into a finished piece that tells a complete story.