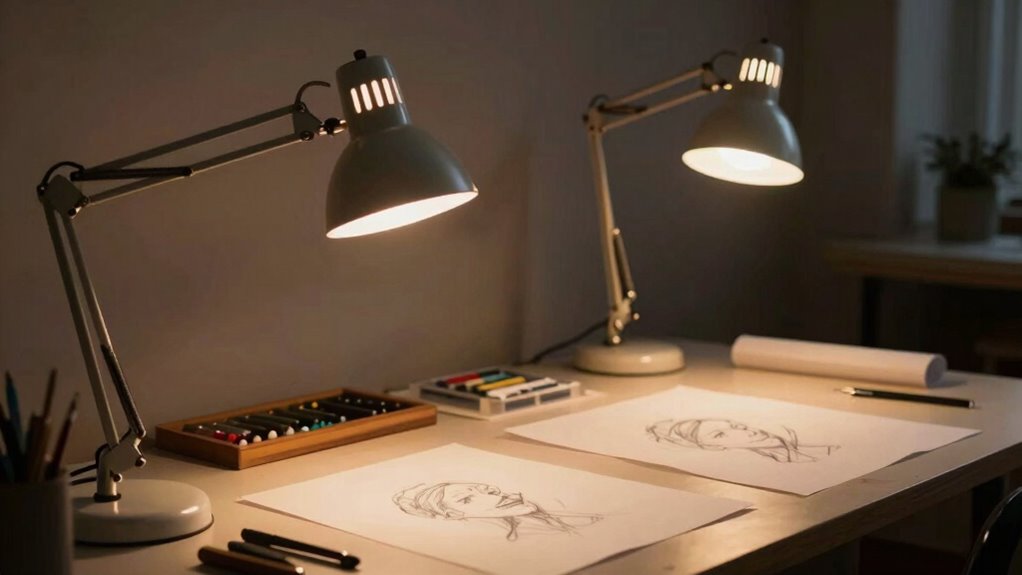

Good studio illumination with drafting lamps and task lights means using adjustable fixtures that direct focused light exactly where you need it. You should position lights slightly above and to the side of your work to avoid glare and shadows. Layered lighting, with overhead and task lights, creates a balanced environment that minimizes eye strain and boosts accuracy. Proper placement and control options, like dimmers, help you stay comfortable and productive—exploring these tips further will help you perfect your lighting setup.

Prime made for students and young adults
- Fast, free delivery for dorm and study essentials
- Prime Video and Amazon Music included
- Member-only deals
Key Takeaways
- Adjustable drafting lamps and task lights allow precise control over angle and brightness for different tasks.
- Proper placement involves positioning lights slightly above or to the side of the workspace to minimize shadows.
- Focused lighting should directly illuminate work surfaces without causing glare or distractions.
- Layered lighting combines task and ambient lights for balanced, comfortable studio illumination.
- Use dimmers and adjustable fixtures to customize lighting levels for optimal precision and comfort.
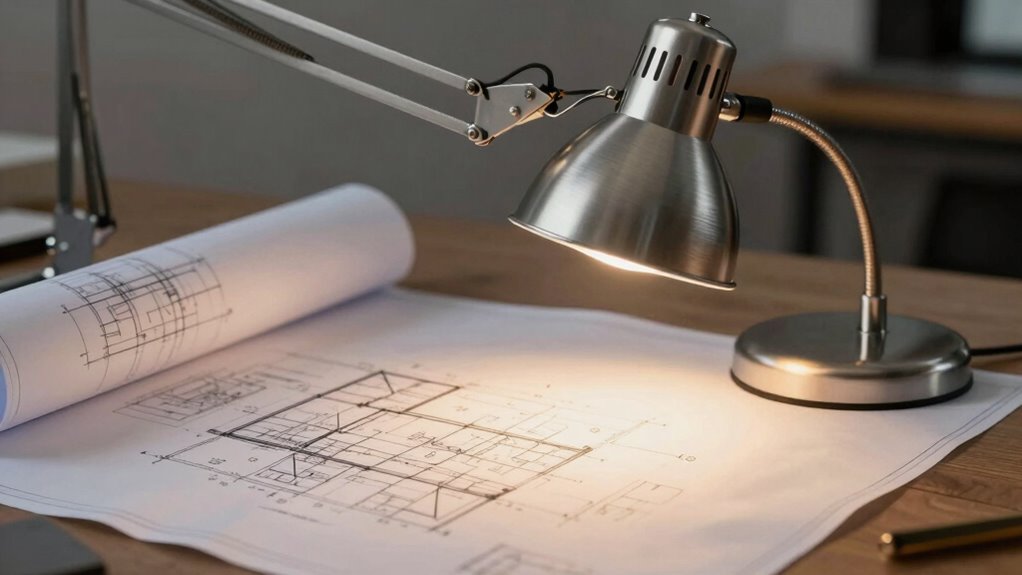
Ever wondered how professionals and hobbyists alike achieve precision in their work? The secret often lies in the right lighting—specifically, the thoughtful use of drafting lamps and task lights. Good studio illumination isn’t just about brightness; it’s about how that light interacts with your workspace. When you focus on effective lighting design, you create an environment that minimizes eye strain and enhances accuracy. Properly planned lighting directs your attention precisely where you need it, whether you’re sketching, drafting, or fine-tuning details. It’s essential to regard how light falls on your work surface and the surrounding area.
Effective lighting minimizes eye strain and boosts precision in your workspace.
Lighting design plays a key role in setting up your workspace. You want a light source that provides ample illumination without creating glare or harsh shadows. Adjustable drafting lamps are ideal because they let you control the angle and intensity of the light, ensuring you can adapt it to different tasks. When you incorporate layered lighting—combining overhead lights with focused task lights—you get a balanced environment that reduces eye fatigue and improves clarity. The goal is to create a well-lit area that feels natural and comfortable, so your eyes don’t have to strain to see details clearly. Additionally, understanding the importance of studio illumination can help you choose the right fixtures and placement for optimal results. Using biodiversity principles to select energy-efficient and eco-friendly lighting options can also contribute to a more sustainable workspace. Recognizing lighting ergonomics can further enhance your setup by preventing physical discomfort during extended work sessions.
Ergonomic placement is equally important. Position your task lights in a way that they don’t cast shadows over your work or cause glare. You should place lights slightly above or to the side of your work surface, angled downward to illuminate your project directly. This positioning prevents unwanted shadows and gives you a clear view of your work without having to squint or reposition constantly. Also, avoid placing lights directly in your line of sight, as this can cause discomfort or distraction. Instead, aim for a setup that feels natural and easy to use, reducing any physical strain during long working sessions. Incorporating lighting control options, such as dimmers, can further improve your ability to customize the illumination for different tasks and times of day.
You’ll find that the combination of good lighting design and ergonomic placement boosts your productivity and comfort. When your workspace is illuminated correctly, you can focus more on your craft and less on fighting against insufficient or poorly placed light. Whether you’re working on detailed drawings or intricate models, the right task lights highlight your work without overwhelming your eyes. As you fine-tune your studio lighting, remember that flexibility is essential—adjust your lamps as needed and keep your workspace optimized for the most precise, comfortable experience. With a well-designed lighting setup, you turn your workspace into a zone of focus and efficiency.
As an affiliate, we earn on qualifying purchases.
Frequently Asked Questions
What Are the Best Energy-Efficient Bulbs for Drafting Lamps?
You should choose LED bulbs for drafting lamps, as they’re the most energy-efficient option. Look for bulbs with high longevity ratings—some last up to 25,000 hours—so you won’t need frequent replacements. For accurate color rendering, pick bulbs with a color temperature around 5000K, which mimics natural daylight. This guarantees your work stays true to color and detail, making your studio lighting both efficient and effective.
How Do I Adjust Brightness Without Flickering?
Imagine smooth sailing—adjusting your brightness without flickering is simple. You just need dimming controls that support flicker-free technology, ensuring steady light at any level. Use compatible LED bulbs and a dimmer switch designed for flicker-free operation. This combo prevents flickering, giving you consistent illumination for your work. Keep your studio well-lit and comfortable, and enjoy seamless brightness adjustments without interruptions.
Are LED Task Lights Suitable for Detailed Work?
Yes, LED task lights are suitable for detailed work because they offer adjustable brightness and excellent color rendering. To optimize your workspace, focus on ergonomic positioning to reduce eye strain and choose a color temperature that mimics natural daylight, around 5000K-6500K. This helps you see fine details clearly and maintains visual comfort during extended periods. Properly configured LED task lights enhance precision and reduce fatigue effectively.
What Safety Precautions Should I Take With High-Intensity Lamps?
You should always inspect electrical wiring connections to guarantee they’re secure and undamaged, preventing potential electrical hazards. Use appropriate protective covers and avoid overloading circuits. Keep high-intensity lamps away from flammable materials to reduce fire safety risks. Regularly turn off lamps when not in use, and follow manufacturer guidelines. These precautions help protect you from electrical shocks and minimize fire risks, assuring a safe working environment.
How Do I Choose the Right Size for My Workspace?
Imagine you’re designing a drafting station; choosing a lamp size depends on your workspace ergonomics and lamp placement. If your desk is 36 inches wide, opt for a lamp with a shade that spans about 12-15 inches to avoid shadows and glare, ensuring comfortable task lighting. Properly sized lamps improve focus and reduce eye strain, so always consider your workspace’s dimensions and where you’ll position your light to enhance efficiency.
task lighting for studio workspace
As an affiliate, we earn on qualifying purchases.
As an affiliate, we earn on qualifying purchases.
Conclusion
Good studio illumination isn’t just about brightness; it’s about precision and comfort. Drafting lamps and task lights help you see every detail clearly, boosting your productivity and reducing eye strain. Did you know that proper lighting can increase your work accuracy by up to 20%? By choosing the right lamps, you create a workspace that’s both functional and inspiring. So, invest in quality lighting—your projects and your eyes will thank you.
As an affiliate, we earn on qualifying purchases.
As an affiliate, we earn on qualifying purchases.
Halloween Picks
halloween
As an affiliate, we earn on qualifying purchases.