
To photograph artwork for insurance and provenance, start by using a high-quality DSLR or mirrorless camera with proper lighting that minimizes glare and shadows. Capture multiple key shots: overall images from different angles, close-ups of signatures, labels, and surface details, along with environmental context. Organize and label these images systematically for easy reference. Ensuring consistent lighting and proper framing helps documents your artwork’s condition and authenticity. Keep prioritizing clarity and detail—more tips await to make your records complete.
Key Takeaways
- Capture overall images from multiple angles, including front, back, and sides, to document the artwork’s complete condition.
- Take high-resolution close-ups of signatures, labels, inscriptions, and distinctive markings for authenticity verification.
- Ensure consistent, diffuse lighting to minimize glare and shadows, highlighting surface details and textures accurately.
- Use a neutral, non-reflective background and proper framing to prevent distortions and unwanted reflections.
- Organize and label digital photos systematically, linking them to detailed artwork records for easy retrieval and insurance claims.

Canon EOS Rebel T7 DSLR Camera EF-S 18-55mm f/3.5-5.6 is II Lens Kit, 24.1 Megapixel CMOS (APS-C) Sensor, Full HD Videos, Built-in Wi-Fi, Beginner Photographers, Digital Camera, Black
24.1 Megapixel CMOS (APS-C) sensor with is 100–6400 (H: 12800)
As an affiliate, we earn on qualifying purchases.
As an affiliate, we earn on qualifying purchases.
Why Do You Need Photos of Your Artwork for Insurance and Provenance?

Having clear, detailed photos of your artwork is crucial for both insurance and establishing provenance. Accurate images help document the piece’s condition, which is indispensable for art conservation efforts. European cloud servers offer a sustainable and secure way to store these valuable digital records, ensuring their long-term preservation. If a loss or damage occurs, these photos serve as proof of the artwork’s original state. They also support establishing artwork authenticity, confirming its provenance and value.
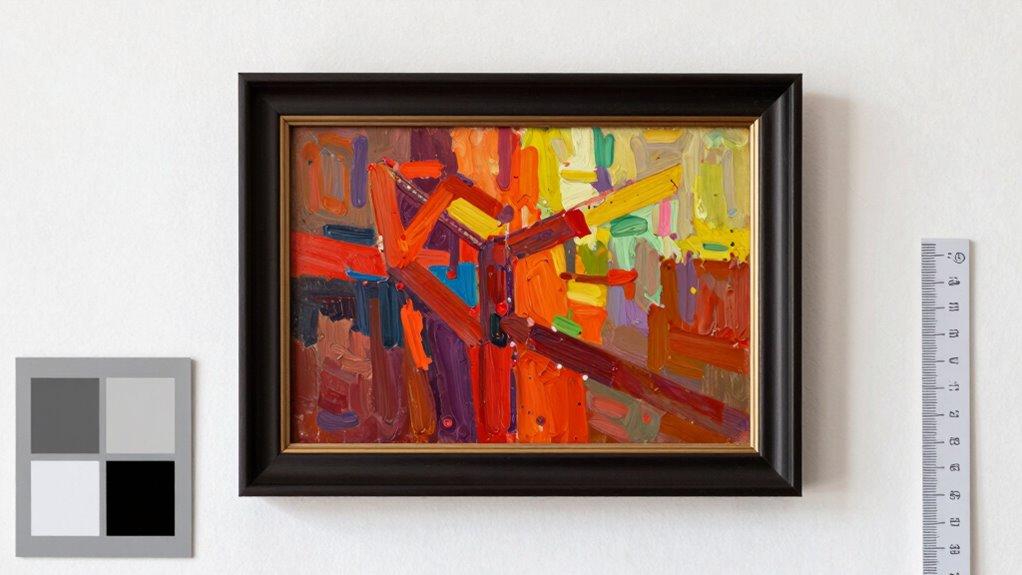
In addition, color accuracy plays a vital role in capturing true representations of your artwork, which is essential for accurate documentation. Ensuring consistent lighting and camera settings can help maintain visual integrity, providing a more precise record of the piece’s appearance. Insurance companies rely on detailed photographs to assess claims accurately and determine coverage. Without high-quality images, you risk undervaluing your piece or facing difficulties in proving ownership.
Well-documented photos safeguard your investment, provide peace of mind, and streamline the claims process. In short, investing in quality photographs now ensures you’re protected and can verify your artwork’s history in the future.

Torjim Softbox Photography Lighting Kit, 16'' x 16'' Professional Softbox Lighting Kit with 85W 3000-7500K LED Bulbs, Studio Lights for Photography/Video Recording/Live Streaming/Portraits Shooting
【Illuminate Your Creativity】 Torjim softbox lighting kit is made of high-quality PET fabric and a foldable nylon cover,…
As an affiliate, we earn on qualifying purchases.
As an affiliate, we earn on qualifying purchases.
What Equipment and Prep Do You Need Before Shooting?
Before you start photographing your artwork, you need to choose the right camera and lens to capture details accurately. Setting up proper lighting and a neutral background guarantees your images are clear and consistent. Preparing these elements beforehand makes the entire process smoother and results more professional. Additionally, understanding net worth can help you assess the value of your collection and ensure proper documentation. Being aware of insurance requirements can also guide you in capturing images that meet specific standards for claims or provenance documentation.
Camera and Lens Selection
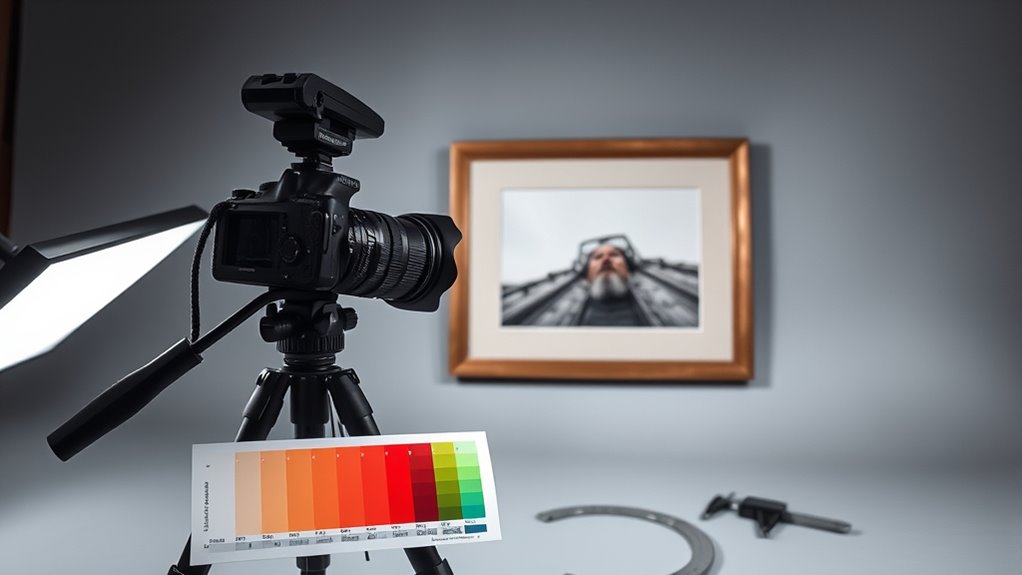
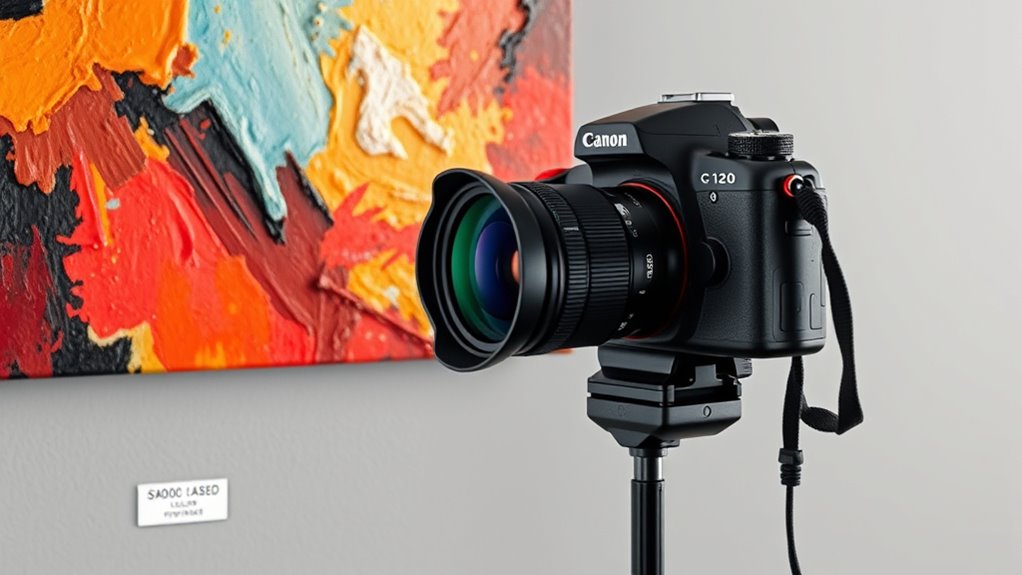
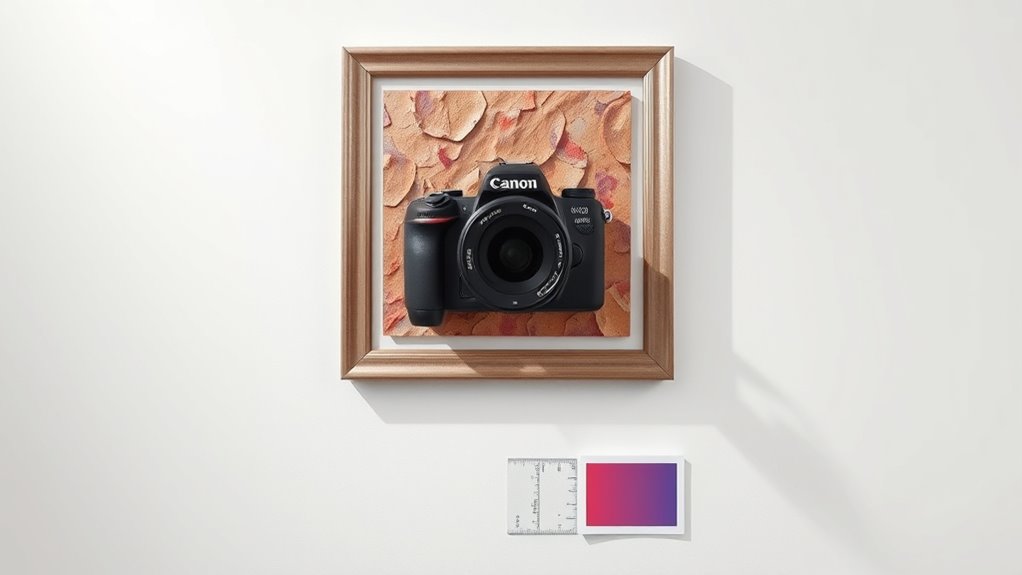
Choosing the right camera and lens is essential for capturing high-quality images of artwork for insurance purposes. Opt for a camera with good ergonomics to guarantee comfortable handling during longer shoots, reducing fatigue and improving stability. Using a camera with user-friendly controls can streamline the shooting process and minimize errors. A DSLR or mirrorless camera with a high-resolution sensor is ideal for capturing fine details and accurate color. Select a macro or standard prime lens, such as a 50mm or 100mm, to achieve sharp, distortion-free images. Use lens filters sparingly; a UV filter can protect your lens, while a polarizer might help reduce glare on glossy surfaces. Proper equipment ensures precise focus, minimal distortion, and consistent results, giving you the clarity and detail needed for insurance documentation and provenance verification.
Lighting and Background Setup
Proper lighting and background setup are essential for capturing clear, true-to-life images of artwork. Good lighting minimizes shadows and highlights details, while a neutral background ensures the focus remains on the piece. Use diffuse, even lighting—preferably daylight-balanced bulbs—to prevent color distortion. Before shooting, ensure your artwork is correctly framed within your shot, avoiding reflections or glare. Additionally, color calibration is crucial; calibrate your monitor and camera settings to match the artwork’s true hues. Use a plain, non-reflective background, like a matte gray or neutral tone, to avoid distracting color casts. Proper preparation guarantees consistent, accurate images vital for insurance and provenance documentation. Understanding proper camera settings can further improve the quality of your photographs. Incorporating lighting techniques that reduce glare and shadows further enhances image accuracy. Being aware of light positioning helps achieve optimal illumination and minimizes unwanted reflections.

APEXEL Professional Macro Photography Lens for Smartphone, Macro Lenses for iPhone, Samsung, Galaxy, Oneplus, Android Phone(Fits for Almost All Phone), Cell Phone Lens Attachment for iPhone
【PROFESSIONAL OPTICAL LENS】The macro lens is made of 5 pcs quality glass lens instead of a cheap resinous…
As an affiliate, we earn on qualifying purchases.
As an affiliate, we earn on qualifying purchases.
Which Shots Are Essential to Document Artwork Properly?
To document your artwork thoroughly, you need to capture several key types of images. Start with overall shots that show the entire piece.
Then focus on close-up details to highlight textures and condition. Don’t forget to photograph any unique identifiers or signatures that can verify authenticity.
Overall Artwork Shots
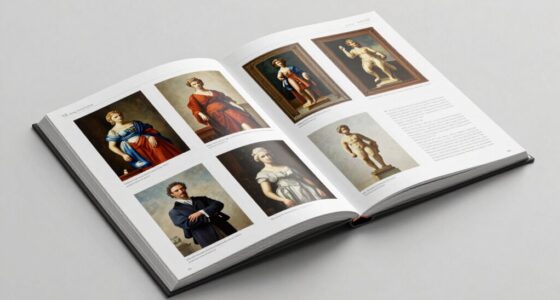
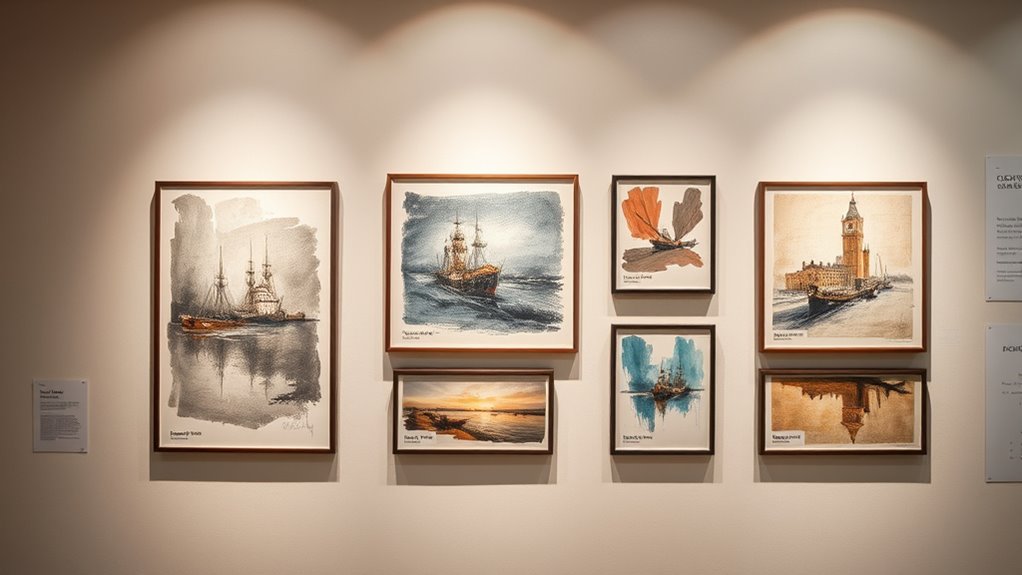
Capturing clear and detailed overall shots of your artwork is essential for thorough insurance documentation. These images establish the artwork’s condition and presentation, whether in storage, art conservation, or gallery display. To guarantee completeness, photograph the piece from multiple angles, including front, back, and sides. Use a consistent lighting setup to avoid shadows or reflections that could obscure details. Consider including contextual shots showing the artwork in its environment. Proper documentation also involves capturing images that highlight the surface condition, such as any existing damage or restorations. Additionally, utilizing navigation and mapping techniques can help ensure you photograph all necessary views systematically. Employing proper framing techniques ensures that each shot accurately represents the artwork without distortions or unwanted background. Consistent lighting conditions are crucial to prevent discrepancies between images. Here’s a quick reference:
| Shot Type | Purpose |
|---|---|
| Full front view | Overall condition and display context |
| Back view | Structural integrity and labels |
| Side angles | Depth, texture, and framing details |
| Close-up details | Surface condition and imperfections |
| Environmental shot | Surroundings and placement |
Close-Up Detail Photos
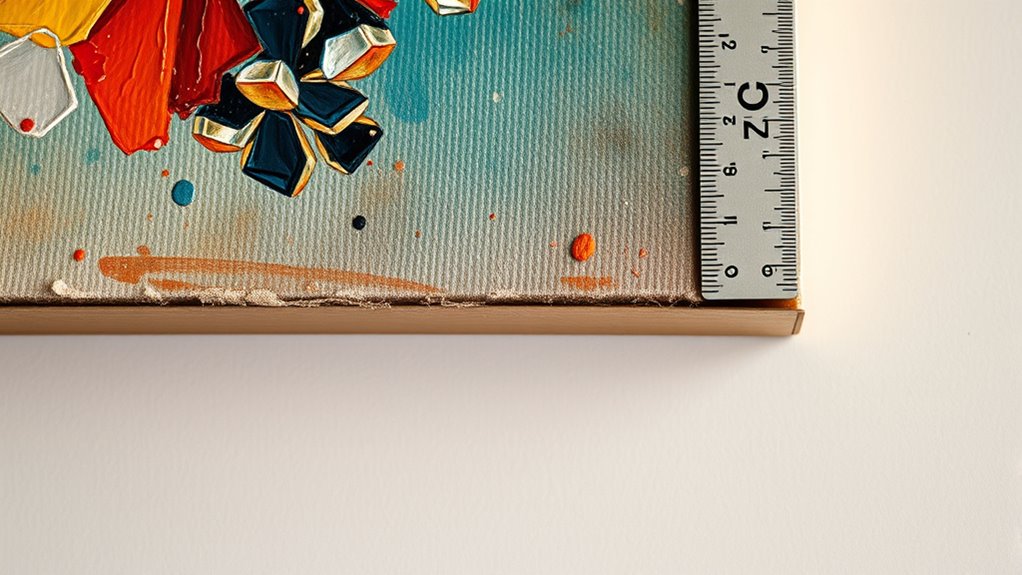
Focusing on close-up detail photos is essential for thoroughly documenting your artwork’s surface and condition. These shots capture texture detail that reveals the material quality and craftsmanship, which are critical for insurance and provenance records. Surface close ups highlight any existing cracks, scratches,, or restorations, providing a clear record of the piece’s current state. Use a macro lens to get sharp, detailed images that showcase brushstrokes, engraving marks, or surface imperfections. Accurate lighting is vital; avoid shadows or glare that can obscure details. These images serve as evidence of the artwork’s condition over time, helping to verify authenticity and assess damage if necessary. Paying attention to surface condition is crucial for maintaining an accurate record of the artwork’s integrity. Proper lighting techniques are essential to capture true colors and surface textures accurately. Ensuring consistent image resolution helps in creating a detailed and reliable visual record. Incorporating imaging standards ensures your photographs meet professional documentation requirements. Additionally, understanding documentation best practices can improve the accuracy and usefulness of your records. Prioritize capturing these details with precision to create a comprehensive visual record.
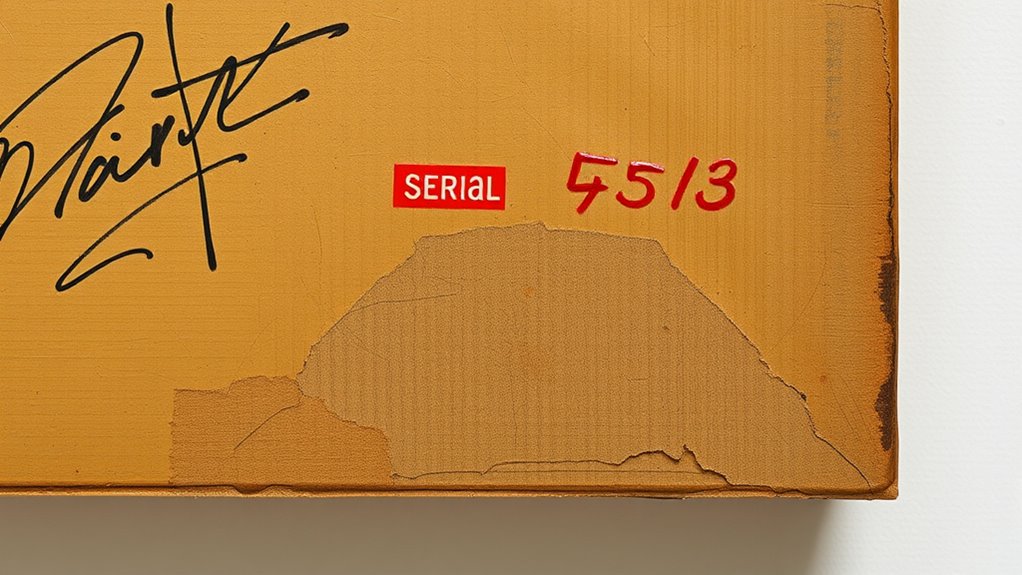
Unique Identifiers and Signatures
After documenting the surface details, it’s important to clearly record the artwork’s unique identifiers and signatures. Take close-up photos of any signatures, stamps, or inscriptions, ensuring they’re sharp and well-lit for signature authentication. Accurate documentation of these elements is crucial for future reference and legal validation. Capture all unique markings, such as inventory numbers, gallery stamps, or provenance labels, from multiple angles. These details can be *vital* for verifying authenticity and establishing provenance. Use consistent lighting to avoid shadows or glare that could obscure signatures or markings. High-resolution images allow for detailed examination later. Proper lighting techniques help ensure that signatures and markings are clearly visible and free from reflections or shadows. Documenting these elements precisely helps in case of insurance claims or provenance verification. Remember, clear images of signatures and unique identifiers provide undeniable proof of the artwork’s origin, authenticity, and ownership history. Proper documentation is essential for safeguarding the artwork’s value.
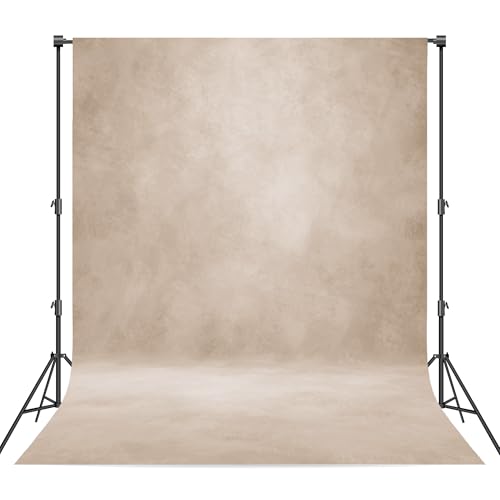
Haboke Abstract Professional Photography Backdrop for Portrait Photo Props Booth Background Photoshoot Studio with Polyester Fabric Roller Pocket on Top (8x10ft, Beige,No Stand)
[Color Introduction]: Color appearance can vary under different lighting conditions,which is a well-documented phenomenon;similarly,the colors you perceive may…
As an affiliate, we earn on qualifying purchases.
As an affiliate, we earn on qualifying purchases.
How Can You Capture Your Artwork Step-by-Step?
To guarantee your artwork is accurately documented for insurance purposes, start by preparing a clean, well-lit space. Confirm your lighting is even to avoid shadows and reflections that could obscure details. Use a neutral background that won’t distract from the piece.
Begin by capturing a full-frame shot of the artwork, keeping the camera parallel to the surface to prevent distortion. Include close-up images of signatures, labels, and any unique identifiers for art conservation and provenance. Take multiple shots from different angles if needed.
Use a tripod for stability and consistent framing. Capture high-resolution images to preserve detail for digital archiving. Employ proper lighting techniques to ensure your photos are clear and true-to-life. Additionally, consider camera settings such as aperture and ISO to optimize image quality. Follow this step-by-step process to create a comprehensive visual record that supports future insurance claims and art history documentation.
How Should You Organize and Label Your Photos?
Once you’ve captured detailed photos of your artwork, organizing and labeling them properly guarantees they’re easy to find and understand later. Use consistent file naming conventions that include key details like artist, title, date, and location—this simplifies digital archiving. Incorporate descriptive essential oil benefits into your documentation process to enhance your understanding of each item’s significance and condition. For example, name files “Artist_Title_Year.jpg,” so each image is instantly identifiable. Create folders for different categories such as paintings, sculptures, or collections. Keep a master spreadsheet or document that links each photo to specific details about the artwork, including provenance and condition notes. Clear, descriptive labels reduce confusion and streamline insurance claims or provenance verification. Proper organization assures your digital archive remains reliable, accessible, and ready when you need to retrieve specific images quickly.
What Extra Tips Help Keep Your Records Complete?
Keeping your records complete requires more than just taking photos; it involves regularly updating and verifying your documentation. Use reliable storage solutions, such as external drives or cloud services, to keep your digital backups safe and accessible. Incorporating organized digital folders helps prevent missing or misplaced photos. Additionally, keep physical copies of appraisals, receipts, and provenance documents in a secure location. Regularly updating your records guarantees you have thorough, accurate documentation in case of insurance claims or provenance verification. Incorporating digital backup strategies ensures your files remain protected against data loss. Employing consistent review routines helps identify outdated or missing information, maintaining the integrity of your records. Combining thoughtful organization with secure storage solutions and consistent backups keeps your records thorough and protected.
How Do You Ensure Your Artwork Photos Are Ready for Claims and Provenance?
Having well-organized and up-to-date photographs of your artwork is key to ensuring your records are ready for claims and provenance verification. Clear, detailed images support art conservation efforts by documenting the piece’s condition over time, which is essential if repairs or restoration are needed.
When preparing photos, capture the artwork as it appears in gallery display, reflecting its current state and presentation. Include shots that show the artwork’s edges, signatures, and any unique features or imperfections.
Keep digital files labeled with dates, titles, and relevant details for easy reference. Properly stored and consistently updated photos help substantiate ownership, provenance, and condition, streamlining insurance claims and enhancing the artwork’s credibility during verification processes.
Frequently Asked Questions
How Often Should I Update Photographs of My Artwork?
You should update photographs of your artwork yearly or after any art conservation work. Regular updates guarantee your digital archiving remains current, capturing any changes or damage.
This practice helps verify provenance and supports insurance claims. Keep high-resolution images, including detailed shots, to document condition over time.
Consistent documentation makes it easier to track your artwork’s history and maintain an accurate record for future reference.
What Lighting Conditions Produce the Best Images?
You should use controlled lighting or natural light to produce the best images of your artwork. Natural light, especially during the day, offers soft, even illumination that captures true colors.
If natural light isn’t available, opt for controlled lighting with diffusers and softboxes to avoid harsh shadows and glare. Consistent lighting conditions guarantee your photos accurately represent your artwork’s details, making them ideal for insurance and provenance documentation.
Can Smartphone Cameras Be Sufficient for Documentation?
Smartphone cameras can be sufficient for documentation, but you should be aware of their limitations, like lower resolution and less control over exposure.
If your smartphone offers advanced camera options, like manual focus or high-resolution settings, it can produce better results.
Use a steady hand, good lighting, and avoid digital zoom to enhance image quality.
For detailed or high-value artwork, consider using a dedicated camera for more precise documentation.
How Do I Handle Photographing Textured or Reflective Surfaces?
When photographing textured or reflective surfaces, you should use diffused lighting to minimize glare and highlight textural detail.
Position your light source at an angle rather than directly facing the surface, and use a polarizing filter if possible.
Adjust your camera’s angle slightly to reduce reflections, ensuring you capture the true appearance and intricate details of the artwork.
This approach helps create clear, accurate documentation for insurance and provenance.
What File Formats Are Best for Insurance and Provenance Records?
For digital archiving of artwork, use high-quality TIFF files to preserve detail and metadata for insurance and provenance records.
JPEGs are suitable for quick sharing but involve file compression, which can diminish quality.
Always save original images in TIFF format, and keep compressed versions like JPEGs for easy access and reference.
This approach ensures your records remain detailed, accurate, and reliable over time.
Conclusion
Taking clear, detailed photos of your artwork is essential for insurance and provenance. By preparing properly, capturing all necessary shots, and organizing your images carefully, you’ll be ready for any claims or authentication needs. Keep your records updated and stored securely. With these steps, you’ll verify your artwork is protected and easily verifiable, giving you peace of mind and confidence in your collection’s value. Proper documentation truly makes all the difference.