
If glass breaks on a frame, first wear gloves and safety goggles, then carefully remove the shards to prevent injury. Protect your artwork with a temporary cover or by removing it from the frame if possible. Clean up all debris thoroughly, and measure the frame to replace the glass safely—consider using acrylic or tempered glass for added safety. For best results and to preserve your art, professional repair tips are available if you continue exploring further.
Key Takeaways
- Safely remove broken glass using gloves and tools, minimizing contact with shards to prevent further damage.
- Carefully cover or protect the artwork with a temporary barrier or plastic sheeting to prevent dust and debris from settling.
- Assess if the artwork can be safely removed from the frame for inspection or professional repair.
- Replace the broken glass with appropriate, UV-protected glass or acrylic, ensuring a secure fit without applying pressure.
- Consider consulting a professional conservator for delicate repairs or if the artwork shows signs of damage.
Acrylic Glass Shatterproof 99% UV Protected Conservation Clear OP3 Premium Framing Grade Display For Picture Frame (8 x 10)
Lightweight: Features a lightweight design that makes handling and installation easier compared to traditional glass
As an affiliate, we earn on qualifying purchases.
As an affiliate, we earn on qualifying purchases.
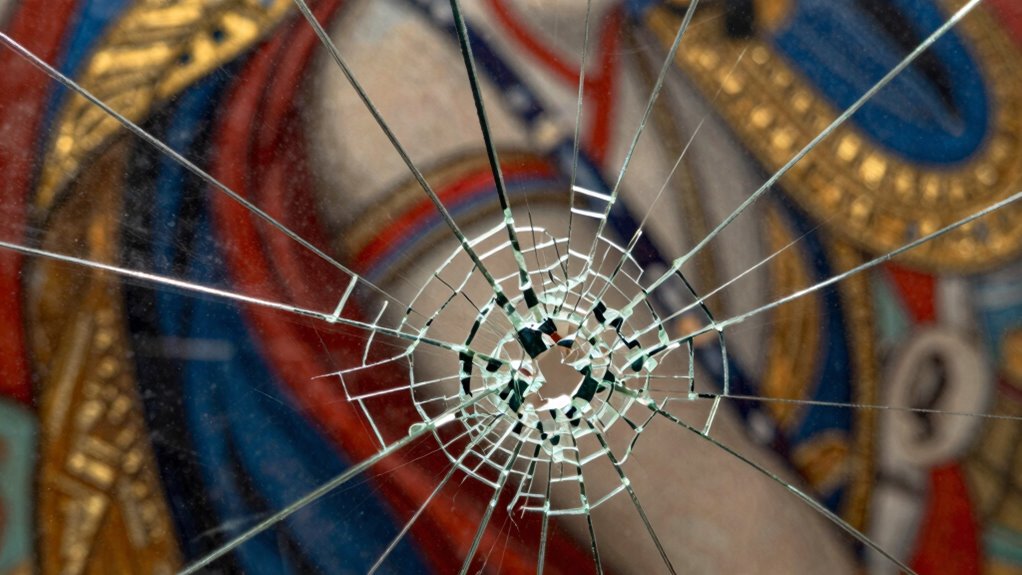
Check Damage and Safety First
Before handling the broken glass, you need to assess the damage and guarantee your safety. Carefully examine the frame to determine how much glass shattered and if any shards pose a risk. Handling broken glass improperly can lead to cuts or injuries, so prioritize your safety first. Be sure to identify any ventilation considerations that might affect debris dispersal or safety measures. Make sure to wear gloves if possible, and approach the situation calmly. Check the area for loose or jagged pieces that could cause harm. Additionally, understanding home safety protocols can help you stay protected during cleanup. Recognizing air quality impacts is essential when dealing with glass debris, especially in enclosed spaces. Proper assessment and awareness of hazard identification are crucial in preventing accidents. Employing proper cleanup techniques ensures that you remove debris safely without risking damage to the artwork inside. Remember, your goal is artwork preservation, so avoid rushing or applying pressure that might damage the artwork inside. Take your time to identify all hazards before proceeding with cleanup. Staying cautious ensures you protect yourself while preventing further damage to the artwork. Proper assessment sets the foundation for a safe and effective repair process.

Egofine 8×10 Heat-Strengthened Glass Replacement for Picture Frame (Crystal Clear, 2 Pack), Replacement Glass for 8 by 10 Photo Frame
Perfect Replacement: Perfect replacement glass fits 8 by 10 inch photo frames to easily replace broken,scratched, yellowed or…
As an affiliate, we earn on qualifying purchases.
As an affiliate, we earn on qualifying purchases.
Gather Your Safety Gear
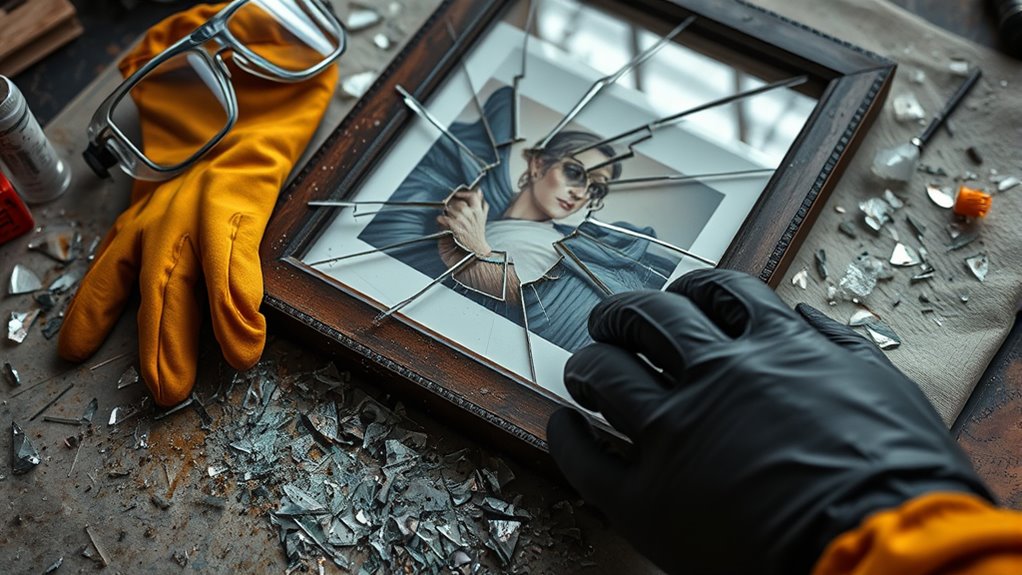
Once you’ve assessed the damage and identified any hazards, it’s time to gather your safety gear. Put on sturdy safety gloves to protect your hands from sharp edges and broken glass shards. Proper handling techniques can help prevent further damage to the artwork during the repair process. Free Floating elements can sometimes be incorporated into the repair process to help stabilize the artwork during handling. Eye protection, like safety goggles or glasses, is essential to shield your eyes from flying fragments or dust. Make sure your gear fits well and stays in place as you work. Wearing gloves and eye protection keeps you safe from cuts and potential eye injuries, reducing the risk of accidents while handling broken glass. Additionally, being aware of toilet maintenance and common issues can help you identify if the damage might have been caused by plumbing problems, which could affect your repair process. Understanding water safety practices is also important to ensure a secure environment during the repair. Using the right safety equipment ensures you can focus on saving your art without worrying about injuries. Don’t rush—taking this extra step *guarantees* you can focus on saving your art without worrying about injuries. Once equipped, you’re ready to carefully proceed with the removal process, confident that you’re protected.

Tru Vue Optium Museum Grade Acrylic Glass Cover For Picture Framing, Anti-Glare 99% UV Blocking Conservation Grade Anti-Abrasion (8 x 10)
CRYSTAL CLEAR ANTI-REFLECTIVE ACRYLIC Virtually eliminates reflections for a true-to-life viewing experience. This anti reflective acrylic delivers museum-quality…
As an affiliate, we earn on qualifying purchases.
As an affiliate, we earn on qualifying purchases.
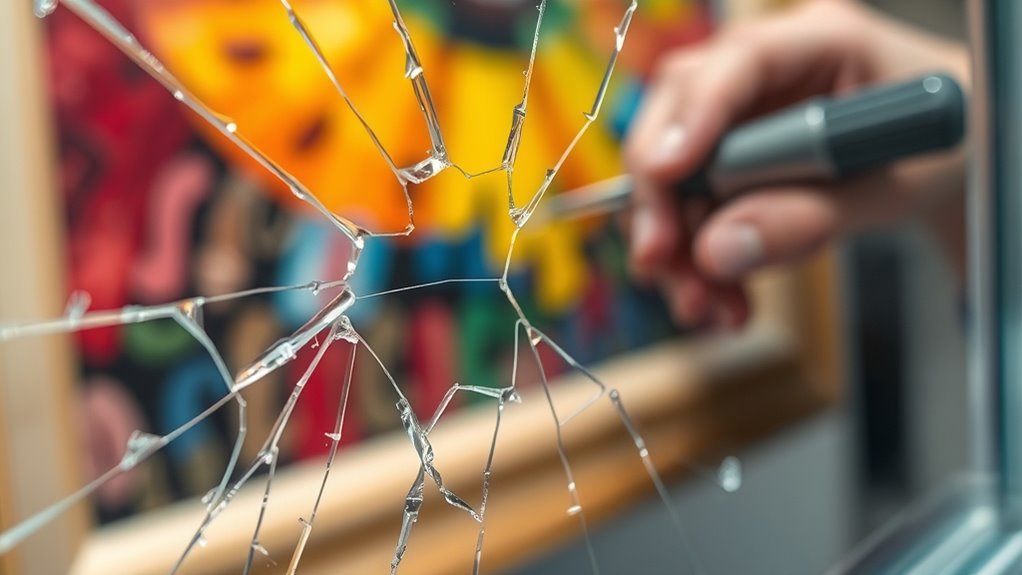
Carefully Remove Broken Glass
Carefully removing broken glass requires steady hands and deliberate movements to prevent further damage or injury. First, handle sharp edges with care, as they can easily cut you. Always wear protective gear, such as gloves and safety glasses, to shield yourself from glass shards. Using tools like tweezers or pliers can help, but be cautious not to apply too much pressure, which might cause the glass to shatter further. Take your time, ensuring each piece is loosened without forcing it. Keep your workspace clean and organized to prevent accidental contact with remaining shards. Incorporating smart safety features, such as voice alerts or automated lighting, can also help create a safer environment during cleanup. Additionally, understanding glass fracture patterns can guide you in identifying the safest removal techniques. Recognizing common hazards associated with broken glass can further enhance your safety precautions. Being aware of home safety standards related to glass handling can also reduce risks during this process. Remember, patience and proper handling are key to safely removing broken glass without damaging the artwork inside. According to professional restoration experts, using a gentle, methodical approach minimizes the risk of damaging the frame or the art.

Acrylic Glass Shatterproof 90% UV Protected Premium Framing Grade Display For Picture Frame (10 x 10)
Lightweight: Easy to handle and install acrylic glass that weighs significantly less than traditional glass
As an affiliate, we earn on qualifying purchases.
As an affiliate, we earn on qualifying purchases.
Clean Up and Dispose of Glass Safely
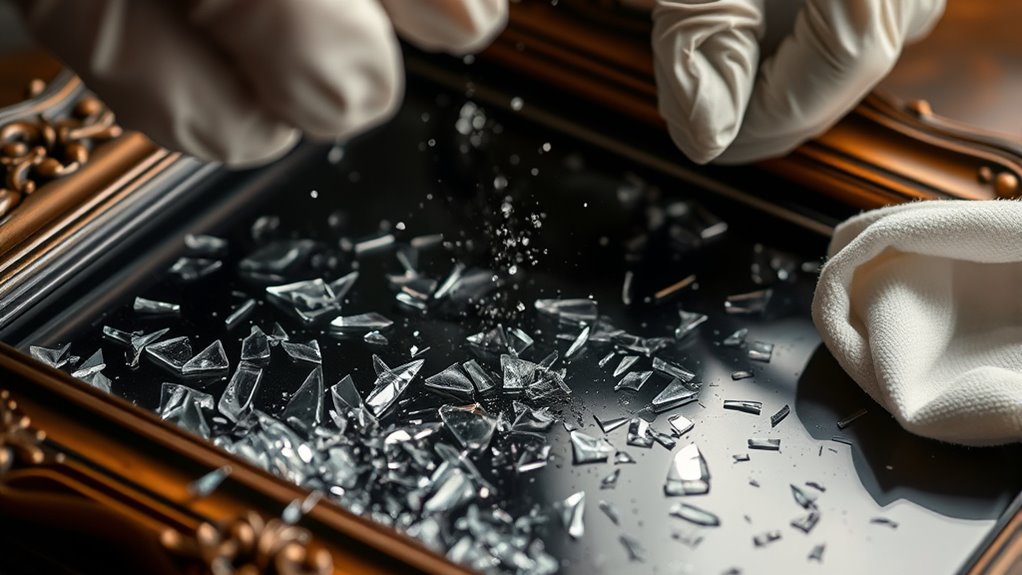
After removing the larger pieces of broken glass, your next step is to clean up the remaining shards and debris thoroughly. Handling broken glass can be dangerous, so wear gloves and use a broom and dustpan to sweep up as much as possible. Be careful to collect all tiny shards, which may be hard to see but can cause injury later. When disposing of shards, wrap them securely in thick paper or cloth, then place them in a sturdy trash bag to prevent tearing. Avoid sharp-edged fragments spilling out. Vacuum the area afterward to pick up tiny splinters that might be missed. Proper handling and disposal of shards help keep you safe and prevent injuries or damage during cleanup. Conducting a thorough cleanup also minimizes the risk of injury from tiny shards, and understanding the parts of plant materials used in herbal remedies can inspire safer practices in handling natural substances. Additionally, being aware of mental wellbeing factors can support a calm and focused approach during stressful cleanup situations. Incorporating proper disposal techniques can also prevent damage to property and reduce the risk of injuries to pets or children.
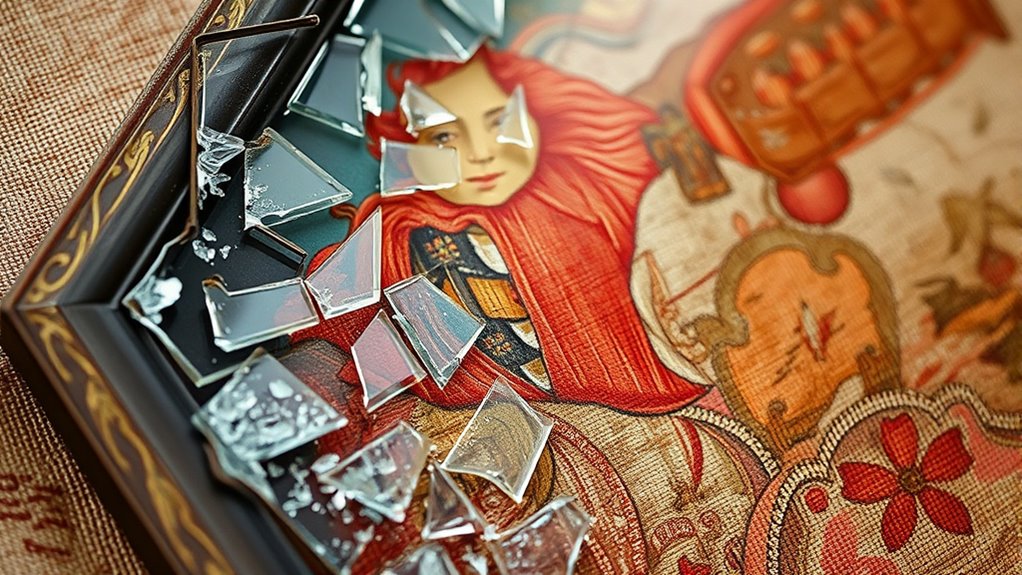
Inspect the Artwork for Damage
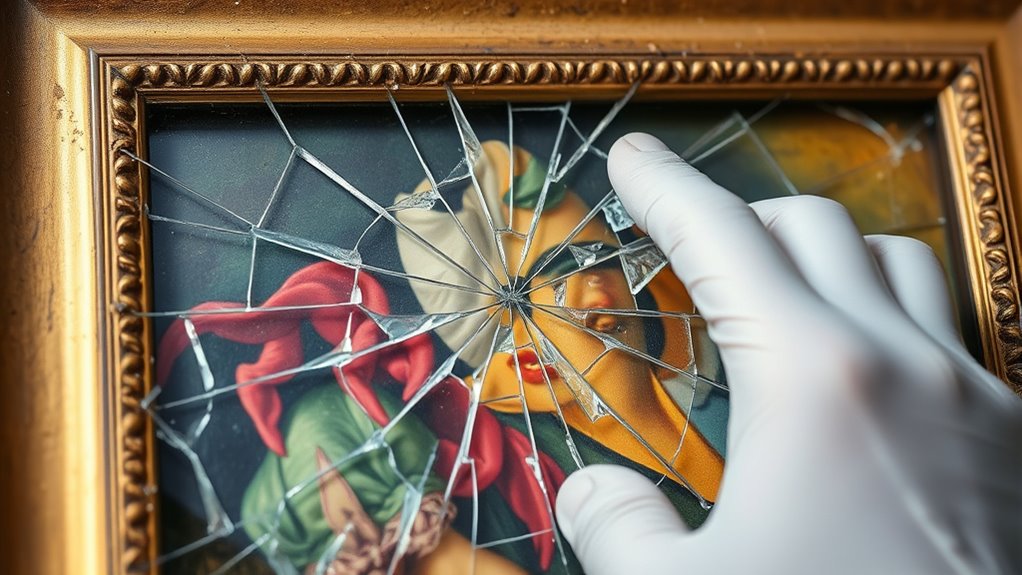
Inspecting the artwork for damage is a crucial step to determine the extent of the glass breakage. You’ll want to carefully examine the piece for any tears, scratches, or loosened parts. This initial assessment can help identify whether the artwork itself is affected or if only the glass was compromised. Use gentle lighting and avoid touching the surface directly. Here’s a quick guide to frame your inspection:
| Damage Type | Possible Cause | Recommended Action |
|---|---|---|
| Small scratches | Sharp glass edges | Handle with care, document |
| Tears or rips | Force during breakage | Consult art conservation expert |
| Loosened backing | Improper framing techniques | Reinforce with proper framing |
| Discoloration | Exposure to elements | Seek professional cleaning |
| Missing pieces | Breakage or impact | Repair with matching materials |
Additionally, understanding art conservation techniques can help guide proper repair and preservation steps. These methods often involve specialized restoration procedures that preserve the artwork’s original integrity while repairing damages. Familiarity with proper storage conditions is also beneficial to prevent future deterioration. Recognizing how environmental factors influence artwork preservation can further aid in maintaining the art’s longevity.
Protect Your Artwork During Repairs
To protect your artwork during repairs, start by removing any loose glass or debris carefully to prevent further damage. Once cleared, consider applying a protective film over the artwork if it’s exposed, which helps shield it from dust and accidental scratches. Using at-home beauty technology tools like microcurrent devices or LED masks can also help gently clean or maintain the surface of your artwork without harsh abrasives. If possible, temporarily place the piece in a secure display case to minimize handling and exposure to environmental hazards. Using display cases not only keeps dust, dirt, and physical contact away but also provides a controlled environment, reducing the risk of additional harm. Additionally, utilizing smart storage solutions ensures the artwork remains in optimal conditions during repairs. Handling everything gently and avoid direct contact with the artwork’s surface. Incorporating digital literacy practices can also help monitor and document the condition of your artwork over time. These precautions ensure your art stays safe throughout the repair process and minimizes the chance of accidental damage.
Replace the Broken Glass With Safer Material
When replacing broken glass, you need to select a safer material that fits your frame precisely.
Make sure to measure carefully and choose the right type of glass for your needs, like tempered or acrylic.
Using the proper tools guarantees a secure, professional installation that keeps your artwork safe.
Choose Appropriate Glass Type
Choosing the right glass type is essential to guarantee safety and durability when replacing broken glass. Consider glass with UV protection to guard your artwork against harmful rays that can cause fading over time.
An anti-reflective coating helps reduce glare, making the art easier to view from different angles and improving overall clarity.
Safety glass options like tempered or acrylic can provide extra protection, minimizing injury if broken again.
Think about the environment where the piece is displayed—if it’s in a bright or sunlit area, UV protection becomes even more critical.
Additionally, select a glass type that complements the artwork’s framing and ensures long-term preservation.
Properly choosing your glass helps safeguard your art and enhances its appearance for years to come.
Measure for Precise Fit
Before replacing the broken glass, you need to measure the opening accurately to guarantee a perfect fit. Use precise measuring techniques, such as using a ruler or tape measure, and record the width, height, and thickness.
Be sure to measure at multiple points—top, middle, and bottom—to account for any irregularities in the frame. Write down your measurements carefully, as this ensures you can find a replacement that fits snugly.
Custom fitting is essential for safety and aesthetics; a slightly oversized or undersized piece can cause problems later. Double-check your measurements before purchasing the new material.
Taking your time with accurate measurements ensures the new glass or safer alternative will sit securely, preventing future damage or accidents.
Use Proper Installation Tools
Using the right installation tools is essential to make certain your new glass or safer alternative fits securely and stays in place. Proper tools ensure a smooth, safe installation process, minimizing the risk of accidents or damage.
Use a level, putty knife, gloves, and safety glasses for installation safety. These tools help you handle the glass carefully and position it accurately within the frame.
Avoid improvising with unsuitable tools, as this can cause mishaps or compromise the seal. Proper tools also reduce the chance of injury from broken glass or sharp edges.
Take your time, follow manufacturer instructions, and double-check measurements to ensure a secure fit. Prioritizing proper tools during installation guarantees safety and a professional-looking result that protects your art.
Hire Professionals for Restoration or Framing
When your glass frame is damaged, hiring professionals guarantees the restoration or framing work is done safely and correctly. A professional consultation ensures that your artwork receives expert care, minimizing the risk of further damage.
Skilled restorers understand the nuances of artistic preservation and can handle delicate repairs with precision. They’ve access to specialized tools and high-quality materials, guaranteeing the integrity of both the frame and the art inside.
Skilled restorers expertly handle delicate repairs with specialized tools and high-quality materials, ensuring the integrity of your artwork and its frame.
Attempting DIY repairs might seem tempting, but mistakes can lead to costly damages or permanent loss. By entrusting your piece to experienced professionals, you’re safeguarding its value and beauty.
Their expertise ensures that the restoration process respects the original intent of your artwork, providing peace of mind and a beautifully preserved piece for years to come.
Tips to Prevent Glass Breakage in the Future
To prevent glass breakage in your frames, you should handle and install them carefully, paying attention to placement and environment. Proper handling reduces the risk of accidental damage and supports frame preservation. Always use gentle movements when installing or moving frames, and avoid sudden impacts or drops.
Position frames away from high-traffic areas, windows, or places prone to vibrations. Implement safety precautions like using protective gloves and securing glass with appropriate framing materials. Regularly inspect your frames for signs of wear or stress that could lead to breakage.
Maintaining a stable environment with consistent temperature and humidity also helps prevent glass from becoming fragile. Taking these steps ensures your artwork stays protected, reducing the chances of future damage and prolonging the life of your framed pieces.
Frequently Asked Questions
How Can I Tell if the Artwork Itself Is Damaged?
You can tell if the artwork is damaged by carefully inspecting for discoloration, which might indicate water or chemical harm, and surface scratches that can affect the surface texture. Look closely under good lighting.
Gently feel the surface for roughness or bumps. If you notice changes in colors or feel scratches, the artwork may be compromised.
Handling it delicately helps prevent further damage while evaluating its condition.
What Types of Glass Are Safest for Framing?
You should choose UV protective glass or Plexiglas alternatives for safer framing. UV protective glass blocks harmful rays that can fade your artwork over time.
Plexiglas alternatives are shatter-resistant, reducing breakage risks. Both options provide added safety and preservation.
Opt for these materials to protect your art and minimize accidents, especially if you have children or pets around. They’re a smart choice for safeguarding your cherished pieces.
Are There Specific Tools Recommended for Removing Broken Glass?
You should use protective gloves to prevent cuts and suction cup tools to carefully lift and remove the broken glass. These tools help you handle shards safely and reduce the risk of injury.
Make sure to work slowly and steadily, pressing the suction cups firmly on the glass to lift it out without causing further damage.
Always dispose of broken glass properly and keep your workspace clear.
How Long Should I Wait Before Handling the Artwork After Glass Breakage?
You should wait at least 24 hours before handling the artwork after glass breakage. This waiting period allows any residual glass shards or dust to settle and makes handling safer.
During this time, follow handling precautions like wearing gloves and carefully cleaning the area.
Rushing to handle the art too soon can risk further damage or injury, so patience guarantees both safety and the preservation of your artwork.
Can I Repair a Frame With a Cracked Glass Myself?
Yes, you can attempt DIY repairs for a cracked glass frame if you’re comfortable handling fragile materials. Carefully remove the broken glass, clean the frame, and measure accurately for a replacement.
However, if you’re unsure or the damage is extensive, it’s better to opt for professional replacement. This ensures your artwork stays safe and the frame remains secure, preventing further damage or injury.
Conclusion
If your glass breaks on a frame, act quickly to protect your artwork and prevent injuries. Carefully remove broken pieces, clean up thoroughly, and inspect the art for damage. Consider replacing the glass with a safer material and seek professional help if needed. Taking these steps helps preserve your artwork and keeps your space safe. With a little care and prevention, you can avoid future accidents and keep your art looking its best.