
Woodcut and linocut are relief printing methods where you carve a design into a surface, then apply ink and press it onto paper. Woodcut uses natural wood with visible grain, creating textured images, while linocut uses smooth linoleum for crisper lines. Both require sharp tools, careful carving, and proper inking. If you continue exploring, you’ll discover how to master these techniques and produce stunning prints with confidence.
Key Takeaways
- Understand that both woodcut and linocut are relief printing techniques involving carving away unneeded areas to create a raised design.
- Use sharp, proper tools and maintain safety to achieve clean, detailed cuts and avoid accidents.
- Apply even ink with a brayer and press onto smooth, suitable paper for crisp, professional prints.
- Choose the material (wood or linoleum) based on desired texture, detail, and aesthetic; wood offers rustic effects, linoleum provides sharp lines.
- Practice and experiment with design, materials, and techniques to develop confidence and create effective relief prints without confusion.

FLEXCUT Carving Tools, Micro Palm Craving Set, Set of 4 (FR804)
Ideal for miniature and fine detail work
As an affiliate, we earn on qualifying purchases.
As an affiliate, we earn on qualifying purchases.
Understanding Woodcut and Linocut Techniques

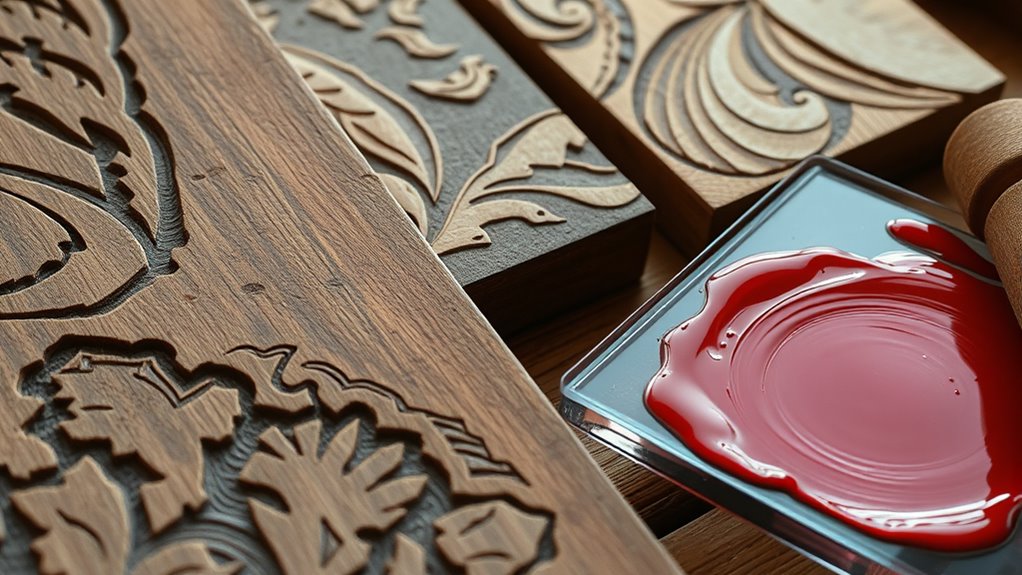
Woodcut and linocut are popular relief printing techniques that involve carving designs into a surface to create bold, striking images. Understanding their history context helps you appreciate their roots in early printmaking, dating back to ancient China and Europe. These methods gained artistic significance during the Renaissance and the 20th century, as artists used them to produce powerful, accessible artwork. The process emphasizes simplicity and directness, allowing you to translate ideas into impactful visuals. Both techniques rely on carving away unneeded areas, leaving the raised design to be inked and pressed onto paper. Recognizing this background enhances your appreciation of their enduring appeal and artistic value today. Additionally, understanding power consumption insights can help artists and enthusiasts consider the energy implications of their printmaking setups. Since modern advancements have introduced new tools and materials, exploring innovative carving techniques can further expand creative possibilities and efficiency. Being aware of energy-efficient tools can also contribute to more sustainable studio practices and reduce overall power usage. Moreover, considering sustainable materials can help minimize environmental impact during the creative process.

Speedball Soft Rubber Brayer, 2.5-Inch – Roller for Printmaking, Gel & Block Printing and Crafting – Made in USA
TRUSTED BY ARTISTS FOR DECADES – Speedball's 2.5-inch soft rubber brayer roller lays down an even, rich film…
As an affiliate, we earn on qualifying purchases.
As an affiliate, we earn on qualifying purchases.
Tools and Materials Needed for Relief Printing
To get started with relief printing, you’ll need the right tools for carving and materials for transferring ink. Sharp carving tools help you shape your design accurately, while printing materials like ink and paper bring your artwork to life. Having these essentials on hand makes your printing process smoother and more enjoyable. Using high-quality printing materials can also improve the clarity and durability of your prints. Additionally, understanding the at-home printing technology involved can help you achieve more professional results.
Tools for Carving
Equipped with the right tools, you can carve your relief printing blocks with precision and ease. Sharp carving tools, such as gouges and knives, are essential for detailed work, whether you’re creating mountain landscapes or modern abstract designs. For intricate lines and smooth curves, choose fine-tipped gouges, while broader tools help remove larger areas efficiently. A sturdy, flat surface provides stability during carving. You’ll also need a bench hook or carving glove for safety. Keep your tools sharp to achieve clean cuts and prevent slips. The right tools allow you to bring your creative vision to life, whether capturing rugged mountain terrains or sleek, modern shapes. Mastering your carving tools is key to producing professional-looking relief prints with confidence. Proper technique in handling carving tools can significantly improve your results and safety during the process. Additionally, understanding tool maintenance ensures your carving tools stay in top condition, prolonging their effectiveness and safety. Maintaining a regular sharpening schedule helps keep your tools in optimal condition for precise carving. Using appropriate safety gear can further help prevent accidents and injuries during your carving sessions. Developing good tool care habits can extend the lifespan of your carving tools and maintain their performance over time.
Materials for Printing
What tools and materials do you need to bring your relief printing projects to life? For block printing, you’ll need a sturdy block such as linoleum or wood. Use carving tools suited for your material to shape your design with precise carving techniques. A thorough understanding of relief printing techniques can help you achieve better results in your projects. Ink is essential—choose a thick, printmaking ink compatible with your surface. A brayer helps spread the ink evenly across your block. You’ll also need printing paper or fabric to transfer your design. A clean, flat surface ensures proper pressure during printing. Additionally, a baren or barren roller can help apply even pressure for clean impressions. Proper reconditioning techniques can also extend the lifespan of your tools and materials, ensuring consistent quality in your prints. Maintaining your carving tools through proper tool sharpening will keep your cuts precise and clean. Using appropriate papers and fabrics can greatly influence the quality and durability of your prints. Selecting the right ink consistency is key to achieving vibrant, crisp images in your prints. Having these materials ready will make your relief printing process smooth, allowing you to focus on creating detailed, expressive prints with confidence.
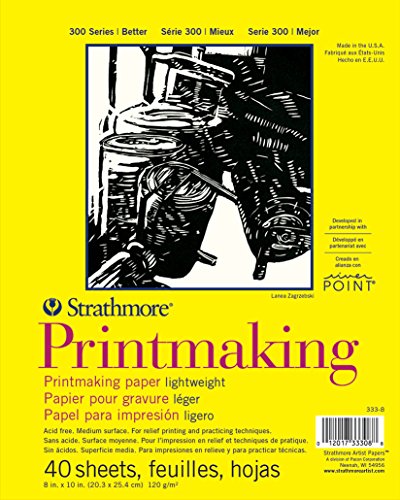
Strathmore 300 Series Printmaking Paper Pad, Glue Bound, 8×10 inches, 40 Sheets (120g) – Artist Paper for Adults and Students – Block Printing, Linocut, Screen Printing
Natural colored and lightweight printing paper
As an affiliate, we earn on qualifying purchases.
As an affiliate, we earn on qualifying purchases.
How Relief Printing Works: The Basics
You start by carving your design into the relief surface, creating raised areas for printing.
Next, you apply ink evenly over the raised parts, ensuring a clear transfer.
Finally, you press paper onto the inked surface to produce your print.
Relief surface is crucial because it determines the quality and detail of your print.
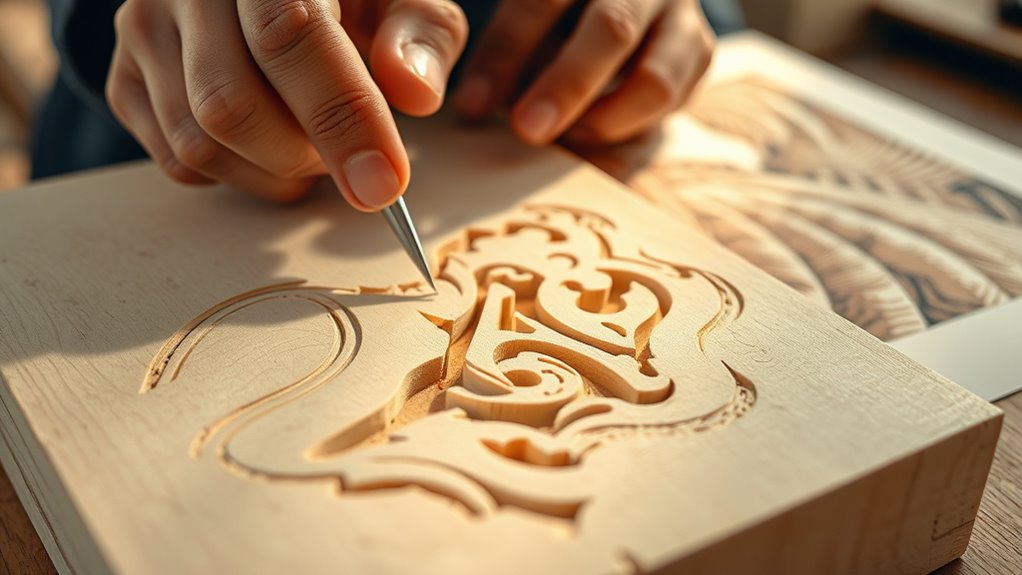
Carving the Design
Carving the design is an essential step in relief printing, where you remove the areas of the block that you want to stay white or unprinted. This process creates the relief surface that will hold ink and transfer the image onto paper. Your goal is to achieve strong color contrast by carefully carving away the background, leaving the design raised. Understanding the historical origins of relief printing helps you appreciate its simplicity and effectiveness. Early artisans used knives and gouges to carve detailed images into wood or linoleum, shaping their vision through precise removal. As you carve, keep in mind that clean, sharp cuts will produce sharper lines and clearer images. Consistent practice and attention to detail, similar to Wholesome Want techniques in visual presentation, can greatly improve your carving skills. This step is vital in ensuring your print has the desired visual impact and clarity.
Applying Ink Evenly
Once the design is carved into the block, the next step is to apply ink evenly across its surface. Use a brayer or roller to spread a thin layer of ink, ensuring smooth, consistent coverage. Proper ink application allows for clean, sharp prints and helps with color mixing, so experiment with blending different inks for unique shades. Keep in mind that the type of paper you choose can influence how the ink adheres and transfers, so select a surface that suits your project—thicker papers work well for bold, textured prints, while smoother paper offers finer detail. Applying ink evenly prevents blotches and uneven coloration, resulting in a polished final print. Take your time to achieve a uniform layer; this step is vital for a professional-looking relief print. Consistent ink application is essential for achieving crisp, clear images in relief printing.
Printing on Paper
Printing on paper is the essential step that transfers your carved design from the relief block onto a surface. To guarantee a clean print, consider ink compatibility; some inks work better with specific paper textures. Selecting the appropriate printing tools can also make a significant difference in the final outcome. Smooth papers like hot-pressed watercolor or plate paper allow for fine details, while textured papers such as rough or handmade add character but may require more ink and pressure. Before printing, test your ink and paper combination to prevent smudging or uneven coverage. Apply an even layer of ink to your block, then position it carefully onto the paper. Use consistent pressure, either with a baren or printing press, to transfer the image clearly. Choosing the right ink and paper textures helps achieve sharp, vibrant prints with minimal fuss. Additionally, understanding relief printing techniques can improve your overall results and workflow, especially when experimenting with different pressure methods. Being mindful of ink application can also help prevent common issues like bleeding or incomplete transfers, ensuring a more professional-looking print.

Speedball 3471 Super Value Block Printing Starter Kit – Includes Ink, Brayer, Lino Handle and Cutters, Speedy-Carve
PERFECT INTRO SET – The block printing starter kit has all the essentials to get you started in…
As an affiliate, we earn on qualifying purchases.
As an affiliate, we earn on qualifying purchases.
Step-by-Step Guide to Creating Your First Woodcut
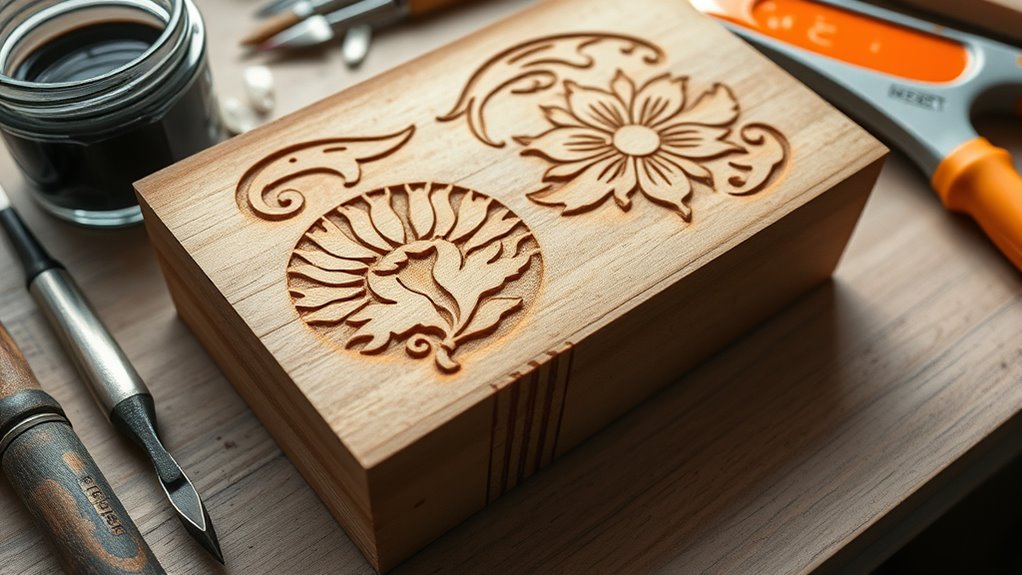
Creating your first woodcut begins with selecting a suitable design and transferring it onto a smooth block of wood. Focus on simple shapes and bold lines to make carving easier.
Start with a simple design on smooth wood, focusing on bold shapes for easy carving.
Once transferred, examine the woodgrain patterns, which can add texture and character to your print. Use sharp carving tools, and carve away the areas that will remain white or uninked, leaving the design raised.
Remember, the grain can influence how the ink holds, so carve with the wood’s natural lines in mind. When applying ink, experiment with color blending to achieve depth and variety in your print.
Don’t rush; take your time to refine details. With patience, your first woodcut will showcase striking contrasts and unique textures, making the process rewarding.
Step-by-Step Guide to Making Your First Linocut
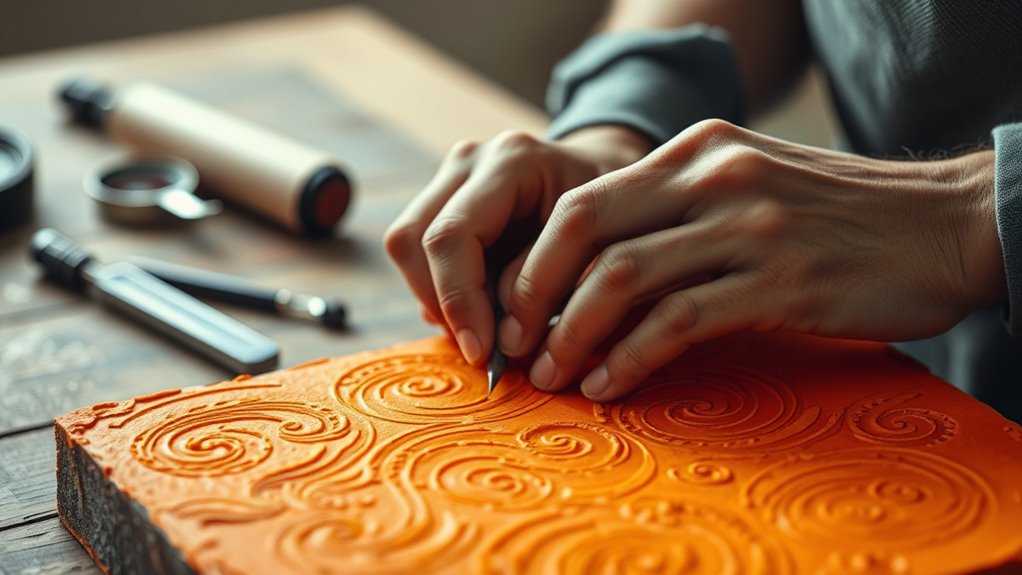
To make your first linocut, start by choosing a simple design that will translate well onto the smooth surface of a linoleum block. Keep your image bold and clear, as intricate details can be difficult to carve.
Use a pencil to sketch your design directly onto the linoleum, or transfer a printed image with transfer paper. Once your design is ready, carefully carve away the areas you want to remain unprinted, using linocut tools.
Remember, block printing relies on high contrast, so leave the parts you want to print raised. When carving is complete, roll ink evenly onto the surface with a brayer, then press your paper onto the inked block.
This process allows you to explore artistic expression through relief printing, creating unique, handmade prints.
Main Differences Between Woodcut and Linocut
You’ll notice that woodcut and linocut differ in material composition, affecting how they respond to carving.
Texture and detail are also distinct, with woodcut offering more natural grain and linocut providing smoother surfaces.
Carving is generally easier with linocut, making it a popular choice for beginners.
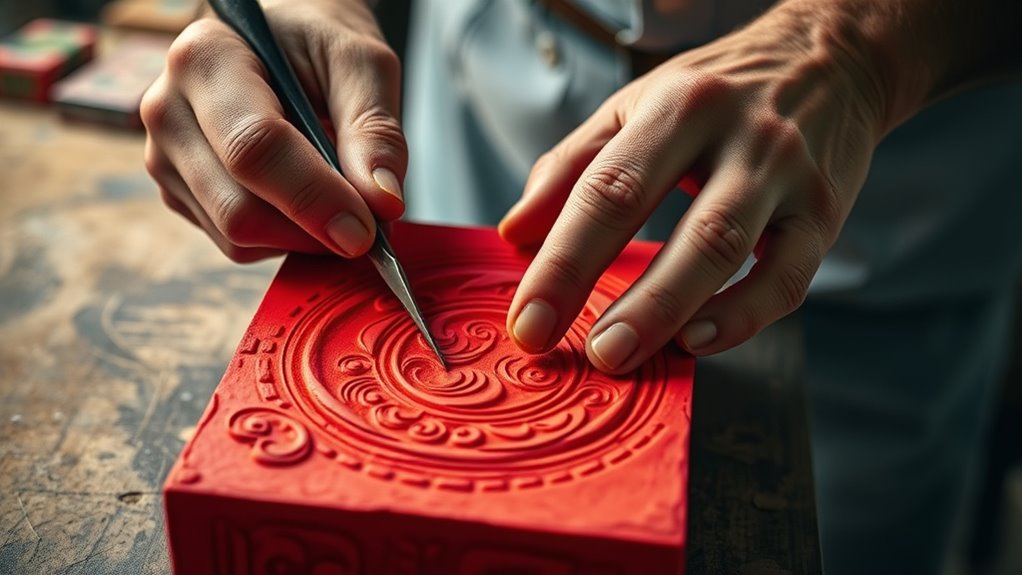
Material Composition Variations
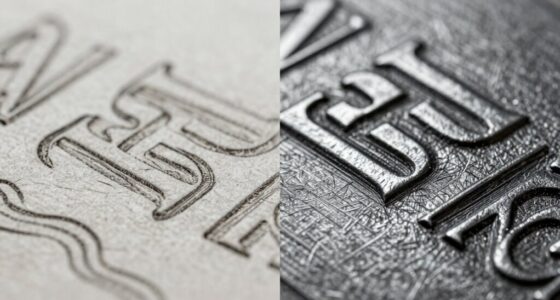
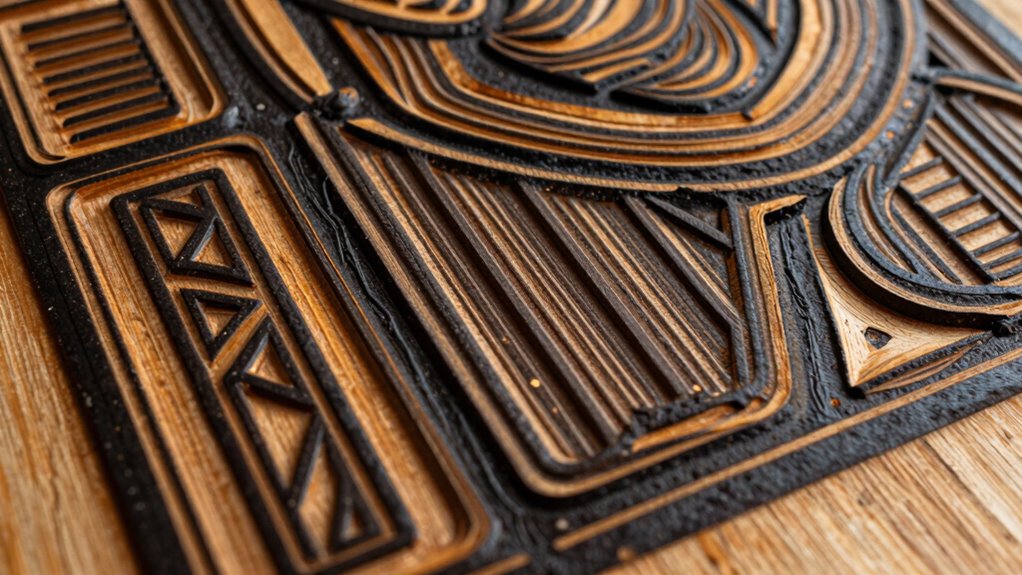
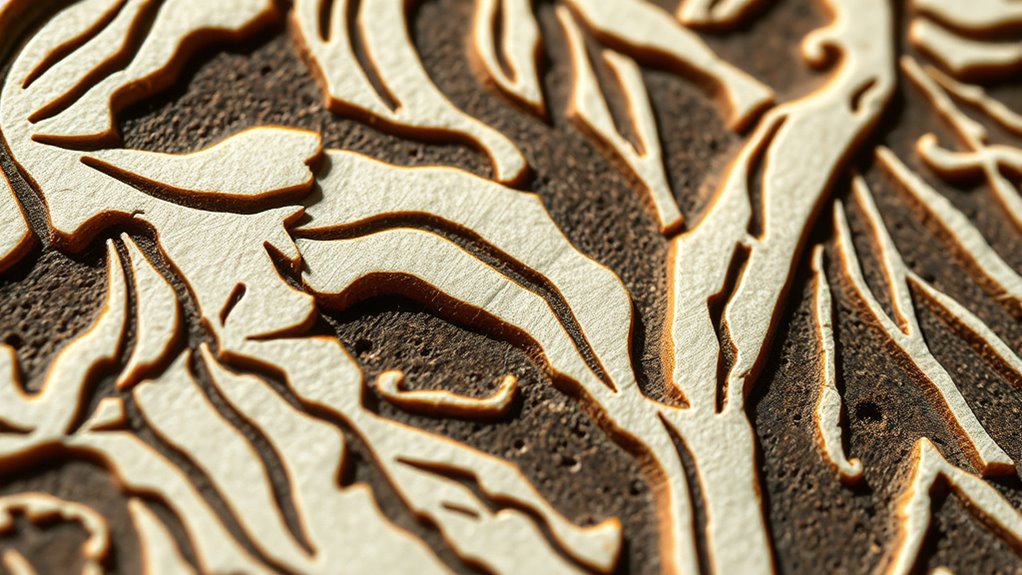
While both woodcut and linocut are relief printing techniques, they differ markedly in their material compositions. Woodcut uses natural wood with distinct grain patterns that influence the carving process and the final print’s appearance. The grain can add texture and character, making each piece unique.
Linocut, on the other hand, is made from a smooth, uniform linoleum surface that lacks visible grain, resulting in cleaner, more consistent lines. The material’s composition also affects ink absorption; wood tends to absorb ink unevenly due to its porous nature, creating varied tonal effects.
Linoleum absorbs ink more evenly, which allows for sharper, more precise details. These differences in material composition impact both the printing process and the aesthetic qualities of your artwork.
Texture and Detail Differences
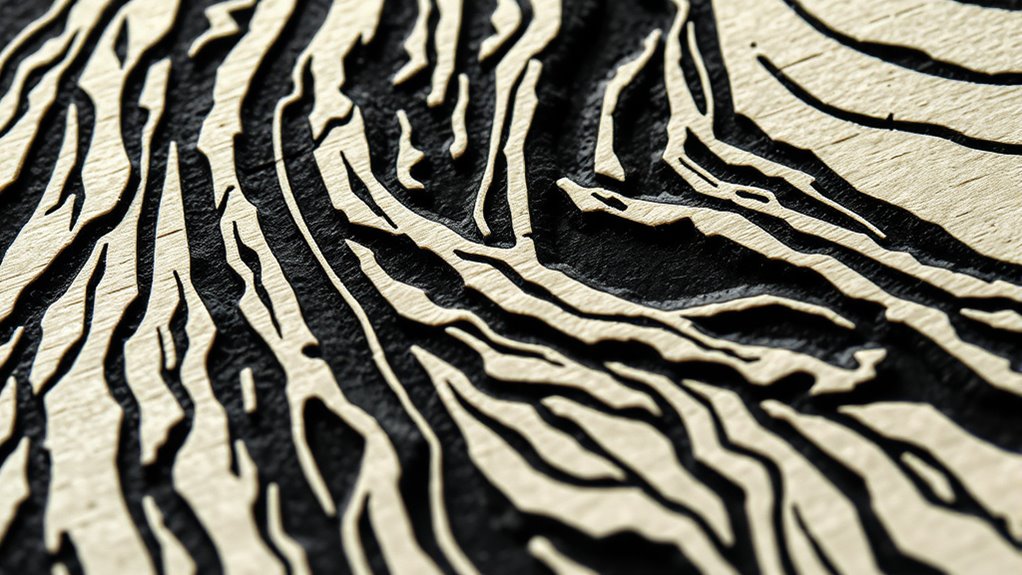
What sets woodcut and linocut apart most noticeably is their texture and level of detail. Woodcut surfaces display prominent grain patterns that add a natural, textured quality to your prints, making each impression unique. The grain’s direction influences ink absorption, resulting in varied shades and textures.
In contrast, linocut surfaces are smoother, with minimal grain, allowing for finer, more precise lines. Ink absorption on linoleum is consistent, producing cleaner and sharper details. This difference affects how you can carve and the visual outcome of your prints.
Woodcuts tend to have a more textured, rustic appearance due to their grain patterns, while linocuts offer sleek, crisp images thanks to their smooth surface. Your choice impacts the overall texture and detail in your final artwork.
Ease of Carving
Compared to linocut, woodcut carving is generally more challenging because of its tougher, denser surface. The grain patterns in wood can vary markedly, affecting how easily you carve and how clean your lines are. You’ll need to adjust your technique to follow the grain, which can slow down your work and require more effort.
Additionally, maintaining your tools is vital; dull blades make carving more difficult and increase the risk of mistakes. You may find that sharper tools glide more smoothly through wood, but they also need regular honing.
Linocut, with its softer, uniform surface, offers a more forgiving and quicker carving experience. Overall, woodcut demands patience, attention to grain patterns, and diligent tool maintenance to master the craft.
Carving Tips for Safety and Precision
Carving safely and accurately begins with choosing the right tools and setting up a stable workspace. Always wear safety gloves and keep your fingers clear of blades. Use sharp tools—dull blades increase slip risk and require more force. Regularly practice sharpening techniques to maintain blades’ effectiveness. Keep your work area well-lit and stable to prevent accidents. Follow these guidelines:
| Safety Precautions | Sharp Tools | Workspace Setup |
|---|---|---|
| Wear gloves | Sharpen regularly | Keep area clutter-free |
| Cut away from your body | Use a sharpening stone | Secure your carving block |
| Keep blades clean | Maintain blades sharpness | Ensure stable surface |
Choosing Ink and Paper for Your Prints
Choosing the right ink and paper is essential for achieving high-quality prints that meet your expectations. You need to contemplate ink compatibility with your carving surface and ensure it adheres well without smudging or bleeding.
Oil-based inks offer rich, durable colors, while water-based inks are easier to clean and suitable for beginners.
When selecting paper, pay attention to textures; smooth papers produce sharp, detailed images, whereas rougher textures add character and depth.
The weight and absorbency of the paper influence ink transfer and drying time.
Experimenting with different combinations helps you find what works best for your style and project.
Proper pairing of ink and paper ensures your prints come out vibrant, crisp, and true to your artistic vision.
Troubleshooting Common Relief Printing Problems
Even with careful selection of ink and paper, relief printing can still present challenges that affect your final results. Common issues like uneven ink coverage, blurry details, or unwanted ghosting often stem from technique or material inconsistencies.
Understanding printmaking history helps you appreciate how artists overcame such problems in the past, inspiring you to troubleshoot effectively. For example, inconsistent pressure can cause uneven prints, so adjusting your press or hand pressure can solve this.
Additionally, improper ink application may lead to smudging or incomplete details. Always check your carving for smoothness and cleanliness, as rough edges can transfer unwanted marks.
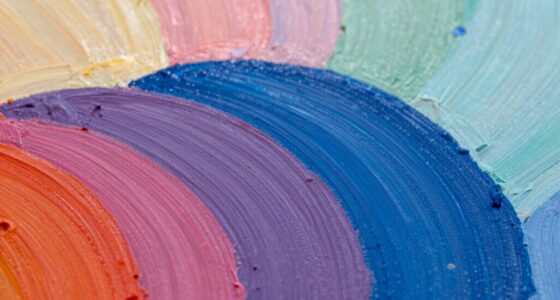
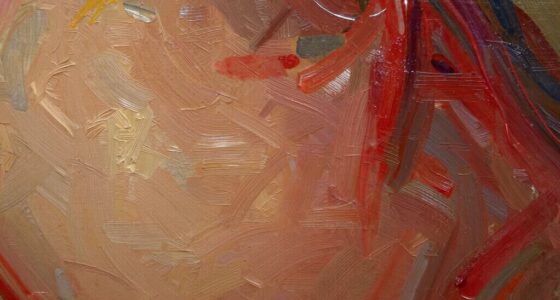
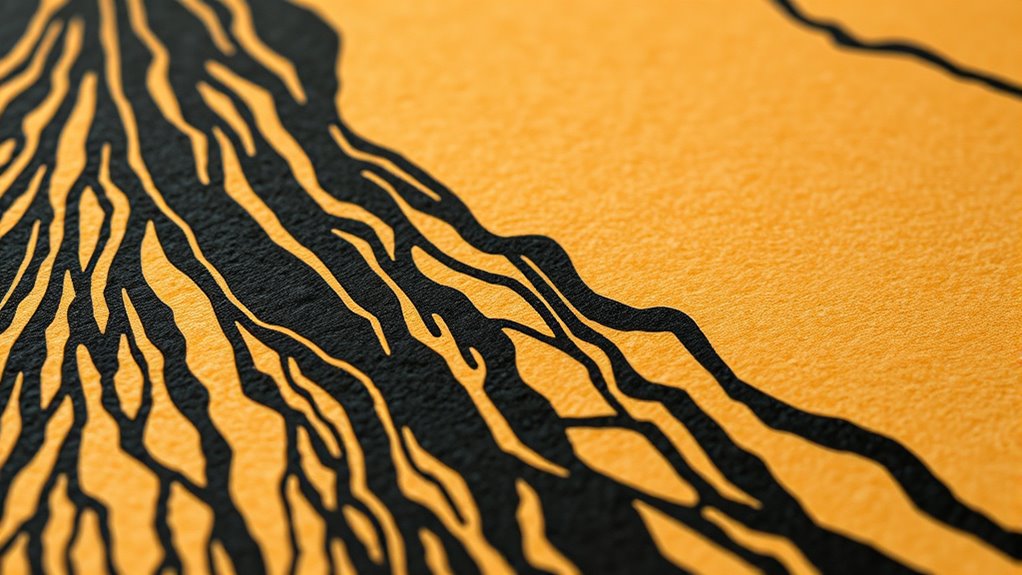
Showcasing Inspiring Woodcut and Linocut Artwork

In the world of relief printing, woodcut and linocut artworks serve as powerful examples of artistic expression and technical mastery. You can explore inspiring pieces that showcase these techniques’ versatility, from traditional designs to modern adaptations.
Digital tools now enable artists to experiment with intricate details or unique textures, pushing the boundaries of traditional relief art. Many artists incorporate digital editing to plan compositions or enhance their work before carving, making the process more accessible and precise.
Viewing these artworks, you’ll notice how innovative techniques and contemporary influences blend with classic methods. This fusion creates dynamic pieces that resonate across generations.
Showcasing such inspiring work highlights the creative potential of relief printing, encouraging you to experiment and develop your own distinctive style.
Frequently Asked Questions
Can I Combine Woodcut and Linocut in One Print?
Yes, you can combine woodcut and linocut in one print to create a mixed media piece.
By layering colors and textures, you enhance depth and visual interest. Use separate blocks for each material, then print them sequentially, blending inks or paints as needed.
This approach allows for unique color layering and dynamic contrasts, giving your artwork a rich, multifaceted look that showcases both techniques creatively.
What Are the Environmental Impacts of Relief Printing?
You can reduce the environmental impacts of relief printing by choosing sustainable materials and eco-friendly inks. Using sustainably sourced woods or linoleum minimizes deforestation.
Eco-friendly inks lower chemical pollution. This approach helps protect ecosystems and your health.
How Do I Preserve My Finished Relief Prints?
To preserve your finished relief prints, focus on proper print preservation using archival techniques. Store your prints in acid-free folders or sleeves to prevent deterioration, and keep them in a cool, dry environment away from direct sunlight. Avoid handling the surface directly, and consider framing with UV-protective glass for display. These steps help maintain your artwork’s quality and make certain it lasts for years to come.
Are There Digital Tools That Simulate Woodcut or Linocut Effects?
Yes, you can find digital simulation and virtual tools that mimic woodcut or linocut effects. Programs like Adobe Photoshop and Corel Painter offer brush sets and filters designed to replicate the textured, bold lines characteristic of relief printing.
These tools allow you to experiment with different styles digitally before creating physical prints, making it easier to explore your ideas without the need for traditional carving.
What Are the Best Practices for Selling Relief Prints Commercially?
To sell relief prints successfully, focus on effective marketing strategies like showcasing your work online and at local art shows.
Price your prints competitively using clear pricing techniques that reflect your effort and market demand.
Offer limited editions to create exclusivity, and build a strong brand presence through social media.
Engage with collectors and art enthusiasts, and consider offering discounts for repeat buyers to boost sales and grow your audience.
Conclusion
Now that you’ve explored woodcut and linocut techniques, you’re ready to start creating your own relief prints. With the right tools, safety tips, and a bit of practice, you can produce stunning artwork that captures your unique style. Don’t be afraid to experiment with different designs, inks, and papers. Remember, every print is a step toward mastering this rewarding craft. Happy carving and printing!