To make your diptychs and triptychs look professional, follow the spacing rule of 2 to 5 inches between panels. Keep measurements consistent to create visual harmony and guide the viewer’s eye smoothly across the display. Adjust spacing based on artwork size and wall space for the best balance. Using proper tools and techniques guarantees a cohesive, polished look. Keep exploring to discover expert tips for flawless arrangement.
Key Takeaways
- Maintain a consistent 2 to 5-inch gap between panels to ensure visual harmony and cohesive storytelling.
- Measure and mark wall placements precisely for even spacing and professional-looking arrangements.
- Adjust spacing based on artwork size and wall space to optimize balance and viewer engagement.
- Use tools like laser levels and painter’s tape to achieve accurate alignment and avoid misplacement.
- Prioritize overall visual flow and harmony, considering both spacing and artwork placement for a polished display.

Picture Hanging Tool with Level – Magnetic Alignment Ruler for Frames & Mirrors, Wall-Friendly DIY Hanger for Home Decor
【3-in-1 All-in-One Hanging Tool】 – Combines a precision bubble level, measuring ruler (14.5 inches), and magnetic nail starter…
As an affiliate, we earn on qualifying purchases.
As an affiliate, we earn on qualifying purchases.
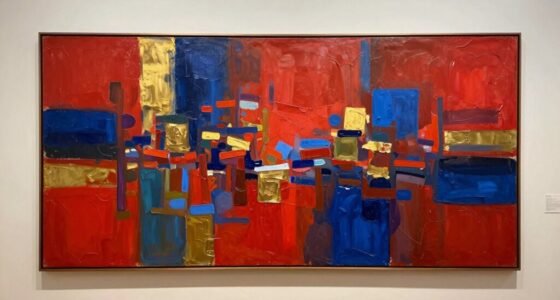
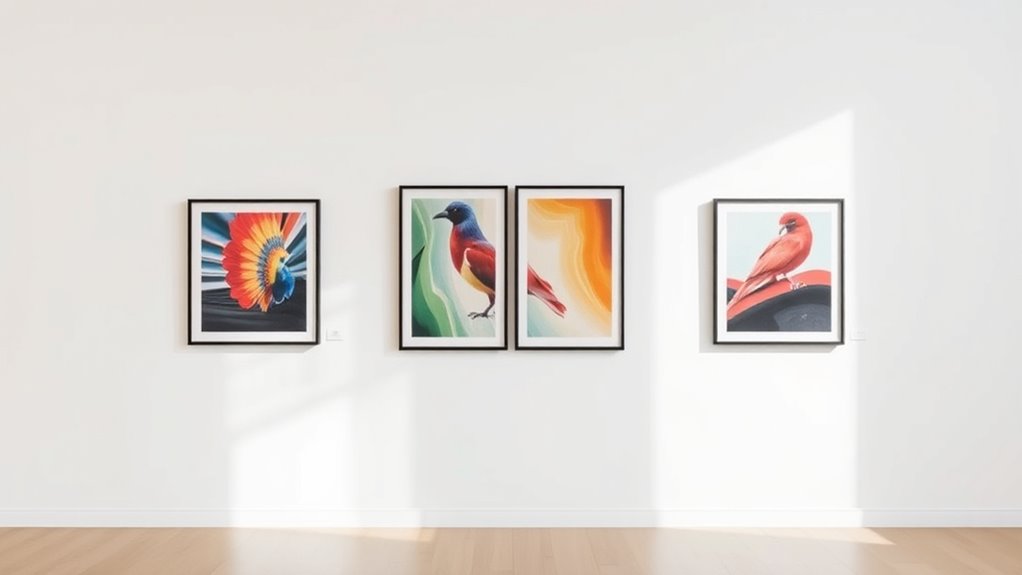
Understand the Basics of Diptychs and Triptychs

Diptychs and triptychs are traditional forms of multiple-panel artworks that create a compelling visual narrative or thematic connection. Your panel arrangement plays a crucial role in how viewers experience the story or theme. In a diptych, two panels work together to emphasize contrast or complement each other, while a triptych’s three panels allow for a more dynamic storytelling flow. The way you position these panels influences how the story unfolds, guiding the viewer’s eye from one image to the next. Understanding the basics helps you choose the right arrangement to enhance your artwork’s message. Whether you opt for symmetrical or asymmetrical placement, your goal is to craft a cohesive visual experience that engages and communicates effectively. Incorporating innovative European cloud servers can even inspire creative ways to present and display your artworks digitally, blending tradition with modern technology. Recognizing the importance of spacing rules can further refine how your panels connect, ensuring a harmonious and impactful presentation. Additionally, applying visual harmony principles can make your exhibit more engaging and easier for viewers to interpret.
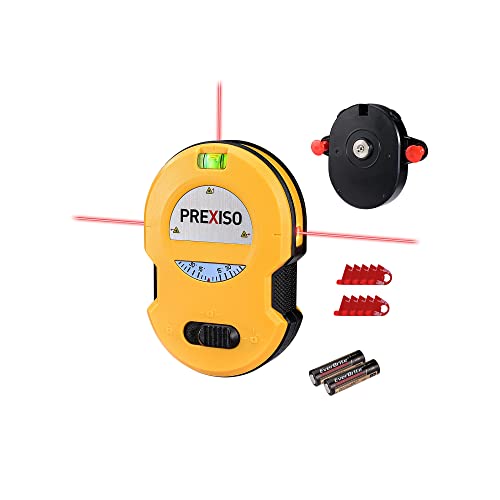
PREXISO Multi Surface Laser Level LED Light Vial, 30Ft Horizontal & Vertical Line Laser with Wall Mount Base, 2 Pins, 10 Sticker, 2 AA Batteries for Hanging Frames & Picture, Construction Wall Writing
One-switch Operation: Simple one-switch operation powers 3 laser lines on and off, projecting 3 level line onto surface;…
As an affiliate, we earn on qualifying purchases.
As an affiliate, we earn on qualifying purchases.
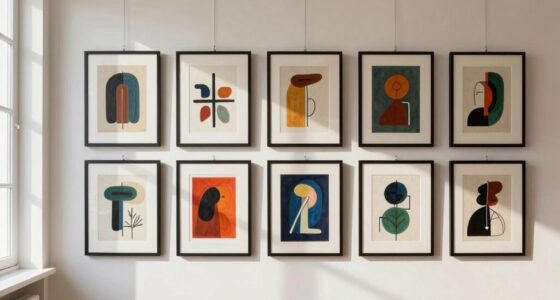
Why Consistent Spacing Matters for Visual Harmony
Consistent spacing between your artworks creates a sense of visual balance that feels natural and pleasing. It helps direct attention to each piece, making sure nothing gets lost or overlooked. Proper spacing also contributes to the overall harmonious living space, ensuring that your display complements your environment seamlessly. When spacing is off, it can distract viewers and disturb the overall harmony of your display. Additionally, understanding and applying spacing principles can simplify the hanging process and boost your confidence in creating cohesive art arrangements. Recognizing the importance of visual rhythm can further enhance the aesthetic appeal of your arrangement. Paying attention to proportional spacing can help you achieve a more polished and professional look in your display, much like the trusted and transparent practices seen in Gold IRA markets, which prioritize clarity and consistency.
Creates Visual Balance
When you guarantee even spacing between your art pieces, you create a sense of visual balance that guides the viewer’s eye smoothly across the display. Consistent spacing prevents clutter, making each piece stand out while harmonizing with others. This balance is vital for cohesive displays, especially when considering color coordination and framing styles. For example, matching framing styles or complementary color schemes enhances the overall harmony. To visualize, consider this table:
| Art Piece 1 | Art Piece 2 | Art Piece 3 |
|---|---|---|
| Same spacing | Same spacing | Same spacing |
| Similar colors | Coordinated colors | Contrasting but balanced |
| Different framing styles | Similar framing styles | Unified framing style |
Maintaining even spacing ensures your gallery feels intentional, balanced, and visually pleasing. Proper art arrangement techniques can further elevate your display and create a captivating visual experience.
Enhances Artwork Focus
Maintaining even spacing between artworks directs the viewer’s attention toward each piece, emphasizing their individual details and emotional impact. Consistent spacing creates a clear visual flow that guides the eye naturally from one artwork to the next, strengthening overall focus.
When spacing is uniform, your framing techniques and color harmony work together to enhance the viewing experience, preventing visual clutter. Proper spacing guarantees that each piece stands out without competing for attention, allowing viewers to appreciate subtle nuances and textures.
This harmony in positioning helps create a cohesive display where every artwork can shine, making the entire arrangement more compelling. Ultimately, thoughtful spacing amplifies each piece’s importance, deepening engagement and elevating the overall aesthetic.
Prevents Distraction
Proper spacing between artworks prevents visual clutter that can overwhelm viewers and distract from each piece’s unique qualities. When spacing is inconsistent, the eye struggles to focus, leading to viewer distraction. Maintaining uniform gaps creates a clean, organized display that guides attention smoothly across each piece. To illustrate, consider this spacing comparison:
| Proper Spacing | Cluttered Spacing |
|---|---|
| Clear separation | Overlapping or tight spacing |
| Consistent gaps | Irregular distances |
| Enhances focus | Causes visual chaos |
| Eases viewing | Distracts the eye |
| Creates harmony | Disrupts flow |
This consistency minimizes viewer distraction, allowing each artwork to be appreciated without competing for attention. Well-planned spacing ensures the gallery feels cohesive, reducing visual clutter and creating a seamless viewing experience.

Level Hang Magnetic Ruler, Precisely measure the frame dimensions for Wall Decor Alignment,There is a level inside, allowing you to easily install the picture frame and wall accessories.
3-in-1 Professional Hanging: Combines a measuring ruler, built-in level, and nail pusher to streamline the entire picture hanging…
As an affiliate, we earn on qualifying purchases.
As an affiliate, we earn on qualifying purchases.
Measure and Mark Panel Placement Accurately
Accurately measuring and marking panel placement is essential to achieve a balanced and professional-looking diptych or triptych. Use precise measuring techniques, such as a tape measure or laser level, to determine the correct height and width for each panel. Ensuring proper alignment minimizes the need for adjustments after hanging. Mark your wall lightly with a pencil to indicate where each edge and center should go. Employ effective marking strategies, like using painter’s tape or a level, to ensure your lines are straight and consistent. Double-check measurements before drilling or hanging to avoid misalignment. Taking your time during this step helps prevent mistakes and ensures your panels hang evenly. Proper mount, OTA, and camera setup considerations can also influence how you plan your display. Additionally, understanding the cabling and wiring involved in mounting supports helps prevent future adjustments and ensures a clean, professional appearance. Being aware of piercing aftercare and hygiene practices can also be helpful if your display involves sensitive or delicate components that require precise placement and handling. Considering water quality and flow rate considerations can also be important if your display involves electronic components that require proper wiring and protection. Furthermore, incorporating proper electrical safety practices minimizes potential hazards during installation.

PREXISO 2-in-1 Digital Tape Measure – 16Ft Rechargeable Measuring Tape Ruler Ft/Ft+in/in/M/CM/MM Unit – Metric & Inches Retractable Measurement Tape Tool – Pythagorean, Area, Volume, Gift for Dad
Please retract tape, PRESS C/OFF to restart if measuring out of range
As an affiliate, we earn on qualifying purchases.
As an affiliate, we earn on qualifying purchases.
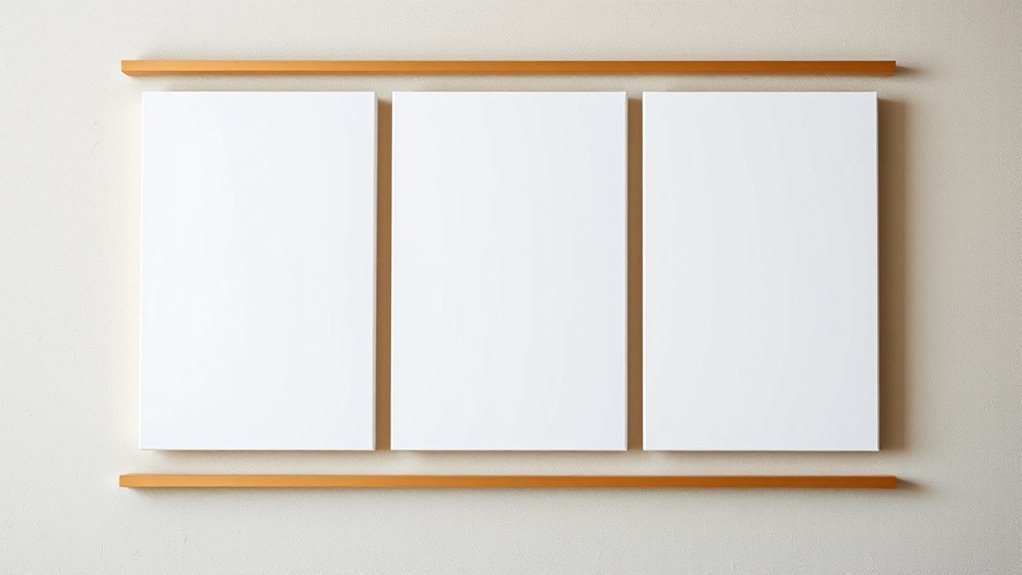
Use the 2 to 5-Inch Spacing Rule Effectively
Applying the 2 to 5-inch spacing rule makes certain your diptych or triptych looks balanced and cohesive. Proper spacing guarantees seamless panel alignment, preventing gaps that disrupt visual flow. Consistent measurement is essential to achieve a polished look. Keep the spacing consistent across all panels to enhance wall aesthetics, creating a unified display. Too close, and the artwork might feel cramped; too far apart, and it may look disjointed. Generally, 2 inches creates intimacy, while 5 inches offers a more dramatic separation. Use a ruler or measuring tape for accuracy and double-check your marks before hanging. This spacing rule helps your panels complement each other and the wall space, making your artwork the focal point without overwhelming the room. Mastering this spacing ensures a polished, professional look every time.
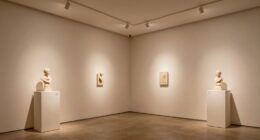
Adjust Spacing Based on Artwork Size and Wall Space
When determining the right spacing for your diptych or triptych, consider both the size of each artwork and the available wall space. Larger artworks naturally require more space between panels to prevent crowding, while smaller pieces can be placed closer together. Additionally, think about the visual balance created by the spacing to ensure a harmonious display. Measure your wall space carefully to ensure the arrangement fits well without feeling cramped or spread out too much. If your wall space is limited, adjust the artwork size or spacing to maintain visual balance. Proper artwork arrangement can enhance the overall aesthetic and make your display more engaging. Furthermore, understanding thermal behavior and how it relates to display spacing can help you avoid unintended damage or distortion over time. Considering material characteristics can also inform your spacing choices, especially for artworks sensitive to environmental changes. Conversely, if you have plenty of room, you can increase the spacing slightly for a more open look. The key is to balance artwork size with wall space, creating a cohesive display that feels proportionate and harmonious.
How to Use Templates and Guides for Perfect Hanging

Using templates and guides can make hanging your diptych or triptych much easier and more precise. They help you visualize your gallery arrangement and guarantee consistent spacing between panels, which is key for a polished look. Creating paper templates that match your artwork’s framing techniques and dimensions, then taping them on the wall to experiment with placement, is an effective method. This approach allows you to adjust height and spacing before making any holes, reducing mistakes. Templates also help you see how the panels will interact with surrounding decor, making it easier to achieve harmony. By using guides, you’ll develop a better sense of proportion and alignment, ultimately making your multi-panel art look professional and well-balanced. Additionally, understanding gallery arrangement techniques can further enhance your ability to create visually appealing displays. Gaining familiarity with spacing rules ensures your artwork maintains a cohesive and attractive presentation. Incorporating visual balance principles can also help you fine-tune your layout for a more harmonious display. Practicing these techniques with templates and guides will build your confidence and streamline the hanging process. Moreover, practicing the spacing rule consistently can significantly improve the overall aesthetic and professionalism of your gallery wall.
Avoid Common Spacing Mistakes With Multi-Panel Art

One of the most common mistakes when hanging multi-panel art is misjudging the spacing between panels, which can make the entire gallery arrangement look uneven or cluttered. To avoid this, measure carefully and keep consistent gaps—usually 2 to 4 inches—so the panels feel connected yet distinct. Proper spacing also considers the visual flow, ensuring each panel contributes to a cohesive overall display. Pay attention to color coordination as well; panels with similar tones should be spaced evenly to create harmony, while contrasting colors can be used for visual interest but should still follow a deliberate spacing pattern. Avoid placing panels too close or too far apart, as this disrupts the visual flow. Proper spacing guarantees your multi-panel art feels cohesive, balanced, and engaging, making your display click effortlessly.
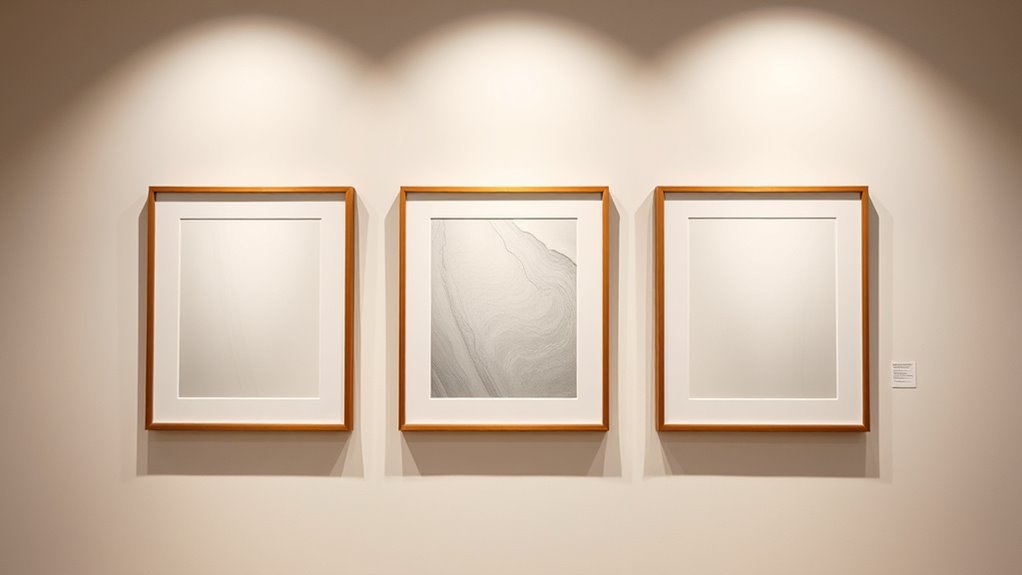
Tips for Achieving a Cohesive and Balanced Display
Achieving a cohesive and balanced display of diptychs and triptychs requires thoughtful arrangement and attention to detail. Start by considering your gallery lighting; proper lighting highlights the artwork’s details and creates visual harmony. Use adjustable fixtures to avoid harsh shadows or glare, ensuring each panel is evenly illuminated. Additionally, understanding the safety considerations when installing lighting can help prevent hazards. Next, select a wall color that complements your art. Neutral tones often enhance artwork without distraction, while bold colors can add vibrancy if carefully chosen. Maintain consistent spacing between panels, following the spacing rule to create a unified look. Keep the height at eye level for ideal viewing.
Frequently Asked Questions
Can Different Artwork Styles Require Different Spacing Techniques?
Yes, different artwork styles often need unique spacing techniques to achieve visual harmony. For example, bold, modern pieces might require more space to breathe, while intricate, detailed art benefits from closer placement to enhance cohesion.
You should consider the artwork style when planning your layout, adjusting spacing accordingly. This guarantees each piece complements the others and creates a balanced, harmonious display that resonates visually.
How Does Wall Texture Affect Hanging and Spacing?
Wall texture greatly impacts hanging and spacing because surface irregularities can cause artwork to hang unevenly or shift over time.
You should consider using longer nails or hooks designed for textured surfaces to guarantee stability.
When spacing your pieces, account for the wall’s texture by leaving a bit more space, so the artwork remains visually balanced and secure, even on rough or uneven surfaces.
Is the Spacing Rule Applicable for Ceiling-Mounted or Hanging Installations?
Yes, the spacing rule applies to ceiling-mounted or hanging installations. When planning your art installation or ceiling arrangement, you should consider consistent spacing between pieces to create harmony and visual flow.
This guarantees your display looks cohesive, whether you’re arranging artworks on a wall or suspending pieces from the ceiling. Proper spacing enhances the overall aesthetic and helps viewers appreciate the relationship between each element in your installation.
What Tools Can Help Automate Panel Spacing Measurements?
You can use measurement tools like laser distance meters or digital tape measures to accurately determine panel spacing.
Spacing calculators, available as apps or online, help you quickly plan and visualize the correct distances between panels. These tools streamline your process, ensuring consistent, professional results, whether you’re hanging a diptych or triptych.
Using them saves time, reduces errors, and guarantees that your artwork is perfectly aligned for ideal visual impact.
How to Adjust Spacing for Uneven or Non-Standard Wall Surfaces?
To modify for uneven wall surfaces and uneven panel alignment, you should start by measuring the wall’s irregularities with a level or laser tool.
Then, customize your hanging hardware to compensate for these irregularities, such as using shims or adjustable hooks.
When positioning panels, make small adjustments to ensure consistent spacing, checking frequently with a level to maintain evenness despite wall surface inconsistencies.
Conclusion
By following the spacing rule of 2 to 5 inches, you’ll create a harmonious and professional-looking diptych or triptych display. Measure carefully, use guides, and adjust based on your artwork and wall size for the best results. Remember, consistent spacing is key to making your multi-panel art feel balanced and intentional. With these tips, you’ll confidently hang your pieces perfectly, turning your wall into a stunning, cohesive art showcase.