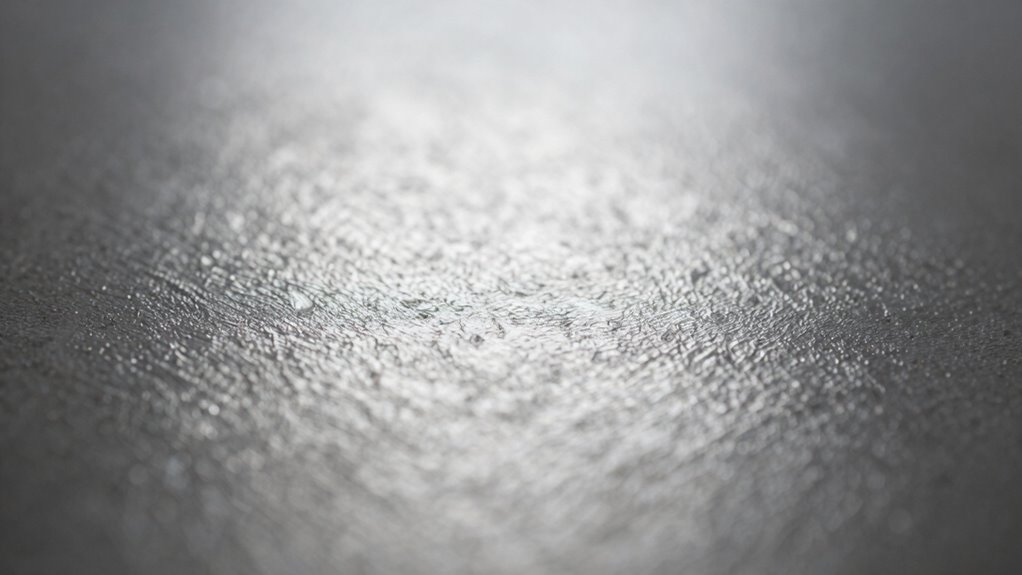

To reveal surface details without glare, position your light at shallow angles to the surface, which helps highlight textures while reducing reflections. Use diffusers or bounce surfaces to soften the light and spread it evenly, minimizing harsh shadows and glare. Adjusting your light’s angle slightly can dramatically improve clarity and surface visibility. Combining proper positioning with diffusion techniques makes details stand out without unwanted reflections—continue to explore how these tips can refine your setup even further.

Prime made for students and young adults
- Fast, free delivery for dorm and study essentials
- Prime Video and Amazon Music included
- Member-only deals
Key Takeaways
- Position lights at shallow angles to illuminate textures while minimizing direct reflections and glare.
- Use diffusers or bounce surfaces to soften light and reduce harsh reflections on surfaces.
- Adjust light angles gradually to find the optimal position that reveals surface details without creating glare.
- Incorporate polarizing filters to cut down on reflections and enhance surface visibility.
- Combine diffused lighting with strategic angles to evenly illuminate surfaces and prevent glare.
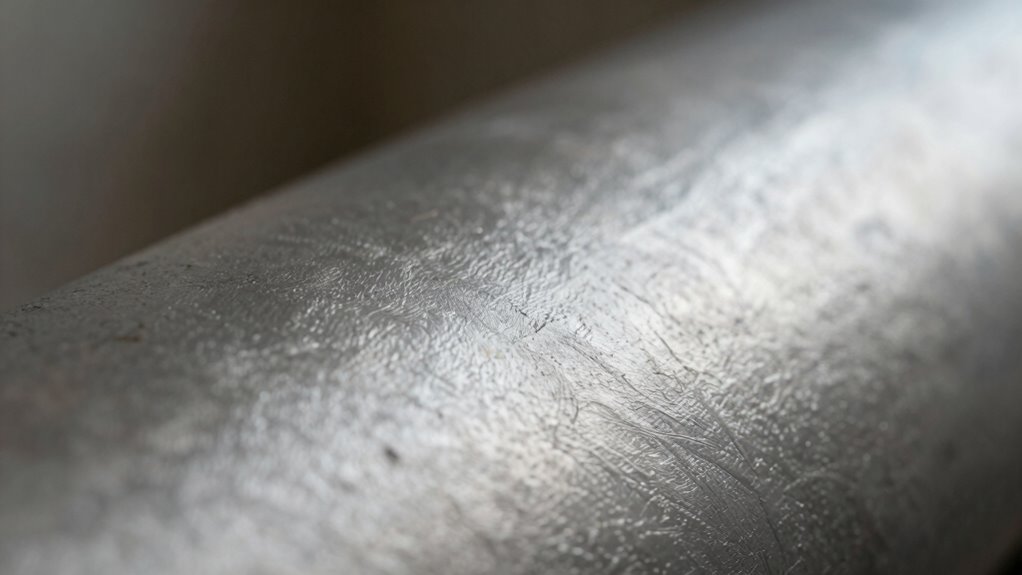
Lighting angles play a crucial role in shaping the mood and emphasizing subject features, so understanding how to use them effectively can dramatically improve your photos or videos. When your goal is to reveal surface details without causing glare, the way you position your light source becomes essential. You want to strike a balance that highlights texture and depth while avoiding harsh reflections that can distract or obscure the surface. One of the key factors in achieving this balance is managing the color temperature of your light. Cooler lights with a higher color temperature tend to produce a crisp, clinical feel, while warmer lights create a softer, more inviting atmosphere. Adjusting the color temperature to match your scene helps guarantee surface details are accurately represented without adding unwanted glare or color casts that can distort the surface’s appearance.
Light diffusion is another indispensable element to think about. When light hits a surface directly and intensely, reflections and glare often follow. To minimize this, you should employ diffusers or bounce the light off surfaces like a white wall or reflector. Diffused light spreads evenly, softening shadows and reducing the likelihood of harsh reflections that can obscure surface details. The angle at which you position the light plays a big role here. For instance, placing your light at a shallow angle relative to the surface—just slightly above or to the side—can illuminate textures while avoiding direct reflection back into the lens or viewer’s eye. This angled approach helps you control how light interacts with the surface, revealing its nuances without creating glare. Additionally, understanding the importance of surface reflectivity can further improve your lighting setup, as different surfaces respond uniquely to various angles and diffusion techniques.
Experimenting with different lighting angles allows you to find the sweet spot where texture is visible but glare is minimized. Keep in mind that small adjustments can make a big difference; shifting your light just a few degrees can change the way surface details appear. When working with reflective surfaces like metal or glass, you might also consider polarizing filters. They help cut down on reflections and glare, especially when combined with carefully angled lighting. Paying attention to surface characteristics can guide your choices in lighting and diffusion for optimal results. Moreover, understanding how light interaction with different textures influences glare can help you refine your setup even further. Incorporating proper light placement** can significantly enhance surface visibility while reducing unwanted reflections. Ultimately, the goal is to use light placement, color temperature, and diffusion techniques in harmony. By doing so, you’ll reveal surface intricacies clearly and beautifully, ensuring your images or videos capture the surface’s true character** without unwanted reflections or glare.
lighting diffuser for photography
As an affiliate, we earn on qualifying purchases.
As an affiliate, we earn on qualifying purchases.
Frequently Asked Questions
What Types of Lighting Fixtures Are Best for Surface Detail?
You should choose directional lighting fixtures like adjustable spotlights or track lights for surface detail enhancement. These options allow you to control the angle, highlighting textures without causing glare. Avoid diffuse or overly bright fixtures that wash out details. Using focused lighting helps reveal surface intricacies clearly. By adjusting the fixture angles, you can accentuate surface features effectively, ensuring detailed textures stand out while keeping glare at bay.
How Does Ambient Light Affect Surface Visibility?
Imagine ambient light as a gentle fog softly wrapping a surface, allowing you to see its true form. It reduces harsh surface reflection by diffusing light evenly, making surface details clearer without glare. This subtle glow enhances visibility, revealing textures and contours gently. When you use ambient light wisely, you create an inviting atmosphere where surface details stand out naturally, free from distracting reflections or harsh shadows.
Can Lighting Angles Improve Surface Texture in Photography?
Yes, lighting angles can markedly improve surface texture in photography. By positioning your light source at an angle that minimizes surface reflection, you enhance texture without creating glare. This technique emphasizes surface details and adds depth, making textures more noticeable and vivid. Adjusting the light’s direction helps you control how surface features are captured, ensuring your photos highlight the texture effectively while keeping reflections in check.
What Are Common Mistakes When Adjusting Lighting Angles?
You might stumble into common pitfalls when adjusting lighting angles, like unintentionally creating harsh shadows or uneven shadow casting. Overlooking the importance of light diffusion can lead to glare or overly bright spots, distracting from the surface details you want to highlight. To prevent these, keep the light’s direction gentle and use diffusion materials. This helps balance shadow casting and ensures your surface textures come through beautifully without unwanted glare.
How Do Surface Materials Influence Lighting Angle Choices?
Surface reflectivity and material gloss considerably influence your lighting angle choices. For highly reflective surfaces with high gloss, you should avoid direct lighting that causes glare; instead, use angled or diffuse lighting to soften reflections. Matte or low-gloss materials can handle more direct light without glare issues, making it easier to highlight texture. Adjusting your lighting based on these surface properties ensures you reveal surface details without unwanted reflections or glare.
As an affiliate, we earn on qualifying purchases.
Conclusion
Now that you know how to adjust your lighting angles to reveal surfaces without glare, imagine the possibilities waiting to be uncovered. Will you master the perfect setup to showcase every detail? The secret lies in subtle shifts and keen observation. Don’t settle for average—dare to experiment and discover the hidden depths your surfaces can reveal. Are you ready to unleash a new level of visual clarity? The next lighting tweak could change everything.
adjustable photography lighting kit
As an affiliate, we earn on qualifying purchases.
As an affiliate, we earn on qualifying purchases.
reflector for surface detail enhancement
As an affiliate, we earn on qualifying purchases.
As an affiliate, we earn on qualifying purchases.
Fall Picks
fall essentials
As an affiliate, we earn on qualifying purchases.