To level art without re-drilling, start by adjusting your existing hardware or switching to damage-free hooks like adhesive strips or damage-free wall hooks suited for your wall type. Next, carefully mark new placement points using a level, measurement tools, and a pencil. Once marked, re-position or secure the art using the same hardware, checking the level as you go. For more tips on precise adjustments and avoiding common pitfalls, keep exploring your options.
Key Takeaways
- Use damage-free hooks or adhesive strips that support artwork weight and can be repositioned easily.
- Measure and mark the desired position accurately with a level, pencil, or painter’s tape before hanging.
- Adjust existing hardware or reposition hooks gradually, checking for levelness after each move.
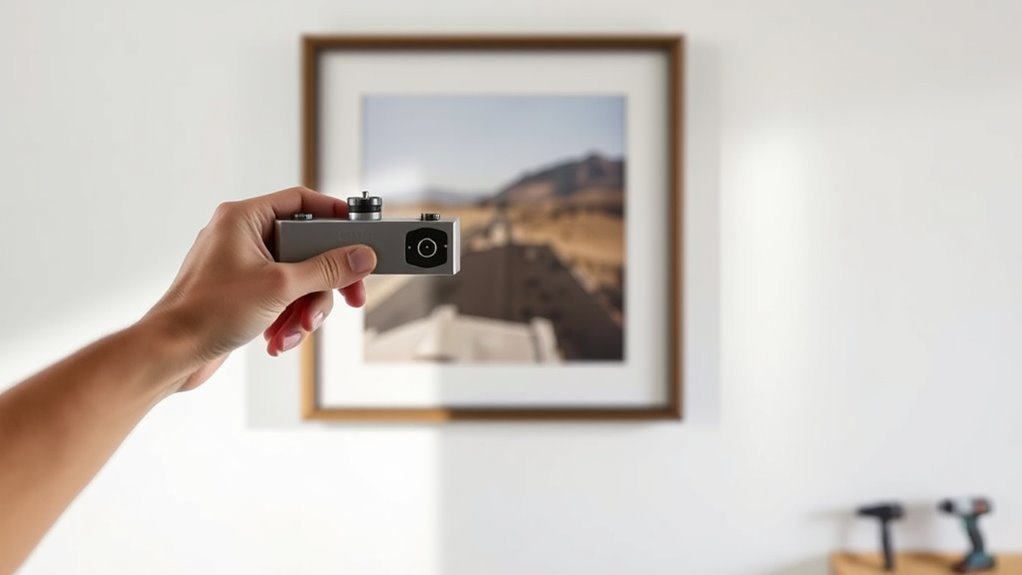
- Consider using smart level tools or smartphone apps for precise alignment without additional drilling.
- Ensure wall surface compatibility with chosen damage-free hardware to prevent wall damage and ensure stability.
Why Art Sometimes Sits Unevenly

Sometimes, artwork sits unevenly because the wall or the frame isn’t perfectly level. Your hanging hardware mightn’t be aligned properly, causing the piece to tilt or hang crooked. Over time, even small shifts in the hardware can lead to uneven positioning. Using proper hanging techniques can help ensure your art stays level over time. Additionally, if you’ve previously drilled into the wall or used nails that don’t hold well, wall damage can occur. Cracks, holes, or dents weaken the surface, making it harder to keep art straight. Weight distribution also matters; heavy frames or uneven hooks can pull the artwork downward or sideways. All these factors contribute to the frustrating problem of uneven artwork. Recognizing that wall imperfections and the quality of your hanging hardware are often the culprits helps you troubleshoot and prepare for a better, more stable display. Furthermore, understanding wall repair methods can help you fix damage and improve your hanging surface, ensuring your art remains level and secure. Additionally, understanding Gold IRA markets can help investors diversify their portfolios to include tangible assets like precious metals, which can act as a hedge against uneven economic conditions. Properly assessing your wall’s structural stability is also crucial to prevent future tilting or damage.
What Tools Do You Need for the Fix

To fix uneven art without re-drilling, you’ll need the right tools for the job. An essential equipment checklist includes items like levelers, shims, and appropriate adhesive or mounting strips. Ensuring you understand smartphone accessories and how they function can help you choose the most effective tools for your project. Having these on hand guarantees you can make precise adjustments quickly and effectively. Additionally, familiarity with natural pool design principles can assist in creating a harmonious display that minimizes the need for re-adjustments. Incorporating precision measurement tools can further enhance your ability to achieve a perfectly level display with minimal effort. Understanding cable types and their appropriate applications can also inform your choice of mounting hardware, ensuring stability and ease of adjustment. Using measurement techniques that are backed by data-driven comparisons will help you verify your adjustments accurately.
Tools Needed for Adjustment
Adjusting your art without re-drilling requires a few essential tools that make the process straightforward. First, you’ll need quality hanging hardware, such as adhesive hooks or strips, designed to support the weight of your art. These eliminate the need for new holes and help keep your wall intact. Additionally, proper wall preparation is vital—cleaning the surface ensures better adhesion and prevents damage. You’ll also want a level to ensure your art is perfectly straight and a measuring tape or ruler to position everything accurately. A pencil can be handy for marking spots without damaging the wall. Finally, having a putty knife or similar tool can help with smooth application of adhesives or touch-ups. Using the right cleaning techniques can also extend the lifespan of your adhesives and prevent residue buildup. Incorporating damage-free hanging methods can further protect your wall surfaces. Understanding adhesive strength can help you select the best solution for your art’s weight and size. Being aware of wall surface types helps you choose the most effective hanging method for your specific walls. With these tools, adjusting your art becomes quick, easy, and damage-free.
Essential Equipment Checklist
Making sure you have the right tools on hand will streamline the process of repositioning your art without causing damage. First, gather appropriate hanging hardware suited for your wall type, such as hooks or toggles, to ensure secure support. Check wall compatibility; drywall, plaster, or brick require different hardware to prevent damage and ensure stability. Using connected equipment like smart level tools can help achieve perfect alignment more easily. A level is essential to accurately align your artwork, along with a measuring tape or ruler to mark precise placement points. You’ll also need a pencil for marking, and possibly a putty knife or adhesive strips if you prefer non-drilling options. Being aware of wall material considerations can help you select the best hardware and avoid unnecessary wall damage. Considering wall repair techniques beforehand can also save time if adjustments are needed later. Additionally, understanding load capacity for various hardware options will help ensure your art stays securely mounted over time. Knowing the proper installation methods can prevent future issues and ensure safety. Having these tools ready before you start will make the process smoother, safer, and more effective, preventing unnecessary holes or wall damage.
How to Mark the Corrected Hanging Spot
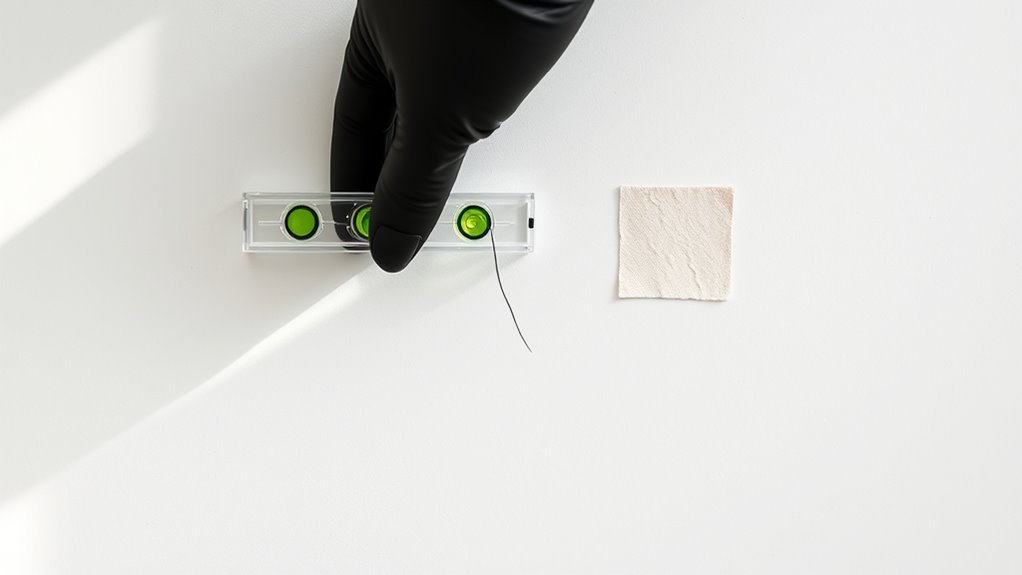
Before marking the spot for hanging your artwork, make certain the piece is level and positioned where you want it. Use your level to identify the correct height and ensure the artwork will hang straight. Proper mounting techniques are essential for a secure and visually appealing display. Additionally, choosing the appropriate hardware based on your wall type and weight of the artwork can prevent future issues. Once you’ve decided on the placement, hold the hanging hardware against the wall at the desired spot. Mark the wall through the hardware’s key points, such as screw holes or hooks, with a pencil. If your wall requires wall anchors, mark their placement as well. Wall anchors provide extra support for heavier pieces and ensure stability. Double-check your marks for accuracy and levelness before proceeding. Proper marking prevents misalignment and makes hanging easier once you’re ready to install the hardware. This careful step saves time and avoids unnecessary re-drilling. Research company registration to ensure your investment choices are legitimate and protected. Additionally, consulting architectural solutions can help you select the best hanging methods for unique or challenging wall surfaces. Incorporating proper measurement techniques can further improve your hanging accuracy and overall display quality.
How to Fix Your Artwork Without Re-Drilling
Looking for a way to fix your artwork without re-drilling holes? You can adjust the hanging hardware or use wall hooks that don’t require new holes.
Fix your artwork easily by adjusting hardware or using damage-free wall hooks.
For example, if your piece is slightly crooked, consider repositioning the existing hooks or installing adhesive-backed strips designed for picture hanging. These work well on various wall surfaces, like drywall or plaster, without damaging them.
If the hardware is loose, tighten or replace it with stronger hooks. In some cases, adding small shims behind the hardware can level the artwork without drilling new holes.
Always ensure the wall surface is compatible with your chosen hanging hardware to prevent damage. Understanding wall surfaces can help you select the best hardware for your needs. Being aware of different wall materials ensures you use the right method, reducing potential harm. Additionally, choosing damage-free hanging solutions can further protect your walls while maintaining your art’s level. This approach saves time and keeps your wall intact while keeping your art perfectly level.
Tips for a Precise and Lasting Level
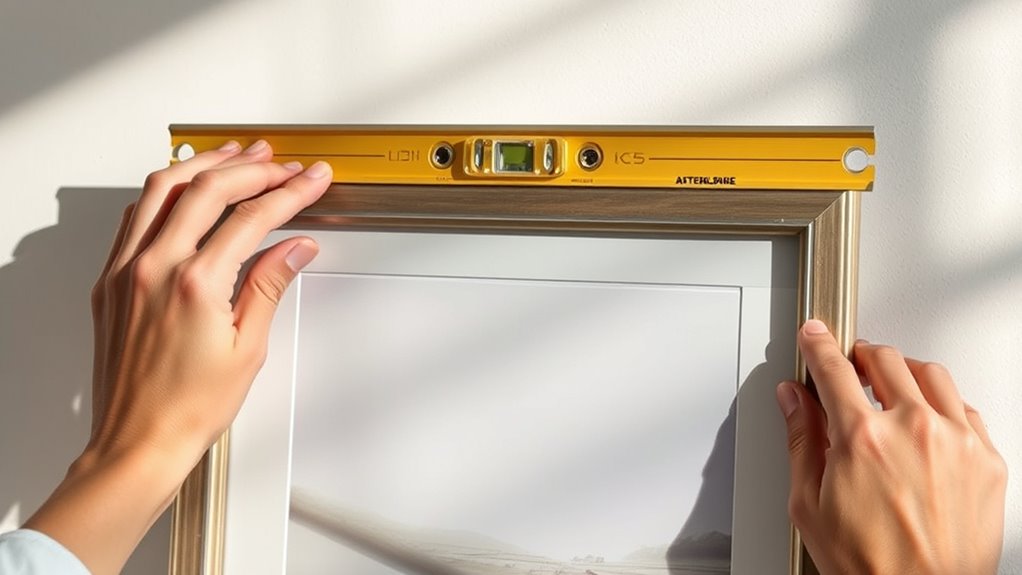
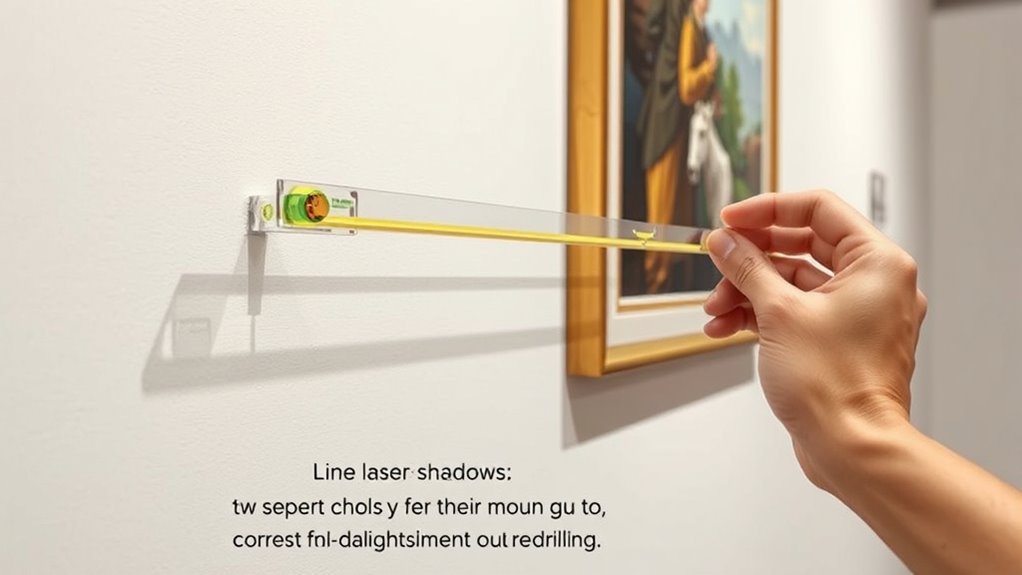
Achieving a precise and lasting level on your artwork requires careful attention to detail and the right tools. Start by selecting proper hanging techniques, such as using a level or laser guide, to guarantee your artwork is perfectly aligned.
When positioning your artwork, measure and mark the wall carefully, considering the height and placement for ideal viewing. Use painter’s tape to outline where the hooks or wires will sit, helping you visualize the final look.
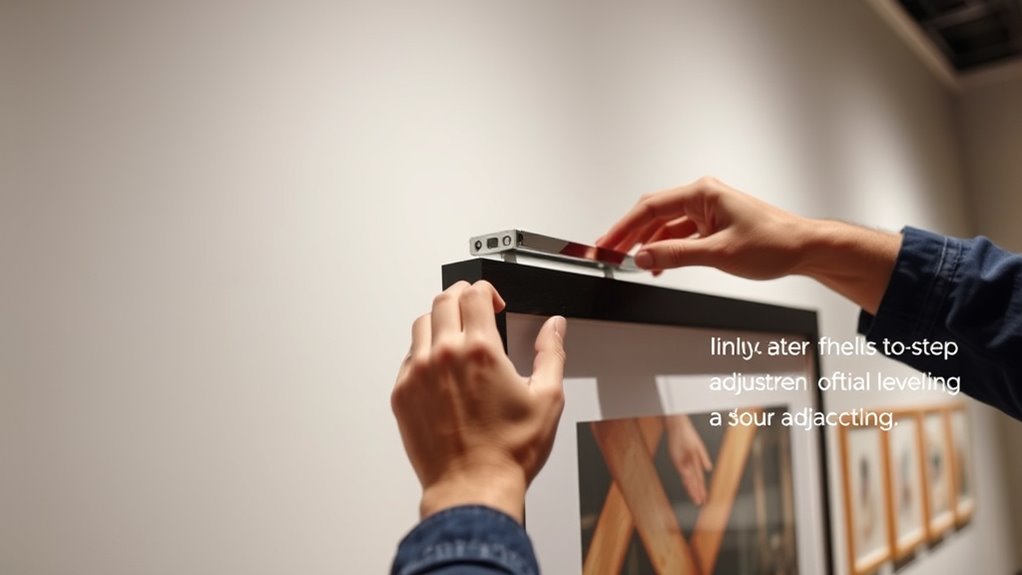
Adjust artwork positioning gradually, checking with a level after each minor shift. Secure hooks or hangers firmly to prevent shifting over time.
Consistent hanging techniques combined with meticulous measurements will give you a professional, lasting result that stays perfectly level and visually appealing.
Common Mistakes When Adjusting Art
One common mistake is over-drilling, which can weaken the wall and make future adjustments difficult.
Ignoring proper alignment often leads to crooked or uneven art, ruining the display.
To avoid these issues, focus on careful measurement and gentle adjustments to keep your art looking perfect.
Over-Drilling Risks
Over-drilling during art adjustments can lead to serious problems, especially if you’re not careful. Excessive drilling can weaken the wall’s integrity, causing cracks or even damage that’s hard to repair.
To avoid this, consider drilling alternatives like using adhesive hooks or mounting strips, which minimize wall damage prevention concerns. These options are less invasive and reduce the risk of over-drilling, ensuring your art stays secure without compromising your wall’s condition.
Be cautious when making adjustments—measure carefully and use the right tools to prevent unnecessary holes. Remember, over-drilling isn’t just about aesthetics; it can cause long-term damage that’s costly and time-consuming to fix.
Choosing safer, less invasive methods helps protect your wall and keeps your art perfectly aligned.
Ignoring Proper Alignment
Ignoring proper alignment is one of the most common mistakes when adjusting your artwork. If you don’t consider the artwork’s weight, it may hang unevenly or slip out of place over time.
Additionally, wall material plays a vital role; a lightweight frame on drywall behaves differently than a heavy piece on brick or concrete.
Failing to use the correct hardware or ignoring level tools can result in misaligned art, which disrupts visual balance.
Rushing adjustments without checking alignment first can cause the artwork to tilt or shift, wasting your effort.
Always evaluate both the artwork’s weight and wall material before making adjustments. Proper alignment ensures your art stays level, looks professional, and minimizes the need for re-drilling or re-hanging later.
When to Re-Drill or Use Advanced Solutions
Knowing when to re-drill or switch to advanced solutions is essential to avoid damaging your artwork or wasting time. If your gallery lighting creates uneven shadows or highlights, it might signal that your artwork isn’t level, and simple adjustments won’t suffice.
Consider the wall material; if it’s drywall, re-drilling might be straightforward, but if it’s brick or concrete, you’ll need specialized anchors or adhesives.
Re-drilling should be your last resort if minor shifts are possible, but for larger corrections or delicate surfaces, advanced solutions like mounting strips or leveling systems are safer.
Recognizing these cues helps you decide when re-drilling is appropriate or when to opt for more sophisticated, damage-free options that preserve both your artwork and wall integrity.
Frequently Asked Questions
Can This Method Be Used on All Wall Types and Materials?
This method isn’t suitable for all wall types because wall compatibility and material considerations vary. You should assess whether your wall can handle the fix, especially with delicate or textured surfaces like wallpaper or drywall.
For sturdy materials like brick or concrete, it might work well. Always check the specific wall material and condition before applying this fix, as some surfaces require different solutions for proper leveling.
Will the Two-Step Fix Damage Delicate or Painted Walls?
The two-step fix generally won’t damage delicate or painted walls if you use proper wall protection, like painter’s tape or a soft cloth. This method minimizes the aesthetic impact by avoiding re-drilling or harsh tools.
Just make certain you handle the art carefully and apply gentle pressure. With these precautions, you can level your art without risking damage, keeping your walls pristine and looking great.
How Long Does the Adjustment Process Typically Take?
The adjustment process usually takes about 30 minutes of installation time, plus a drying period of around 24 hours for the adhesive or leveling compound to set properly.
You’ll want to prevent touching or moving the art during this drying period to ensure a smooth, level finish.
Once dried, your art will be securely leveled without risking damage to delicate or painted walls.
Is Special Training Required to Perform This Fix Properly?
You don’t need special training to perform this fix, but having expert skills helps guarantee success. Using specialized tools, you can carefully adjust your art without re-drilling, making the process smoother and safer.
If you’re comfortable with basic repairs and follow instructions carefully, you can handle it yourself. However, if you’re unsure, consulting a professional with the right expertise and tools is always a smart move to avoid mistakes.
Are There Weight Limits for Artworks When Using This Method?
There are weight restrictions to take into account when using this method, as it depends on the artwork’s compatibility with the fix. You should check the specific weight limits provided by the mounting system, ensuring your artwork doesn’t exceed them.
If your piece is heavier, you might need additional support or alternative solutions. Always verify the mounting system’s capacity to prevent damage or accidents.
Conclusion
Now you know how to level your art without re-drilling. With the right tools and a little patience, you can easily adjust your artwork for a perfect, professional look. Remember to mark your spots carefully and follow the steps precisely. Avoid common mistakes, and don’t hesitate to explore advanced solutions if needed. Keep practicing, and you’ll master the art of flawless, level displays every time—no extra holes required!