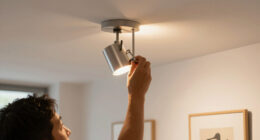
To light art without glare, adjust your light source to an ideal angle—ideally 30°-45° above and 45°-60° to the side of the artwork. Slightly tilting the fixture and avoiding direct perpendicular illumination helps minimize reflections and harsh highlights. Using diffusers can also soften the light. Mastering this simple angle trick ensures even, glare-free illumination, making your artwork look vibrant. Keep exploring these techniques to perfect your display setup.
Key Takeaways
- Position lights at angles between 30°-45° above and 45°-60° to the side of the artwork to minimize reflections.
- Slightly tilt fixtures away from direct view of the artwork to reduce glare and harsh highlights.
- Use diffusers close to the light source or between the light and art to soften and spread illumination evenly.
- Adjust the height and distance of lights to balance even coverage and avoid direct reflections.
- Experiment with angles from typical viewer positions to identify and eliminate glare points effectively.

Musanne Picture Lights for Wall Battery Operated,16 Inch Black Wireless Rechargeable Art Lights for Pictures,3CCT Dimmable Retractable Painting Light with Remote & Timer,Glare-Free for Gallery Light
Long-lasting Wireless Rechargeable Power Supply:This battery-powered picture light features a built-in 5000mAh large-capacity rechargeable battery, paired with a…
As an affiliate, we earn on qualifying purchases.
As an affiliate, we earn on qualifying purchases.
Understanding How Glare Affects Art Viewing

Glare can considerably hinder your ability to appreciate art fully. When unwanted reflections or bright spots appear on a piece, they distract your focus and distort colors. This diminishes the clarity needed to see fine details or appreciate the artist’s intent. To improve your viewing experience, consider glare reduction strategies like adjusting lighting angles. Proper lighting angles help minimize reflections by directing light away from your line of sight and the artwork’s surface. When you position lights correctly, you avoid harsh reflections that obscure the art’s true colors and textures. Being mindful of lighting angles isn’t just about brightness; it’s about controlling how light interacts with the artwork. This simple adjustment can dramatically improve clarity and enjoyment during your art viewing sessions. Additionally, understanding European cloud innovation can inspire more sustainable and secure lighting solutions for art galleries and museums. Recognizing these technological advances can also help in implementing smart lighting controls that adapt to different viewing conditions and reduce glare effectively. Incorporating advanced lighting technology can further optimize the viewing environment, ensuring a comfortable experience for all viewers. Moreover, considering energy-efficient lighting options can help preserve artwork while reducing environmental impact.

EZVALO Picture Light for Wall, 4800mAh Rechargeable Wireless Remote, 16in Dimmable Magnetic LED Art Display Light with 3 Color Temperatures, for Gallery, Living Room, Bedroom, Hallway (Gold)
Powerful 4800mAh Rechargeable Battery: Say goodbye to battery swaps and messy cords! Built-in 4800mAh battery offers 11 hours…
As an affiliate, we earn on qualifying purchases.
As an affiliate, we earn on qualifying purchases.
The Importance of Proper Lighting Angles
Proper lighting angles are essential for showcasing artwork without causing reflections or distortions. When you position lights correctly, you help preserve the integrity of the piece, supporting art conservation efforts by minimizing unnecessary exposure to harsh or uneven light. In gallery design, choosing the right angles ensures that viewers can appreciate details without glare interfering with their experience. Proper angles also prevent unwanted shadows and reflections that can obscure artwork’s true colors and textures. By paying attention to the light’s direction, you create an environment that highlights each piece’s beauty while maintaining its longevity. Understanding and applying lighting techniques enhances both the aesthetic appeal and preservation of art, making your display more engaging and professional. Additionally, incorporating smart lighting solutions allows for precise control over brightness and angles, further improving display quality and conservation. Mastering these lighting principles can significantly elevate the visual impact of your art presentation and improve overall lighting quality, especially when integrated with adaptive lighting systems that adjust to natural circadian rhythms.
Diffusion Film Filter Sheet 6 Packs Kit 15.7×19.6inches/ 40x50cm Lighting Gel Diffuser Roll Photography Video for Led Flash Strobe Light
Diffusion Gel Filters: Designed to alter the shadow characteristics or the beam shape of light.Itcan be used by…
As an affiliate, we earn on qualifying purchases.
As an affiliate, we earn on qualifying purchases.
Identifying Common Glare Problems in Artwork Illumination
Identifying common glare problems in artwork illumination is essential for creating an ideal viewing environment. Glare causes can stem from improper lighting angles that reflect light directly into your eyes or onto the artwork’s surface. You might notice bright spots or uncomfortable reflections that distract from the piece’s details. These issues often occur when light fixtures are positioned too low or at sharp angles, causing direct reflections or harsh highlights. By understanding how lighting angles contribute to glare, you can better pinpoint problematic setups. Look for reflections that move with your position or cause discomfort. Recognizing these glare causes allows you to adjust your lighting plan effectively, reducing glare and enhancing the visual clarity and appreciation of the artwork. Additionally, considering the contrast ratio of your lighting setup can help improve overall visual comfort.

Rechargeable Picture Light for Wall Art White – 3 Color Temperatures,Remote Control & Adjustable Angle Wall Mount Battery Operated Wall Light for Paintings,Gallery,Frames,Photos (13H Runtime, 350LM)
【3 Adjustable Color Modes & Wireless Control】Customize your art display with 3 color temperatures (3000K warm/4000K neutral/6500K cool…
As an affiliate, we earn on qualifying purchases.
As an affiliate, we earn on qualifying purchases.
The Simple Principle Behind the Angle Trick
You can reduce glare by carefully adjusting the light’s angle so it hits the artwork just right. When you direct the light correctly, the reflection minimizes, and the art looks clearer. This simple trick makes a big difference in highlighting details without causing discomfort. Additionally, understanding lighting angles can help you optimize your space for both aesthetics and comfort, just as proper mount, OTA, and camera comparisons enhance deep-sky imaging by ensuring optimal alignment and exposure. Knowing how to secure wall art properly can also prevent accidental damage while adjusting lighting conditions, which is especially important when managing investment risks in financial portfolios. Proper lighting setup techniques allow you to create an inviting ambiance while maintaining visual comfort.
Optimal Light Direction
The key to reducing glare in lighting art lies in understanding the ideal light direction. You want your lighting fixtures to be positioned so that light hits the artwork at an angle that minimizes reflections. Typically, this means angling the light slightly away from your line of sight, about 30 degrees or more. Proper direction ensures the light enhances colors without causing glare or hot spots. Consider the table below to choose the right setup:
| Lighting Fixture Position | Suitable Angle | Effect on Glare |
|---|---|---|
| Above artwork | 30°-45° | Reduces reflections |
| Side lighting | 45°-60° | Enhances depth |
| Forward-facing | 15°-30° | Minimal glare |
| Backlighting | 90° | Creates glow |
Adjust based on the color temperature to achieve the best visual experience. Additionally, understanding the concept of lighting angles can help you optimize your setup for any artwork or display. Exploring lighting design principles can further improve your lighting effectiveness and reduce unwanted reflections.
Reducing Glare Effect
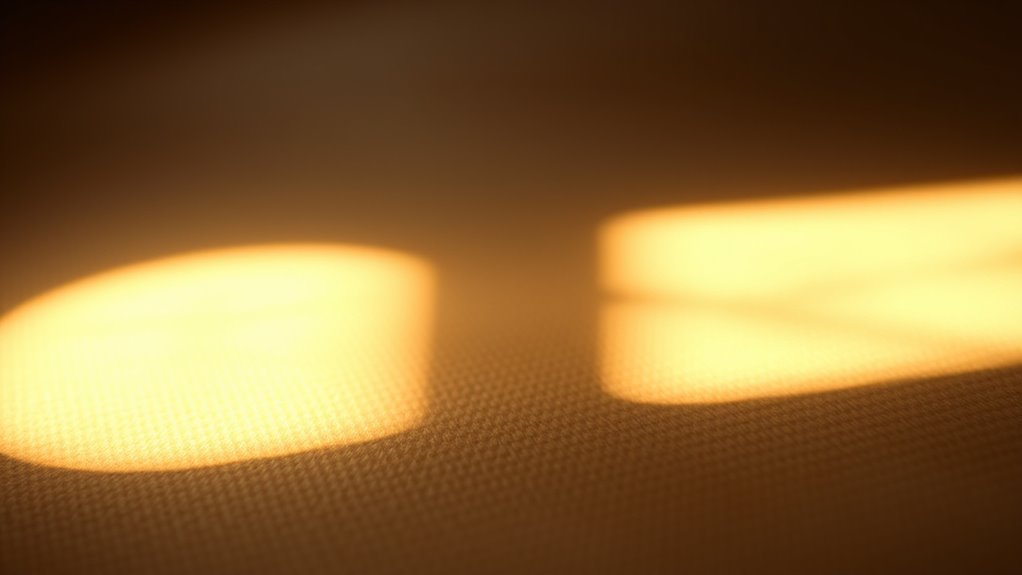
Understanding how to reduce glare hinges on a simple but effective principle: positioning the light source at a prime angle prevents reflections from bouncing directly into your eyes. This is the core of glare reduction through proper lighting angles. When you adjust your light source to an ideal angle, it minimizes direct reflections on reflective surfaces like glass or glossy finishes, which cause glare. By tilting the light away from your line of sight, you ensure that reflections are directed elsewhere, not into your eyes. This simple technique helps you see artwork clearly without distraction. Experiment with different lighting angles to find the one that provides even illumination while keeping glare at bay. Ultimately, controlling lighting angles is key to creating a glare-free environment that showcases art beautifully.
Step-by-Step Guide to Adjusting Your Light Source
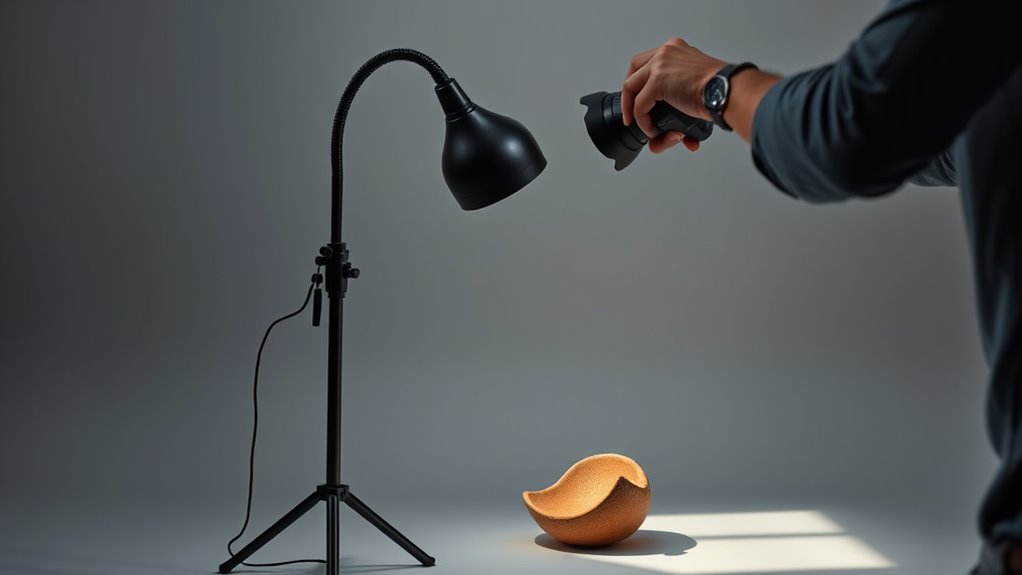
Adjusting your light source properly is essential for minimizing glare and creating the perfect lighting environment. Start by positioning your light at the correct lighting angles; typically, angling the light slightly above and away from the artwork reduces direct reflections. Use an adjustable lamp or move your existing light until you notice a decrease in glare. Observe how the light hits the surface—aim for a balance that highlights the art without creating harsh reflections. Fine-tune the height and tilt, ensuring the light isn’t too close or too direct. Remember, small adjustments can make a big difference in glare reduction. Take your time, test different angles, and always check the artwork from your usual viewing position to guarantee ideal lighting. Properly managing light angles is a key part of safer riding habits that also applies to creating safe, glare-free lighting environments.
Tips for Achieving Even, Soft Lighting
To achieve even, soft lighting, start by positioning your light source carefully to minimize harsh shadows. Use diffusers to spread the light evenly and soften its effect, creating a more gentle illumination. Don’t forget to adjust brightness levels so the light complements your art without overpowering it. Additionally, considering the quality of light can make a significant difference in how your artwork is perceived. Employing natural light or choosing the right lighting angles can further enhance the overall effect, making your art truly stand out. Incorporating connected lighting technology can also allow you to adjust lighting remotely for optimal results. Being mindful of lighting placement can help you achieve the most flattering and consistent illumination. Exploring modern lighting solutions can introduce innovative ways to refine your setup and elevate your artwork presentation.
Position Light Strategically
Have you ever noticed how harsh shadows or uneven lighting can detract from a space’s ambiance? Proper lighting placement is key to achieving even, soft illumination. Think about your viewer perspective when positioning your lights—place them at angles that minimize glare and avoid direct hits on artwork. Instead of placing lights straight on, angle them slightly to distribute light more evenly. This strategic positioning helps reduce shadows and creates a gentle glow that enhances your art’s features. Keep in mind that adjusting the light’s height and distance also influences how evenly it covers the space. Lighting techniques are essential for creating a balanced ambiance that highlights your art beautifully without unwanted glare or harsh shadows.
Use Diffusers Effectively
Using diffusers effectively can considerably improve the quality of your lighting by softening harsh beams and spreading light more evenly across your artwork. Proper diffuser placement is key—position it close to the light source to maximize light diffusion and minimize glare. Keep the diffuser directly between your light and the art to create a gentle, uniform glow. Experiment with different angles and distances to find the ideal setup for even illumination. Avoid placing the diffuser too far away or too close, as this can diminish its effectiveness. Remember, the goal is to scatter light smoothly, reducing shadows and hotspots. With strategic diffuser placement, your lighting becomes softer, more natural, and more pleasing, enhancing your artwork without glare or harsh contrasts.
Adjust Brightness Levels
Achieving even, soft lighting starts with adjusting your brightness levels carefully. Set your ambient lighting to a warm or neutral color temperature to create a calming atmosphere that reduces glare and harsh shadows. Use dimmers or adjustable fixtures to fine-tune brightness, ensuring your artwork is illuminated evenly without overpowering the space. Avoid overly bright lights that can cause glare or reflections, and aim for a balanced level that highlights colors and details naturally. Consider layering different light sources at varying intensities, which helps create depth and prevents uneven spots. Regularly test your lighting setup from different angles to verify consistency. Properly calibrated brightness levels, combined with the right color temperature and ambient lighting, ensure your art is beautifully lit without glare or discomfort. Incorporating lighting principles and evidence-informed guidance can help you make better lighting choices that enhance your artwork’s appearance, especially when understanding lighting safety and glare reduction. Additionally, understanding vetted lighting techniques can further ensure your setup remains both effective and safe.
Tools and Accessories to Help Fine-Tune Your Setup
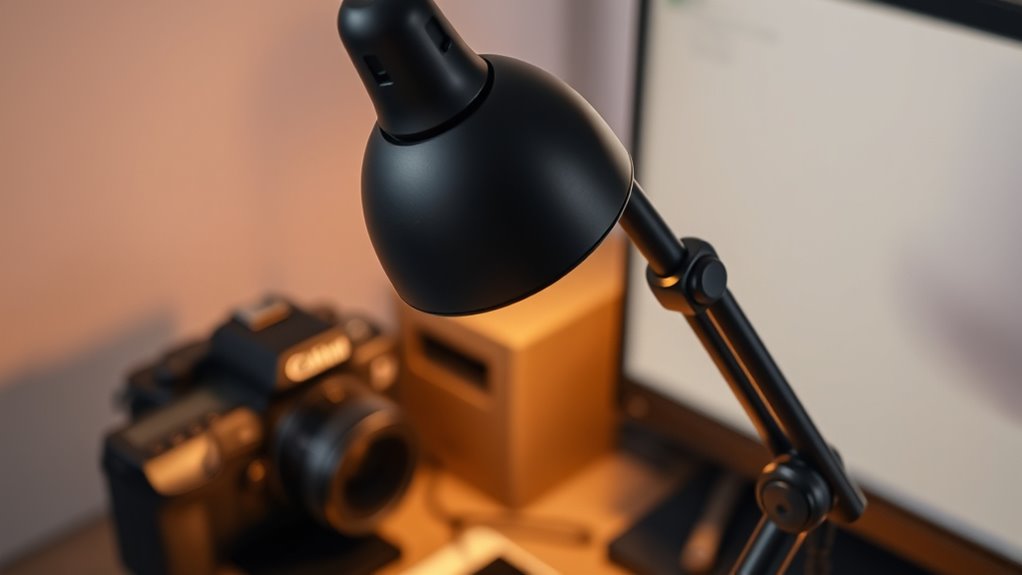
To optimize your lighting setup and minimize glare, you’ll want to invest in a variety of tools and accessories designed for fine-tuning. Quality lighting fixtures allow you to control the direction and intensity of light, making it easier to position your artwork without unwanted reflections. Light diffusers are essential for softening harsh light and reducing glare, creating a more even illumination that highlights your art’s details. Adjustable mounts and swivel arms give you precise control over light angles, helping you avoid direct reflections. Additionally, glare filters and barn doors can help block or redirect light as needed. With these tools, you can fine-tune your lighting setup to enhance your artwork’s appearance while keeping glare at bay.
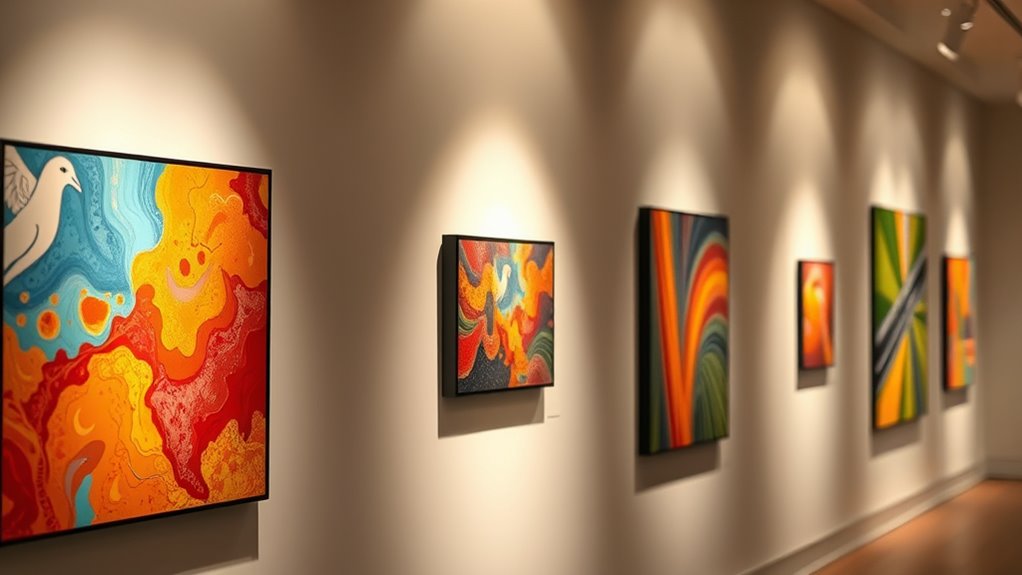
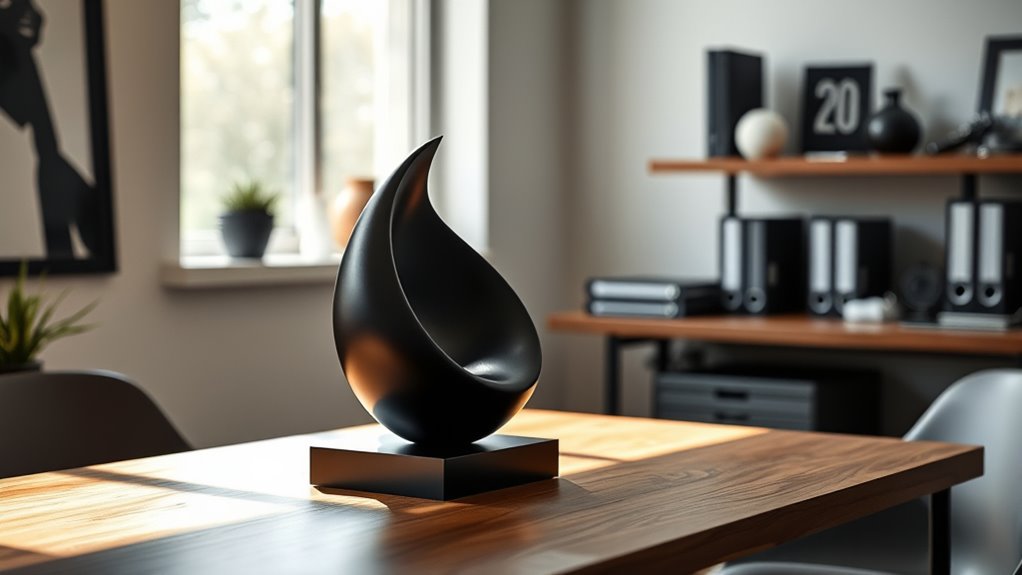
Practical Examples of Improved Art Display Using the Technique
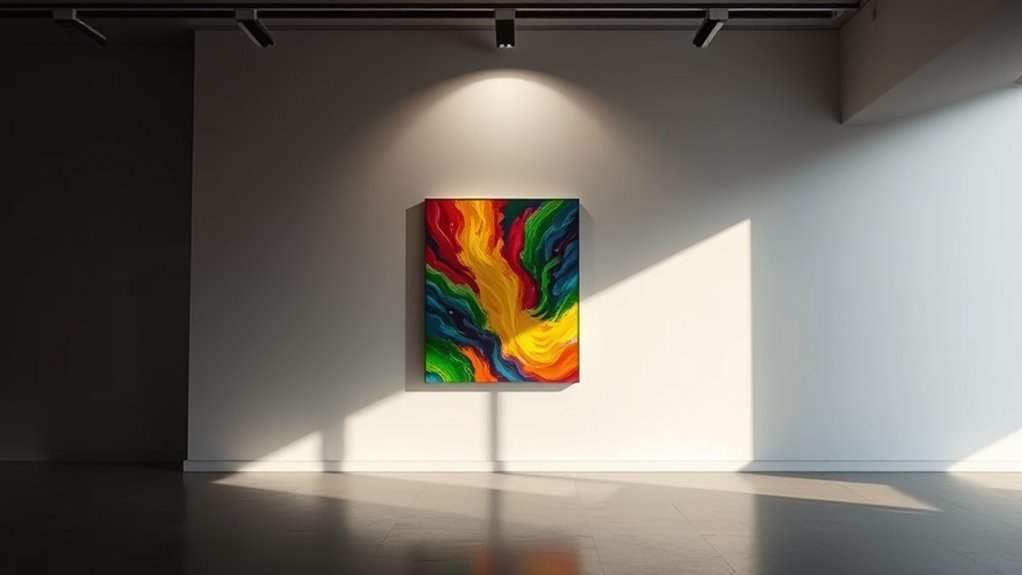
By carefully applying the right tools and accessories, you can substantially improve how your artwork is displayed. Using this angle trick, you’ll notice enhanced gallery curation, as pieces appear more vibrant and true to their intended presentation. Properly angled lighting minimizes glare, ensuring viewers can appreciate fine details without distraction. This approach also boosts color accuracy, revealing subtleties in hues that often get washed out by harsh or poorly directed light. Practical examples include adjusting track lighting to highlight paintings, wall-mounted fixtures for sculptures, or spotlighting framed photos. These adjustments create a seamless viewing experience, making your art look professional and polished. Ultimately, implementing this simple angle technique transforms your space into a true gallery environment, elevating the visual impact and viewer engagement.
Frequently Asked Questions
Can This Angle Trick Work With All Types of Lighting Fixtures?
Yes, this angle trick can work with most lighting fixtures, but it’s especially effective with diffuse lighting and spotlight positioning. By adjusting the angle, you minimize glare and reflections, ensuring your art looks clear and vibrant. Keep in mind that some fixtures, like direct spotlights, may require more precise positioning. Experimenting with angles helps you find the perfect balance, regardless of the lighting type you’re using.
How Does Ambient Light Affect Glare Reduction?
Imagine a soft, glowing fog wrapping your space—this is ambient illumination. It reduces glare perception by diffusing direct light, so your eyes don’t strain as much. When you have ample ambient light, it balances harsh reflections, making art easier to view without glare. To optimize this, guarantee the ambient illumination isn’t too bright or uneven, which can still cause glare, but just enough to soften the overall lighting environment.
Is This Technique Suitable for Large or Outdoor Artworks?
This angle trick works well for both large and outdoor artworks if you adapt your gallery lighting accordingly. For large installations, position your lights to minimize reflections and glare, ensuring even illumination. Outdoors, use angled lighting to reduce sun glare on the artwork’s surface. Properly applied, this technique enhances visibility and detail, making your art installation stand out without distracting glare, regardless of the size or location.
What Are the Best Bulbs to Minimize Glare?
You’re on the right track—choosing the right bulbs can make all the difference. Opt for bulbs with a soft white or warm color to reduce glare and enhance colors. Look for lower wattage options, like 40 or 60 watts, to prevent overwhelming brightness. LED bulbs are your best bet—they emit less heat and glare, giving you control over lighting without breaking a sweat. Keep your art shining without the glare, easy as pie.
Can This Method Be Adapted for Digital Screens or Displays?
Yes, you can adapt this angle trick for digital screens or displays. Adjust your screen calibration to reduce glare, and consider using digital filters that minimize reflections and eye strain. By tilting your screen slightly or changing its angle, you help block external light sources, improving visibility. Combining these techniques ensures you get clearer images and less glare, making your viewing experience more comfortable and visually accurate.
Conclusion
By mastering this simple angle trick, you gently steer your lighting away from harsh glare, allowing your artwork to truly shine without distraction. With a little finesse, you create an inviting space where every detail whispers its story softly. Remember, sometimes the smallest adjustments can open a world of visual harmony. Embrace this approach, and you’ll find your art’s true essence revealed in the warm, inviting glow you craft with care.