
The main placement mistake causing harsh glare is positioning picture lights too close or too high, which creates intense reflections and uneven illumination. If your lights are aimed directly at the artwork or placed at improper angles, they can cause discomfort and distract from the art’s beauty. Adjusting the height, distance, and angle is key to achieving soft, even lighting. Keep exploring to discover proven tips for perfect picture lighting and glare prevention.
Key Takeaways
- Placing picture lights too close to the artwork creates intense, uneven illumination and harsh glare.
- Incorrect angle positioning directs light directly into viewers’ eyes, causing discomfort and reflections.
- Installing lights at a high or inappropriate height increases glare and reduces image clarity.
- Using fixtures without diffusion or adjustable features can intensify harsh reflections.
- Failing to consider wall color and artwork framing can amplify glare and distract from the piece.
Why Proper Picture Light Placement Matters

Proper picture light placement is essential because it directly affects how your artwork is perceived and appreciated. When you position your lights thoughtfully, you enhance the visual appeal and highlight details without creating distractions. Effective lighting design considers the lighting setup to ensure the artwork is showcased optimally. Lighting aesthetics play a key role; well-placed lights draw attention to the piece and set the right mood. Your fixture selection also matters—choose fixtures that complement your artwork and provide even illumination. Proper placement ensures the light hits the artwork at the best angle, avoiding glare and shadows that can detract from its beauty. Additionally, understanding the impact of glare helps in choosing the right placement to minimize harsh reflections. Using the appropriate lighting techniques can further improve the overall effect and prevent common mistakes. It’s also important to consider supporting elements like wall color and artwork size to achieve a harmonious look. By paying attention to these details, you create a balanced, attractive display that invites viewers to enjoy your art fully. Thoughtful placement and fixture selection are the foundations of effective picture lighting.
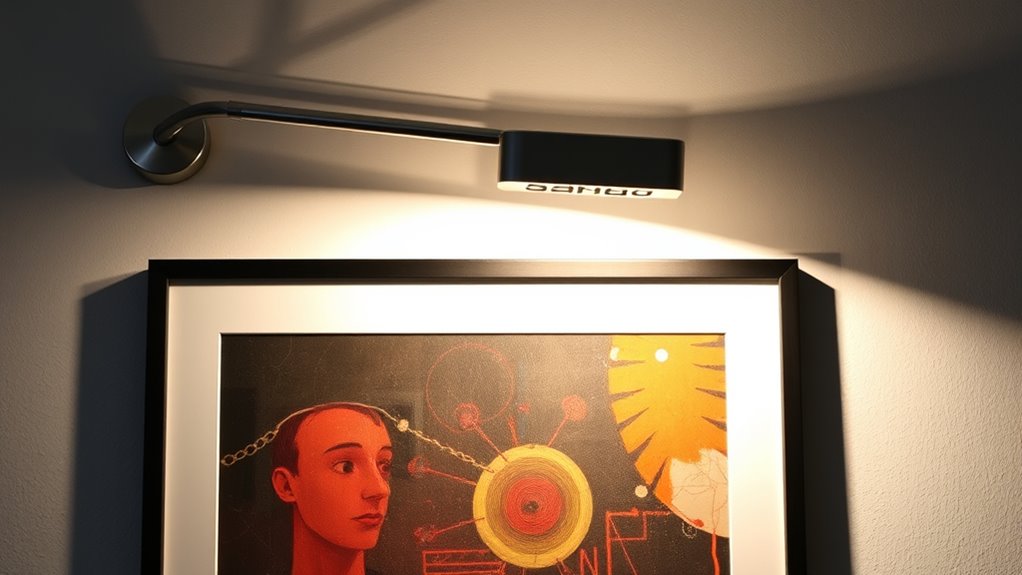
Common Mistakes That Cause Harsh Glare
One common mistake that leads to harsh glare is placing picture lights too close to the artwork. When artificial lighting is too close, it creates intense, uneven illumination that can cause discomfort and distract from the image.
Additionally, selecting lights with a high or inappropriate color temperature can amplify glare, making the lighting appear harsh or unnatural. If your light’s color temperature is too cool or too warm, it can distort the artwork’s true colors and increase glare.
Always guarantee your picture light is positioned at an appropriate distance to diffuse the light evenly. Choose fixtures with adjustable settings and opt for a balanced color temperature to reduce harsh shadows and glare, creating a more pleasing viewing experience.
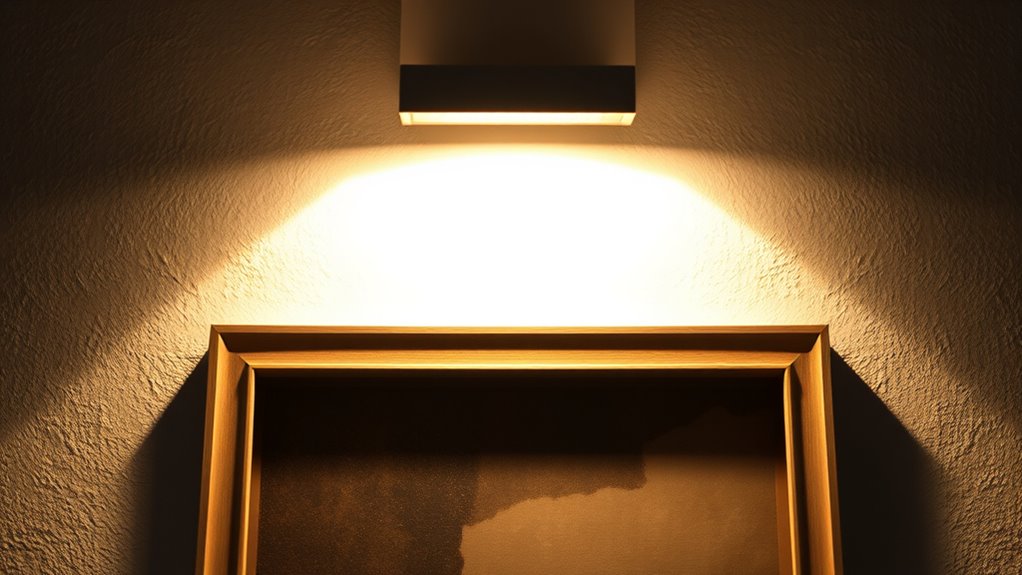
How Close Is Too Close for a Light?
When installing picture lights, finding the right distance to avoid creating harsh glare is vital. Proper lamp positioning ensures the illumination distance is just right — not too close, not too far. Using connected equipment to monitor light placement can help achieve optimal results. If the light is too close, it can cause intense glare that distracts from your artwork and strains your eyes. Ideally, the light should be positioned about 6 to 12 inches above the top of the frame and 6 to 12 inches in front of it. This distance allows the light to evenly illuminate the artwork without creating hot spots or harsh shadows. Adjusting the angle of the light can also significantly reduce glare and improve the visual comfort. Remember, the goal is to enhance your art with soft, even lighting. Proper light placement techniques ensure that your artwork is displayed beautifully and comfortably. Maintaining the correct illumination distance is essential for a balanced, glare-free display that showcases your artwork at its best. Additionally, considering lighting quality and color temperature can further improve the viewing experience and protect your artwork over time.
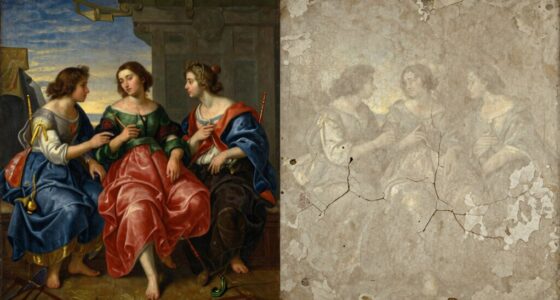
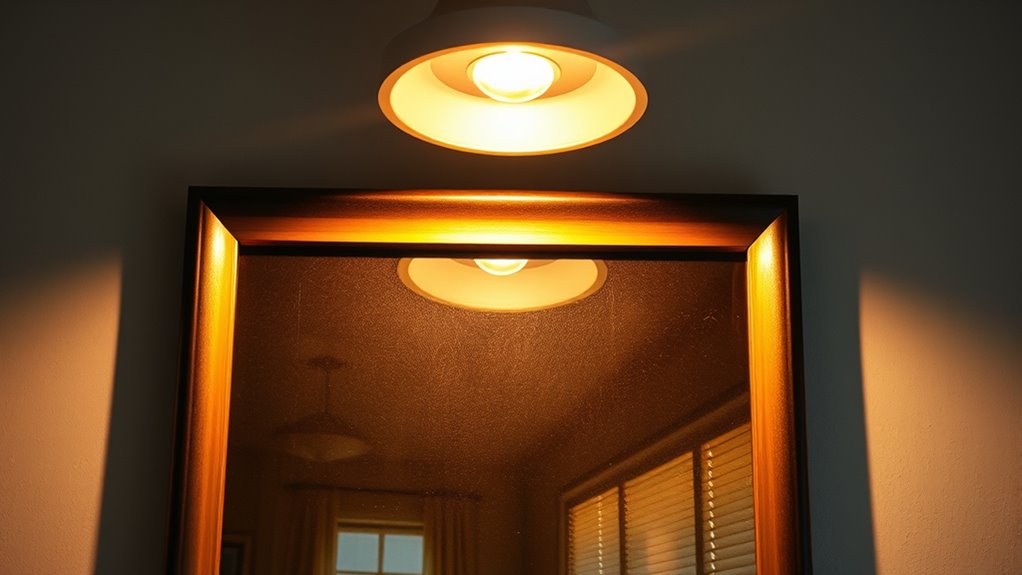
Why Overhead Placement Can Hurt Your Art and Eyes
Placing picture lights directly overhead might seem like a simple fix, but it can actually damage your art and hurt your eyes. Overhead lighting creates harsh shadows and uneven illumination, which can accelerate art conservation issues like fading or pigment deterioration. Proper lighting techniques are essential to prevent such damage and ensure your artwork remains vibrant over time. Modern lighting technology offers better options, such as adjustable and diffused fixtures that reduce glare. When you position lights too high or directly above, you risk exposing your artwork to intense, focused beams that may cause long-term harm. Additionally, the glare from overhead lights strains your eyes, making viewing uncomfortable. Using lighting control systems can help customize the lighting environment for optimal comfort and preservation. Incorporating appropriate light placement helps distribute light evenly and minimizes harsh shadows. Proper placement can also help prevent light damage by controlling how much light reaches your artwork over time. Implementing energy-efficient lighting solutions not only conserves power but also reduces heat emission, which can further protect sensitive artwork. Instead, choosing softer, well-angled lighting helps preserve your art’s integrity and creates a more comfortable viewing experience. Proper placement is key to protecting both your artwork and your eyesight.
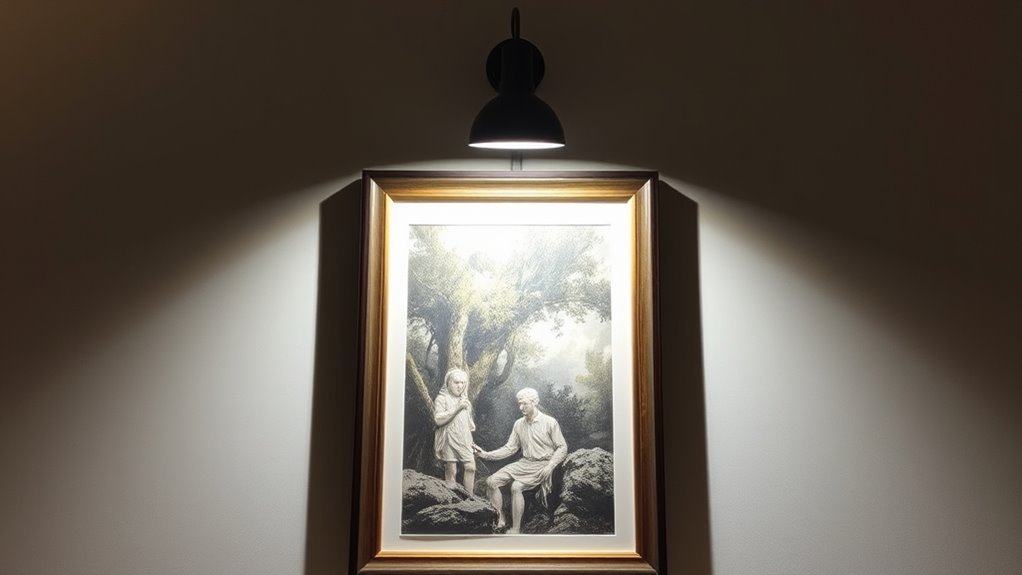
Finding the Right Height and Angle for Soft Light

Finding the right height and angle for soft light is essential to highlight your artwork without causing glare or shadows. When using artificial lighting, position the light slightly above the artwork, aiming downward at a gentle angle. This prevents harsh reflections and evenly disperses light, mimicking natural illumination. Additionally, ensuring your backup power system is reliable can prevent unexpected interruptions that might affect your display lighting. If you rely on natural light, observe how sunlight falls across your piece throughout the day, then adjust your picture light accordingly. The goal is to create a balanced glow that enhances colors and details without overwhelming or creating hotspots. Keep the light close enough to avoid uneven shadows but high enough to prevent direct glare. Proper placement guarantees your artwork is illuminated softly, making it inviting and visually pleasing. Being mindful of lighting angles can help you achieve a harmonious and flattering illumination. For optimal results, consider light diffusion techniques to further soften the light and eliminate any remaining harsh spots. To further optimize your setup, consider consistent lighting conditions to maintain a steady and pleasing visual effect.
How to Use Adjustable Fixtures and Diffusers for Balance

Adjustable fixtures and diffusers are essential tools for achieving balanced, even lighting on your artwork. With adjustable fixtures, you can easily direct light where needed, avoiding harsh spots or glare. Position the fixture so the light hits the artwork at the right angle, and tweak the height to prevent overly bright areas. Proper lighting techniques ensure your artwork is showcased effectively and comfortably for viewers. Diffusers help soften the light, reducing harsh shadows and glare that can distract from the art. Place a diffuser in front of the fixture or attach it to the light to spread the illumination evenly. Experiment with different angles and diffuser placements until you find a setup that highlights your artwork without causing discomfort or reflections. Using these tools effectively guarantees your artwork is showcased beautifully, with balanced lighting and inviting ambiance. Incorporating vetted lighting solutions can further enhance the overall effect and ensure optimal presentation. Additionally, selecting weather-resistant fixtures can prolong the lifespan of outdoor lighting setups, maintaining consistent quality over time. Proper installation techniques are also crucial for ensuring safety and optimal performance of your lighting setup.
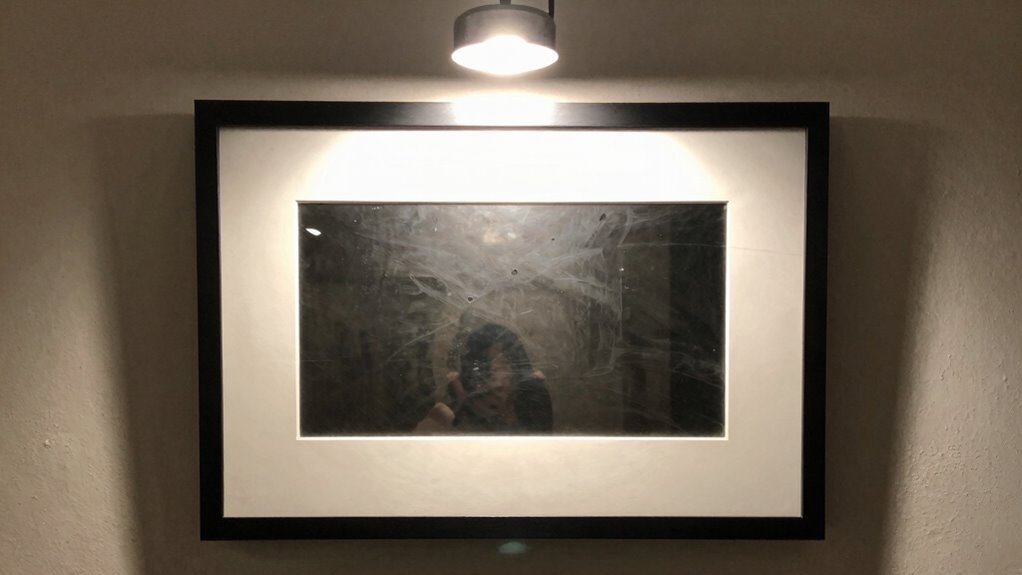
How Wall Color and Frames Affect Glare and Reflection
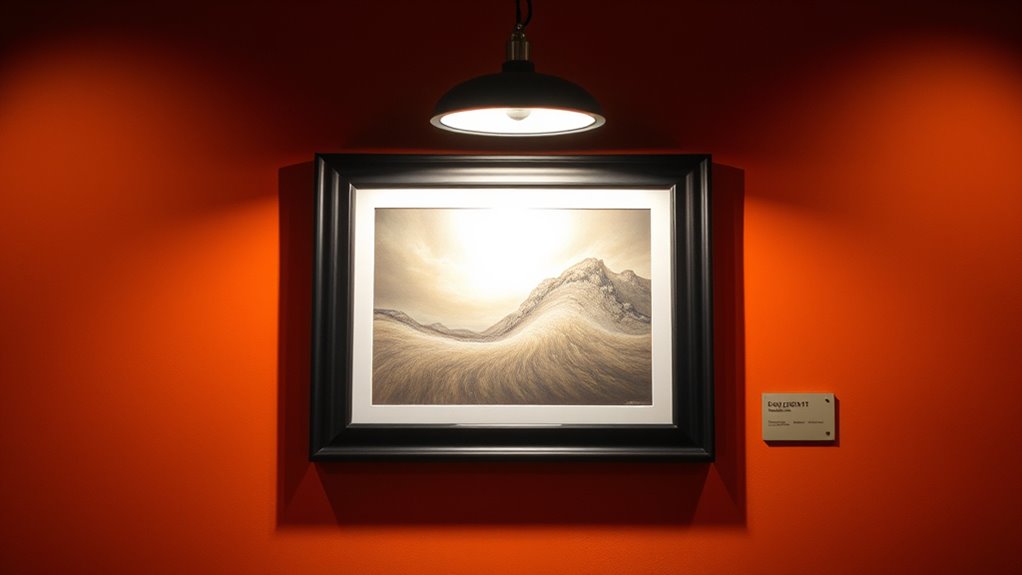
The colors of your walls and the style of your frames can considerably influence how light interacts with your artwork. Lighter wall colors reflect more light, which can amplify glare and create unwanted reflections, especially if your picture lights are positioned improperly. Using light-reflective surfaces intentionally can help brighten a space but may also increase glare if not carefully managed. Incorporating reflective qualities into your design can enhance the overall ambiance but requires careful consideration to avoid visual discomfort. Darker walls absorb more light, reducing reflections and glare, making your artwork easier to view. Additionally, shiny or glass frames can cause frame reflections, disrupting the visual experience and introducing harsh spots. Matte frames or non-reflective finishes help minimize this issue. When choosing wall colors and frames, consider how they’ll work with your lighting setup. Opt for muted tones and matte finishes to reduce glare and frame reflections, ensuring your artwork remains the focal point without harsh visual distractions. Incorporating lighting placement strategies can further help control glare and enhance the viewing experience. Proper light positioning can significantly reduce unwanted reflections and improve overall visibility of your art pieces.
Expert Tips for Perfect Picture Light Placement
Proper picture light placement is essential to highlight your artwork without causing glare or reflections. To achieve this, consider gallery lighting principles—position lights slightly above and angled downward to evenly illuminate the piece. Avoid placing lights directly in front, which can create unwanted reflections, especially on glass or glossy surfaces.
Your frame selection also plays a key role; choose frames with matte finishes or non-reflective glass to minimize glare. When arranging multiple pieces, use consistent lighting angles to create a cohesive look.
Adjust the height and angle of your picture lights until the artwork is evenly lit without harsh shadows or hotspots. Proper placement ensures your artwork stands out beautifully while maintaining a comfortable viewing experience.
Frequently Asked Questions
What Types of Bulbs Are Best for Minimizing Glare?
You should choose LED bulbs with a warm color temperature, around 2700K to 3000K, to minimize glare and create a cozy ambiance.
Opt for bulbs that are energy-efficient, which also emit less heat and reduce harsh reflections.
Dimmable options allow you to adjust brightness, preventing glare from too bright light.
How Does Ambient Lighting Influence Picture Light Effectiveness?
Ambient lighting plays a vital role in how effective your picture lights are. When you have soft, well-balanced ambient light, it enhances the artwork color and reduces harsh shadows caused by wall texture.
This creates a harmonious viewing experience, allowing the picture lights to highlight details without overwhelming the artwork. By controlling ambient lighting, you guarantee your picture lights complement your artwork instead of competing with it, making your display more striking.
Can Picture Lights Be Used on Textured or Uneven Walls?
Yes, you can use picture lights on textured or uneven walls, but you’ll need to choose the right type. Use adjustable picture lights or wall-mounted fixtures with flexible arms to accommodate uneven surfaces and wall texture.
Make certain the light is positioned to avoid harsh glares or shadows, and consider diffusers to soften the light. Proper placement helps highlight artwork without accentuating wall imperfections, creating a balanced and attractive display.
What’s the Ideal Wattage for Different Artwork Sizes?
For artwork, choose a wattage that provides enough light without causing glare—around 25 to 40 watts for small pieces, and 40 to 75 watts for larger ones.
Opt for picture lights with adjustable dimming options to set the perfect brightness.
Also, consider the color temperature; a warmer tone (around 2700K) highlights colors beautifully, while cooler temps (around 3000K) create a more modern look.
Are There Specific Fixtures Recommended for Sensitive or Delicate Art?
For sensitive or delicate art, you should choose fixtures that prioritize art conservation and gentle gallery lighting.
Opt for LED picture lights with dimmable features, as they emit minimal UV and infrared rays, reducing damage.
Look for fixtures specifically designed for art, such as those with adjustable arms and diffusers, to guarantee even, soft illumination.
This approach protects your artwork while enhancing its visual appeal without harsh glare.
Conclusion
To avoid harsh glare and protect your artwork and eyes, take the time to find the right light placement. Use adjustable fixtures and diffusers to soften the glow, and pay attention to wall color and framing. Remember, the right height and angle make all the difference. With a little patience and some expert tips, you can create a beautifully lit display that highlights your art without causing discomfort or reflection.