
To make high-resolution files without losing texture, choose tools like vector graphics or AI upscaling software to maintain sharp details. Use proper resolution settings, such as 300 DPI, and save in lossless formats like TIFF or PNG. Applying careful post-processing, like targeted sharpening and noise reduction, helps preserve surface nuances. Managing textures and references guarantees consistency, so your artwork remains detailed at any size. Exploring these techniques further will equip you to keep every texture intact.
Key Takeaways
- Use vector graphics for scalable, resolution-independent artwork to prevent texture loss during enlargement.
- Maintain high-resolution settings (at least 300 DPI) when creating and exporting files to preserve fine details.
- Apply careful sharpening and noise reduction techniques post-processing to enhance texture clarity without artifacts.
- Save files in lossless formats like TIFF or PNG to prevent quality degradation that can diminish textures.
- Regularly calibrate monitors and use accurate color management to ensure textures are true to original artwork.

Canon Office Products TS9020 RD Canon TS9020 Wireless All-in-One Printer with Scanner and Copier: Mobile and Tablet Printing, with AirPrint and Google Cloud Print Compatible, Red
Stunning Print quality. From stunning photographs with creative filters to detailed documents put the 6 individual ink system…
As an affiliate, we earn on qualifying purchases.
As an affiliate, we earn on qualifying purchases.
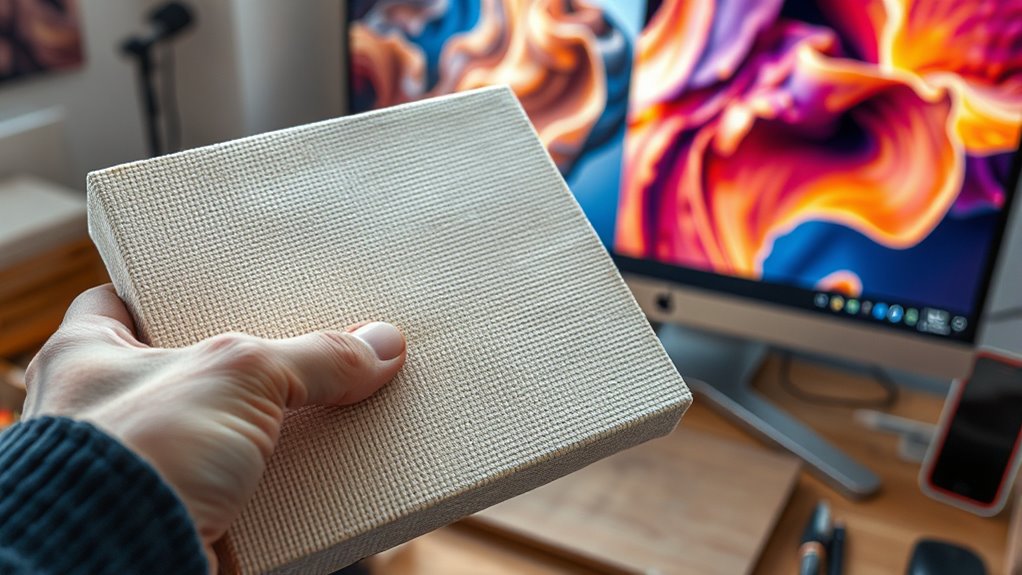
Understanding the Importance of Texture in Digital Art
Have you ever noticed how texture can bring digital art to life? It’s the key to making your artwork feel tangible and immersive. Preserving texture during the creation process guarantees that your digital brushwork maintains its depth and richness when scaled up. Texture preservation involves careful attention to detail, capturing the subtle variations that make your work unique. When you focus on digital brushwork, you add layers of complexity that invite viewers to explore your art more intimately. Without proper texture preservation, high-resolution files risk losing the tactile quality that sets your work apart. Additionally, understanding how contrast ratio impacts image quality can help you ensure that textures are accurately represented and stand out in your digital pieces. Recognizing the role of digital resolution in maintaining detail is essential for achieving high-quality results. Paying close attention to file management techniques can also prevent loss of texture during editing and exporting processes. Incorporating advanced color management practices can further enhance texture fidelity across different devices and outputs. Being mindful of compression settings is also crucial, as excessive compression can diminish the richness of textures in your final image. By intentionally maintaining these textures, you ensure your digital art retains its vibrancy and authenticity, even when enlarged for printing or display.

Nero AI Image Upscaler 365 | Enlarge Images & Sharpen Photos | AI Upscaling to 4K | Fix Blurry & Low-Resolution Pictures | Easy Photo Optimization | 1 PC | Windows 11/10
✔️ AI Upscaling up to 4K: Enlarge small, low-resolution, or old photos with crisp details, clean edges, and…
As an affiliate, we earn on qualifying purchases.
As an affiliate, we earn on qualifying purchases.
Choosing the Right Upscaling Tools and Software

Choosing the right upscaling tools is vital for maintaining your artwork’s quality. You should compare algorithms to see which preserves texture details best. Consider software options that align with your needs and offer reliable performance.
Software Selection Tips
Selecting the right upscaling software is essential for producing high-resolution files that meet your artistic needs. Focus on tools that support vector optimization to maintain crisp lines and details. Guarantee software compatibility with your operating system and existing workflow to avoid technical issues. Look for features like AI-assisted upscaling and batch processing to boost productivity. Consider user interface simplicity for ease of use. The table below highlights key criteria:
| Criterion | Importance | Examples |
|---|---|---|
| Vector Optimization | Preserves sharp lines and details | Topaz Gigapixel, Adobe Photoshop |
| Software Compatibility | Seamless integration with your tools | Windows, Mac, Photoshop plugins |
| User Interface | Ease of navigation and adjustments | Intuitive controls, tutorials |
| Processing Speed | Efficient handling of large files | GPU acceleration, batch options |
| Features & Updates | Ongoing improvements and tools | AI enhancements, presets |
Additionally, selecting software that is regularly updated ensures access to the latest content enhancement techniques.
Preserving Texture Details
When it comes to upscaling artwork, preserving texture details can make or break the final result. Choosing the right tools for texture enhancement and detail retention is essential. Look for software that specializes in intelligent upscaling, as it preserves fine textures while enlarging images. Consider options with advanced algorithms that analyze and enhance surface details without oversmoothing.
Key features to prioritize include:
- AI-driven detail preservation for realistic textures
- Adjustable settings for fine-tuning texture enhancement
- Compatibility with high-resolution workflows
Comparing Upscaling Algorithms
Different upscaling algorithms offer varying approaches to enhancing image resolution, making it critical to understand their strengths and limitations. Neural network-based methods excel at preserving textures, using AI to predict missing details. In contrast, traditional image interpolation relies on algorithms like bicubic or Lanczos, which can cause blurring or artifacts. Choosing the right tool depends on your goals—whether prioritizing sharpness or natural textures. Here’s a quick comparison:
| Method | Strengths | Limitations |
|---|---|---|
| Neural Network | Preserves textures, detailed AI | Computationally intensive |
| Bicubic Interpolation | Fast, simple, widely supported | Can produce softness or artifacts |
| Lanczos | Sharp results, good for details | May introduce ringing |
Understanding these differences helps you select the best upscaling algorithm for high-resolution files without sacrificing texture.

ADOBE ILLUSTRATOR 2026 FOR DESIGNERS: The Hands-On Step-By-Step Illustrated Manual To Learn Vector Design, Logo Creation, Digital Illustration, Branding, Advanced Technique With Real Project Tutorial
As an affiliate, we earn on qualifying purchases.
As an affiliate, we earn on qualifying purchases.
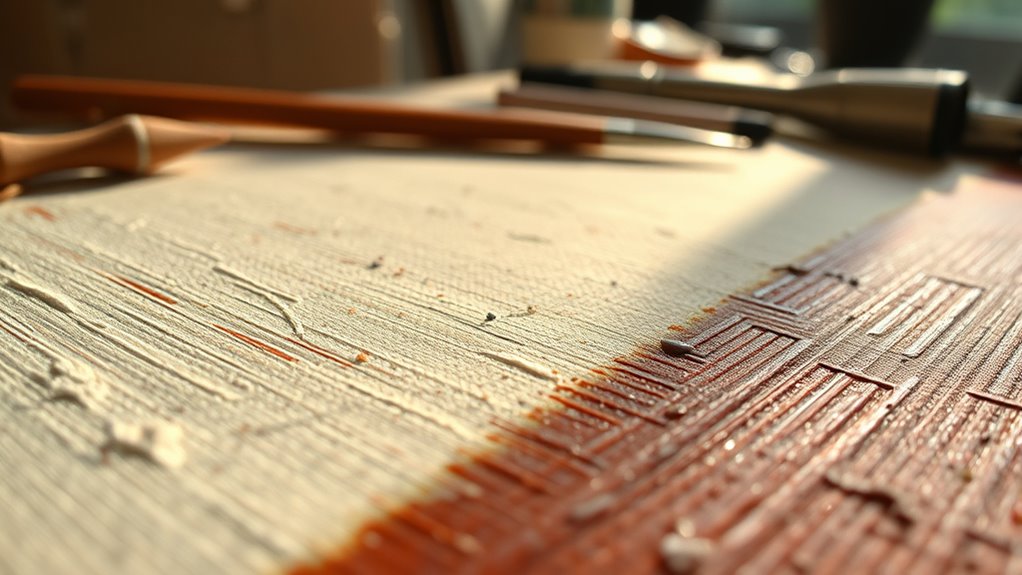
Techniques for Preserving Detail During Enlargement

To keep details sharp when enlarging your artwork, start by using vector graphics for scalable images. You should also apply sharpening techniques carefully to enhance clarity without adding noise. Additionally, utilizing local automation features can help fine-tune the image during processing, ensuring optimal results. Ultimately, optimize your resolution settings to guarantee your file maintains quality at larger sizes. Incorporating visual and auditory cues can further aid in maintaining detail and clarity during the enlargement process.
Use Vector Graphics
Vector graphics are essential for artists who want to maintain sharp, detailed images when enlarging their work. Unlike raster images, vectors use mathematical equations to define shapes, ensuring consistent quality at any size. This approach preserves color accuracy and prevents pixelation, making your artwork look professional even when scaled up. Additionally, vector files are smaller and easier to manage because they don’t rely on complex pixel data, reducing issues with file compression. To maximize benefits, focus on creating clean, scalable outlines and avoid unnecessary detail that can complicate enlargements. Regularly updating your design techniques ensures you stay current with best practices for preserving detail during enlargement. For optimal results, consider resolution independence as a key principle in your workflow to prevent quality loss. Incorporating vector editing software can further enhance your ability to create precise and scalable artwork. Maintain simple, smooth lines for clarity. Use color gradients thoughtfully to enhance depth. Regularly check file compression settings to avoid quality loss, and understanding quality assurance methods can help verify that your files meet professional standards. Also, adopting scalable graphics practices can significantly improve your workflow efficiency and output quality.
Apply Sharpening Techniques
When enlarging your artwork, applying sharpening techniques helps preserve fine details and maintain image clarity. Edge enhancement emphasizes the boundaries between different tones and textures, making details stand out more clearly. Use subtle detail sharpening to bring back soft or blurred areas caused by enlargement, without introducing noise. Carefully adjusting these settings ensures your image remains crisp without over-sharpening, which can create unnatural halos or artifacts. Focus on sharpening only the necessary areas to avoid losing overall texture. Combining edge enhancement with selective detail sharpening allows you to retain the integrity of your original work. Always preview your adjustments at full size to ensure your sharpening enhances the image without compromising quality. Proper application is key to achieving a sharp, detailed high-resolution file.
Optimize Resolution Settings
Optimizing resolution settings is essential for preserving detail when enlarging your artwork. To do this effectively, focus on accurate color calibration to maintain true colors during scaling. Avoid excessive file compression, which can reduce image quality and obscure textures. When enlarging, set your DPI to at least 300 for sharpness, and choose a resolution that balances detail with file size. Keep these tips in mind:
- Use color calibration tools to ensure consistent hues during enlargement.
- Minimize file compression to prevent loss of detail and texture.
- Adjust resolution settings carefully, maintaining high DPI and proper pixel dimensions.
- Understanding image resolution is crucial for achieving optimal print quality without sacrificing texture. Additionally, being aware of Fin and Forage concepts can help artists select the best materials for their projects, ensuring durability and longevity of prints.
- Proper resolution setting also helps in avoiding energy loss, which can occur if images are improperly enlarged or compressed, affecting overall quality and detail preservation. Being mindful of resolution workflow can further streamline the process and enhance final results.
datacolor Spyder – Monitor Calibrator for Graphic Designers, Photographers, and Content Creators, Shows You True Colors, Works on OLED Monitors & LED Screens, Easy-to-Use Color Calibration Tool
Color “Surprises” Are a Thing of the Past: Datacolor’s exclusive DevicePreview TM Beta feature simulates what your photos…
As an affiliate, we earn on qualifying purchases.
As an affiliate, we earn on qualifying purchases.
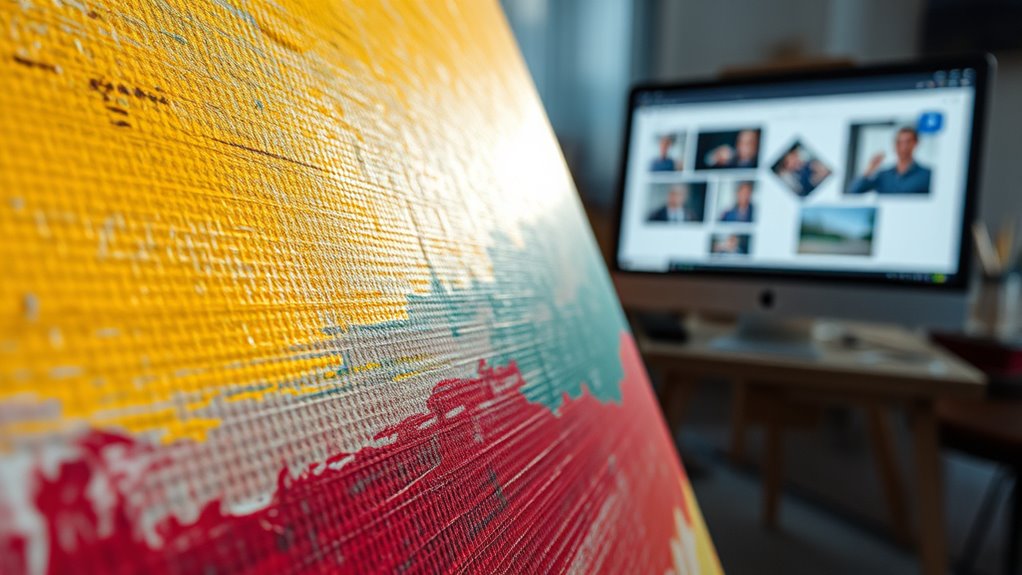
Utilizing High-Resolution Textures and References
Using high-resolution textures and references is vital for creating detailed and realistic artwork. They help you capture subtle details and avoid pixelation when zooming in. When incorporating textures, make sure they are high-quality and aligned with your project’s resolution. This allows your digital brushwork to blend seamlessly, maintaining sharpness and depth. Color calibration is also essential; by matching the reference colors accurately, you preserve the artwork’s vibrancy and realism. Use calibrated monitors to see true colors, preventing discrepancies that could compromise detail. Additionally, understanding ear wax odor can inform how subtle textures and details are perceived in natural elements within your artwork. Proper texture management ensures that every element contributes to a cohesive and lifelike image. Regularly practicing texture blending techniques can enhance how textures integrate smoothly into your digital pieces, resulting in more natural transitions. Consistently updating your reference library can help you access a wider array of accurate textures and improve your overall workflow. By combining high-res textures with precise references and proper color calibration, you guarantee your artwork retains its texture and clarity at every stage, resulting in a polished, professional finish.
Best Practices for Exporting and Saving High-Quality Files
To make certain your digital artwork retains its quality and detail, adopting best practices for exporting and saving high-resolution files is essential. First, ensure your monitor is color calibrated to maintain accurate color representation throughout the workflow. When exporting, choose a lossless file format like TIFF or PNG to prevent quality loss. Be mindful of file compression; avoid excessive compression that can introduce artifacts and reduce detail. Additionally, double-check that your resolution settings match your intended output, typically 300 DPI for print. Keep a master file saved in an uncompressed format, and create smaller, compressed versions only for sharing or online display. Preserving image quality can help ensure clarity and directness in your instructional content. Furthermore, understanding the impact of compression on image fidelity is crucial for maintaining your artwork’s texture and overall quality. To further safeguard your work, consider utilizing color management techniques throughout your workflow. Being aware of monitor calibration and consistent color profiles can significantly improve your results. By following these practices, you preserve your artwork’s texture, color fidelity, and overall quality.
Tips for Post-Processing to Enhance Texture Clarity
Enhancing texture clarity in your post-processing can make your artwork stand out with greater detail and realism. To achieve this, focus on precise adjustments like color grading to emphasize subtle textures and tones. Use noise reduction carefully to eliminate grain without losing fine details; overdoing it can soften textures. Sharpening selectively helps accentuate edges and surface details, making textures pop. Keep an eye on your overall contrast and brightness—proper balance highlights surface nuances. Additionally, understanding the importance of image resolution ensures your textures remain sharp and clear during editing. High resolution files provide the necessary detail to maintain texture fidelity when applying post-processing techniques. Here’s a quick guide:
| Technique | Purpose | Tip |
|---|---|---|
| Color Grading | Enhance tonal depth | Subtly adjust midtones for texture |
| Noise Reduction | Minimize grain, preserve detail | Use selective noise reduction |
| Sharpening | Clarify edges and details | Apply with a soft brush |
| Contrast & Brightness | Highlight surface nuances | Fine-tune for texture emphasis |
Frequently Asked Questions
How Does File Format Affect Texture Preservation in High-Resolution Images?
Your choice of file format directly impacts texture preservation in high-resolution images. Formats like TIFF and PNG retain detail and color gamut better, preventing compression artifacts that can blur textures. JPEG, however, compresses data, risking artifacts and color shifts that degrade texture quality. To keep textures sharp and true to the original, select lossless formats, especially when working with detailed artwork or high-quality prints.
Can Ai-Based Tools Improve Texture Detail Without Manual Editing?
Yes, AI-based tools can definitely deliver dazzling detail without demanding manual effort. With AI enhancement, you can boost texture fidelity, ensuring your images retain their richness and realism. These tools analyze and amplify fine details, making textures pop while preserving the original quality. So, you get sharper, more vibrant visuals effortlessly, saving you time and effort while achieving professional-grade results.
What Hardware Specifications Are Ideal for Handling Large High-Resolution Files?
You should aim for a powerful setup with at least 32GB of RAM and a high-performance GPU to handle large high-resolution files smoothly. Prioritize fast storage solutions like SSDs to reduce load times and prevent bottlenecks. Adequate hardware capacity guarantees seamless editing, while ample storage solutions keeps your files organized and accessible. Investing in reliable components helps maintain performance and prevents data loss during intensive creative sessions.
Are There Specific Color Profiles Recommended for Maintaining Texture Fidelity?
You should use color management with ICC profiles like Adobe RGB or ProPhoto RGB to maintain texture fidelity. These profiles support a wide color gamut, ensuring your high-resolution files stay vibrant and true to the original. Always check file compatibility across your software and devices, and embed the color profile in your files. This way, your textures remain consistent and accurate, no matter where or how you view or print your artwork.
How Do Different Monitor Calibrations Impact the Perception of Texture Quality?
Monitor calibration considerably impacts your perception of texture quality by ensuring accurate color and brightness levels, which enhances visual detail. When your monitor is properly calibrated, you see more precise color accuracy, making textures appear richer and more realistic. Poor calibration can distort texture perception, causing details to seem dull or exaggerated. Regular calibration helps maintain consistent visual detail, so your artwork’s textures are always displayed as intended, preserving their true quality.
Conclusion
Don’t let concerns about losing texture hold you back from creating high-resolution digital art. By choosing the right tools, applying careful techniques, and utilizing quality textures, you can enlarge your work without sacrificing detail. Even if you think it’s too complex, these methods are accessible and manageable. With practice, you’ll see your textures stay sharp and vibrant, elevating your art to professional levels. Keep experimenting, and your high-res files will impress every viewer.