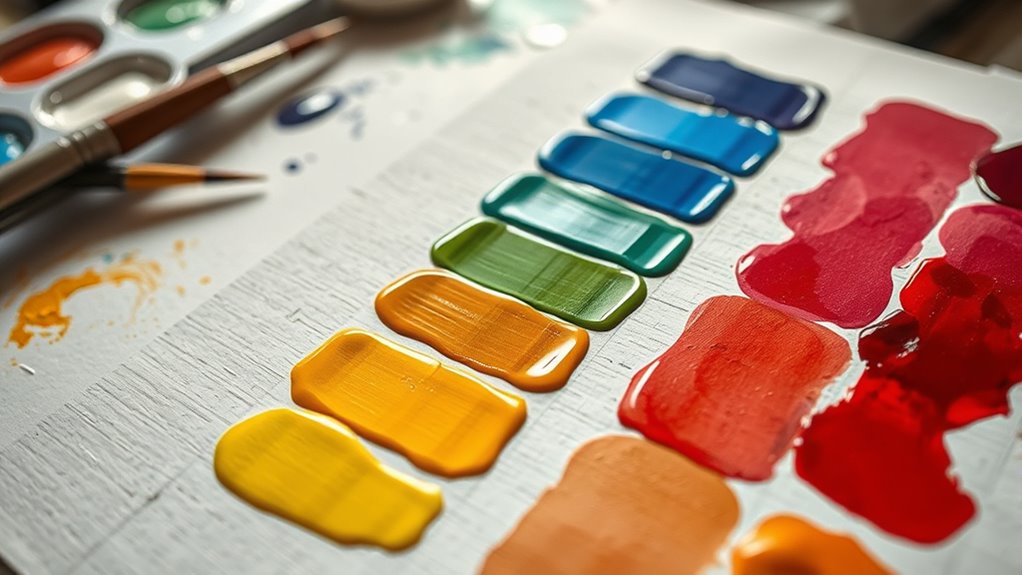
Testing colors with swatches before starting your artwork helps you catch issues early, ensuring your colors stay true and work harmoniously together. It lets you verify hue, transparency, and drying times, preventing costly mistakes later. Using swatches also boosts confidence, saves time, and reduces waste by allowing adjustments beforehand. If you want to create cohesive, vibrant paintings and avoid surprises, understanding this step is essential—keep exploring how to perfect your color testing process.
Key Takeaways
- Testing colors beforehand ensures accurate hues and prevents surprises in the final artwork.
- Swatches help verify pigment properties like transparency, opacity, and drying time, avoiding costly mistakes.
- Creating color samples allows artists to check surface compatibility and consistency for cohesive results.
- The process saves time and money by reducing rework, correcting errors early, and ensuring color longevity.
- Proper testing fosters confidence and informed decision-making, leading to more harmonious and visually appealing paintings.

tumuarta Artist’s Color Swatch Book, 100% Cotton, 140 LB, 300GSM, Concertina Book, 24 Pan/Sheet, Painter`s Color Diary for Watercolors, Acrylic, Markers and Wet & Dry Media (7.5" x 5")
ORGANIZATIONAL TOOL: it allows you to easily match the exact colors from the real color swatch. and help…
As an affiliate, we earn on qualifying purchases.
As an affiliate, we earn on qualifying purchases.
Why Testing Colors First Helps Your Artwork

Testing colors before you begin your artwork is essential because it allows you to see how different hues interact and appear on your chosen surface. This step helps you understand how color mixing works, revealing how pigments blend and change when combined. Creating a healthy environment with proper testing can also prevent the inhalation of harmful fumes from unexpected pigment reactions. Additionally, proper ventilation during testing ensures that fumes are safely dispersed, safeguarding your health. By experimenting with pigment selection early on, you prevent surprises later, ensuring your colors stay true to your vision. It also helps you identify which pigments provide the desired opacity, transparency, or vibrancy. When you test colors beforehand, you gain confidence in your choices, reducing mistakes and wasted paint. This process ultimately streamlines your workflow, saving time and resources. Plus, it sharpens your eye for color harmony, making your final piece more cohesive and visually appealing. Proper testing also allows you to better understand pigment properties, which can influence how your artwork develops over time. Understanding these material characteristics can help you select the best pigments for longevity and stability in your artwork.

YOUR ESSENTIAL COLOR SWATCH LOGBOOK: Test and Track Markers, Pencils, Paint & Mixing Notes • 8.5×11 Book Size • 52 Swatch Pages •
As an affiliate, we earn on qualifying purchases.
As an affiliate, we earn on qualifying purchases.
Key Benefits of Using Swatches Before Painting
Using swatches before painting helps you verify color accuracy, ensuring your final work matches your vision. It also allows you to check material compatibility, preventing unexpected reactions or issues. Plus, testing saves you time and money by avoiding mistakes and reducing waste early in the process. Additionally, practicing with swatches can improve your overall technique and confidence for larger projects. Being curious about artistic techniques can lead to more innovative and satisfying results. Incorporating organized routines into your testing process can make it easier to develop consistent, effective habits that support your creative goals. Employing free floating methods in your testing can also offer greater flexibility and spontaneity in experimenting with colors. Developing a streamlined document management system can help artists keep track of their color tests and progress efficiently.
Color Accuracy Verification
Creating a color swatch before you start painting guarantees that you see exactly how your chosen hues will look once applied. This step allows you to verify color accuracy, ensuring your perception matches the actual pigment. Detecting passive voice can improve clarity and engagement in your writing. Variations in pigment consistency can affect how colors appear once on the canvas, so testing beforehand helps you identify any discrepancies. By comparing your swatch to your intended palette, you can adjust mixtures or choose different hues if needed. This process minimizes surprises later, saving you time and materials. Accurate color perception is essential for achieving your desired mood and harmony in your artwork. Using swatches as a verification method ensures your colors will look right, giving you confidence and control as you proceed.
Material Compatibility Check
Before you commit to a large area of your canvas, checking material compatibility with swatches helps prevent unexpected issues. Testing pigment stability and surface adhesion early ensures your chosen materials work well together. For instance, some pigments may fade or change over time, while certain surfaces might not hold paint properly. Using swatches, you can evaluate how your materials interact before investing in a full piece. Additionally, understanding the science behind at-home beauty tech can inform your approach to selecting the right surfaces and materials for your artwork. Recognizing the diversity of natural landscapes in regions like Illinois and Kansas can also inspire you to choose backgrounds and textures that complement your palette. Being aware of artists like Kate from Breaking Amish achieving financial independence through personal branding can motivate you to test your materials thoroughly to ensure longevity and success. Moreover, considering material aging helps you anticipate how your artwork may evolve over time, and understanding essential oil properties can guide you in incorporating natural elements into your creative process.
Time and Cost Savings
Testing small color samples on your chosen surface saves you both time and money by revealing potential issues early on. It allows you to experiment with color blending techniques and guarantees the hues work harmoniously before committing to the full piece.
By doing so, you avoid costly mistakes like mismatched textures or unexpected color reactions that could require reworking large sections. Swatches help you gauge how colors will look once dried or layered, saving you from unnecessary reapplication.
This preemptive step streamlines your workflow, reducing the need for multiple adjustments and minimizing waste. Ultimately, investing a little time in testing pays off by preventing costly errors and keeping your project on schedule and within budget.

Magic Palette Color Mixing Guide 11.5 Inch
Please__contact us to solve the problem w/ name: The Color Wheel 5324CW Magic Palette Personal Mixing Guide New…
As an affiliate, we earn on qualifying purchases.
As an affiliate, we earn on qualifying purchases.
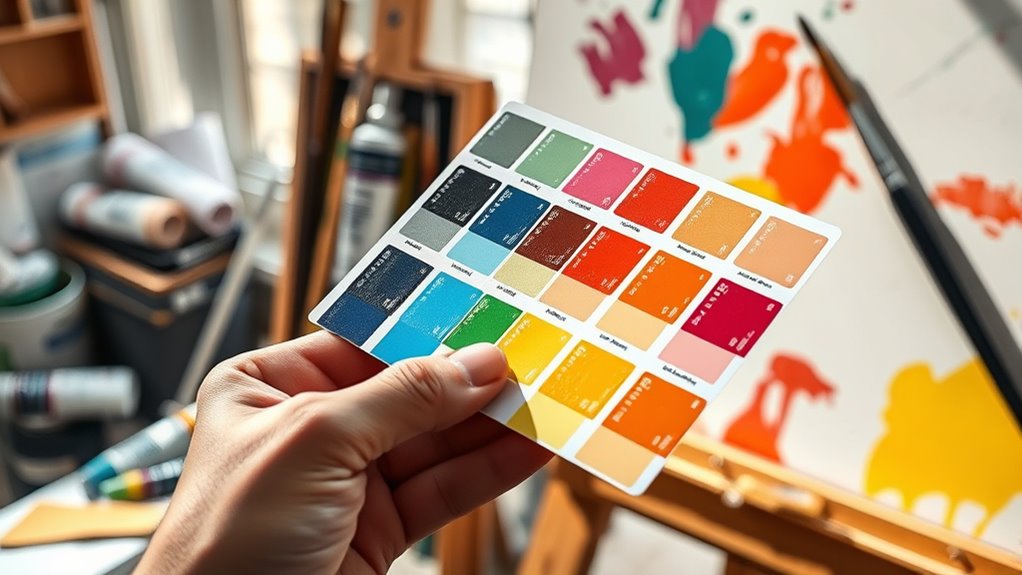
Learn How to Make and Use Color Swatches Effectively

Learning how to make and use color swatches can considerably improve your artistic process. Start by preparing small, labeled samples of your pigments or paints on sturdy paper or canvas. This helps you observe pigment stability over time, ensuring colors won’t shift unexpectedly. Proper material selection is essential to prevent issues such as bleeding or fading, which can compromise your color tests. When creating swatches, note drying times to understand how quickly each color sets, which influences your layering and blending techniques. Keep your swatches organized in a dedicated palette or binder for quick reference. Regularly test and update them as your materials change or new colors are added. Using well-made swatches guarantees you have a reliable reference, saving you time and frustration during the actual painting. Incorporating quality assessment into your process ensures your colors remain consistent and true to your initial tests, reducing the need for costly corrections later. Consistent testing also allows you to identify color shifts early, preventing surprises in your final work. Additionally, consistent testing helps you build confidence in your color choices, leading to more harmonious and effective artworks. This practice enhances color consistency and helps you make informed decisions before committing to large, costly applications.

DANIEL SMITH 001900501 Extra Fine Watercolor 66-Dot Try-It Card, Multi Color
Includes 24 dots of primateks, our entire collection of 12 quinacridone colors, all 6 of our cadmium hues,…
As an affiliate, we earn on qualifying purchases.
As an affiliate, we earn on qualifying purchases.
Try These Techniques to Test and Adjust Your Colors
You can test your colors by creating different color swatch variations to see how they interact. Adjust your shades using test swatches until you guarantee the desired hue and value. This hands-on approach ensures your final colors will look just right in your artwork. Incorporating smart design principles into your testing process can help create a more comfortable and welcoming artistic environment. Additionally, considering visual harmony during testing can lead to more cohesive and aesthetically pleasing results.
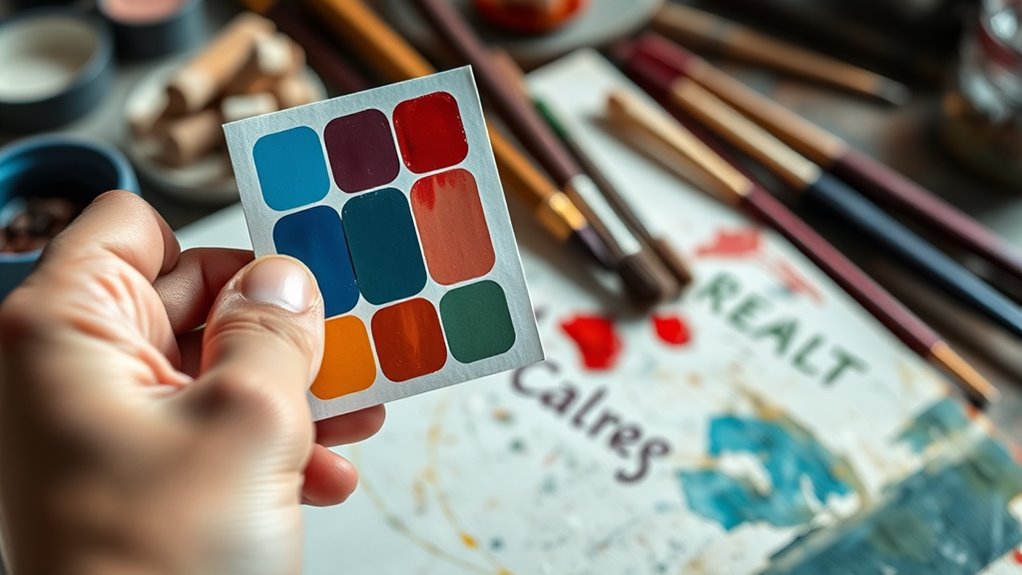
Color Swatch Variations
To guarantee your colors look just right, experimenting with various color swatch techniques can make all the difference. Creating different color swatch variations helps you understand how your chosen hues behave within your color palette.
Try testing small batches with slight variations in pigment consistency—adding more water or medium to see how the color responds. These adjustments reveal how your paint dries and mixes, ensuring you select the most reliable shades. Incorporating paint consistency techniques from professional artists can further enhance the predictability of your colors in different painting scenarios.
You can also experiment with layering swatches to observe transparency, opacity, and texture. By exploring these variations, you gain insight into how your colors will perform in your artwork, preventing surprises later. Understanding color properties such as hue, value, and saturation can help you predict how colors will interact when layered or mixed, greatly improving your overall palette management.
Additionally, keeping detailed records of your color tests allows you to reference your successful combinations in future projects, saving time and effort. This process saves time and helps you develop a cohesive palette that’s consistent and true to your vision.
Adjusting With Test Swatches
When adjusting your colors with test swatches, it’s essential to observe how small tweaks affect the final outcome. This process helps refine your color mixing skills and guarantees your palette selection aligns with your vision.
Start by applying tiny adjustments to your test swatches, paying close attention to hue, value, and saturation. Compare these swatches side by side to see how each change influences the overall harmony.
If a color appears too dull or too vibrant, tweak your mixing ratios accordingly. Remember, effective palette selection involves understanding how colors interact and complement each other.
Testing on swatches allows you to make precise adjustments before committing to your painting, saving time and preventing costly mistakes. This step boosts your confidence in achieving consistent, vibrant colors.
Avoid Common Mistakes When Testing Colors

Testing colors carefully is essential to avoid common mistakes that can lead to disappointing results. One key mistake is neglecting proper pigment selection, which can cause colors to look different once applied. Always choose high-quality pigments suited for your medium, as inferior options can fade or change over time.
When testing, focus on how colors interact during color mixing; rushing this step might result in muddy or inaccurate hues. Avoid testing colors on surfaces that don’t match your final work, since lighting and surface texture affect appearance.
Don’t skip multiple tests for subtle shades, as small differences become more apparent later. Being deliberate and attentive during color testing guarantees you catch potential issues early, saving time and frustration during the actual painting process.
Simple Tips for Adding Swatch Testing to Your Routine
Incorporating swatch testing into your routine helps guarantee your colors perform as expected before starting your main project. Begin by setting up a dedicated area for your test swatches—this encourages organized palette organization.
When testing new colors, focus on how they mix with others to understand their true hue and transparency. Use small, consistent strokes to record your observations, making it easier to compare shades later.
Keep your palette tidy by creating sections for different color families or mixing stages, which simplifies your workflow. Incorporate regular swatch testing as part of your prep, especially when experimenting with new color combinations.
This habit helps you avoid surprises, saves time, and ensures your final artwork reflects your intended palette and color mixing skills.
Final Checks: Ensuring Your Colors Will Work Together

Before starting your final project, ensuring that your colors work well together is essential. Check for color harmony by testing how pigments interact when layered or mixed. Variations in transparency can affect overall balance; some pigments may appear vibrant alone but become muted when combined. To evaluate, compare how different colors blend or overlay:
| Color 1 | Color 2 | Resulting Effect |
|---|---|---|
| Bright Red | Transparent Blue | Deep Violet |
| Warm Yellow | Cool Purple | Muted Earth Tone |
| Cadmium Orange | Phthalo Green | Neutral Gray |
| Ivory Black | Titanium White | Smooth Gradient |
| Burnt Sienna | Raw Umber | Harmonious Earth |
This final step helps you anticipate how colors will behave, ensuring cohesive, harmonious results in your artwork.
Frequently Asked Questions
How Do I Choose the Right Paper or Surface for Swatches?
You choose the right paper or surface for swatches by considering its texture and surface absorbency.
Opt for smooth paper if you want to see true color, and rougher textures for interesting effects.
Test different surfaces to see how they absorb and interact with your medium. This helps you understand color behavior, ensuring your final artwork matches your vision.
Picking the right surface makes your color testing more accurate and reliable.
Can Color Testing Be Integrated Into Digital or Mixed Media Artwork?
Yes, you can incorporate color testing into digital or mixed media artwork. Use digital tools for quick color swatches, experimenting with hues and shades before applying them physically.
In mixed media, create small color tests on different materials, then scan or photograph them to compare digitally. This integration helps you make informed color choices, ensuring harmony and consistency across your artwork, saving time and preventing costly mistakes.
How Often Should I Retest Colors During a Project?
You should retest colors regularly throughout your project to guarantee color stability. A good rule of thumb is to check your colors at least once every few hours or whenever you switch to a new batch of paint.
This testing frequency helps you catch any shifts early, maintaining color consistency and ensuring your artwork remains true to your original vision. Consistent testing keeps your colors reliable and your project on track.
What Tools Are Best for Creating Precise and Consistent Swatches?
You should use high-quality color matching tools like color charts, digital color meters, or pre-made color swatch books for creating precise and consistent swatches. These tools help you maintain palette consistency and guarantee your colors stay true throughout your project.
How Do Lighting Conditions Impact Color Testing Accuracy?
Lighting conditions greatly impact your color testing accuracy. When you work under consistent lighting with a stable color temperature, your swatches reflect true colors, helping you make better choices.
Ambient light can alter your perception, so avoid changing light sources or working in mixed lighting. By controlling these factors, you guarantee your color tests are reliable, leading to more harmonious and accurate paintings.
Conclusion
By testing your colors with swatches first, you set yourself up for a successful painting. It helps you see how colors interact, avoid surprises, and make confident choices. Incorporate swatch testing into your routine, experiment with techniques, and do final checks to guarantee everything works harmoniously. This simple step saves time, reduces mistakes, and ultimately leads to a more cohesive, vibrant artwork. Start testing your colors today and watch your paintings improve!