
To plan scale for your artwork, start by sketching your ideas with thumbnails to explore composition and proportions. Use grids or measurement techniques to transfer your design accurately, and create small mock-ups to test colors, textures, and overall balance. Digital tools can help visualize the final layout, and projection or grid methods assist in enlarging your design onto the wall. If you keep exploring, you’ll learn how to refine your plan for a successful large-scale piece.
Key Takeaways
- Use grid and measurement transfer techniques to accurately scale sketches from studio to wall.
- Create small-scale models or mock-ups to test proportions, textures, and structural ideas.
- Develop detailed digital sketches or 3D models for precise visualization of large-scale layout.
- Conduct color and texture tests on samples to ensure harmony and impact at full size.
- Plan spatial arrangement and visual balance early to maintain cohesion and viewer engagement.
Why Scale Matters in Artistic Planning

Understanding the scale of your project is essential because it directly influences how your artistic vision comes to life. Size perception plays a key role in how viewers experience your work, affecting emotional impact and message clarity. Incorporating ventilation considerations early in your planning process can ensure your workspace remains comfortable and conducive to creative flow. When planning, your spatial awareness helps you judge proportions accurately, ensuring elements fit harmoniously within the composition. If you underestimate scale, your piece might feel cramped or insignificant; overestimating can lead to awkward, unwieldy results. By considering scale early, you align your intentions with practical execution. This awareness guides decisions about details and overall form, fostering a cohesive final piece. Additionally, understanding projector resolution and image details can help you plan the size and clarity of your artwork when transferring concepts to larger formats, ensuring your vision remains sharp and impactful. Furthermore, mastering Size perception allows artists to effectively communicate their intended message, making their work more engaging and impactful. Recognizing visual proportions is crucial for creating balanced compositions that resonate with viewers, enhancing the overall effectiveness of your art. Being aware of market trends and insights, such as recent surges or pump patterns, can also inform your planning process, helping you anticipate how your work might be received or how to adapt your strategy for better engagement. Ultimately, mastering size perception and spatial awareness empowers you to translate your ideas into impactful, well-balanced art that resonates with viewers.
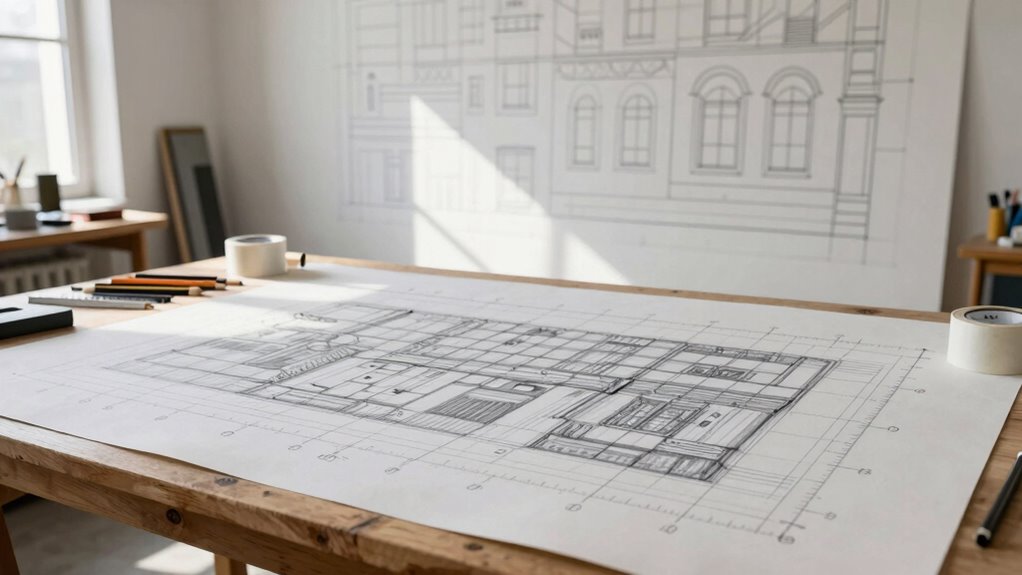
Developing Your Concept and Sketching Ideas
Start by brainstorming your initial concepts to capture your core idea. Use thumbnail sketches to quickly explore different compositions and refine your vision. Engaging in Free Floating artistic expression can help you develop a deeper connection to your work and unlock your creative potential. Exploring collaborations with influencers can also inspire new directions and elevate your artistic projects. Additionally, understanding visual composition principles can enhance your ability to plan effective layouts and balance in your artwork. Incorporating preliminary sketches into your process allows you to experiment with different ideas and identify the most compelling visual arrangements. As you develop, focus on honing the details to create a clear, cohesive plan for your artwork.
Brainstorming Initial Concepts
Brainstorming initial concepts is a crucial step in transforming your ideas into tangible designs. During this phase, you explore different possibilities, focusing on how color theory and framing techniques can enhance your composition. Use quick sketches to experiment with color relationships and visual balance. Consider how framing guides the viewer’s eye and emphasizes your subject. To organize your ideas, try this table:
| Idea | Color Approach | Framing Technique |
|---|---|---|
| Concept 1 | Complementary colors | Central framing |
| Concept 2 | Monochromatic scheme | Rule of thirds |
| Concept 3 | Warm vs. cool hues | Diagonal framing |
| Concept 4 | Bold contrasts | Symmetrical framing |
| Concept 5 | Subtle gradients | Asymmetrical framing |
This process helps you refine your vision before moving to detailed sketches. Incorporating principles from visual composition can further enhance your creative process.
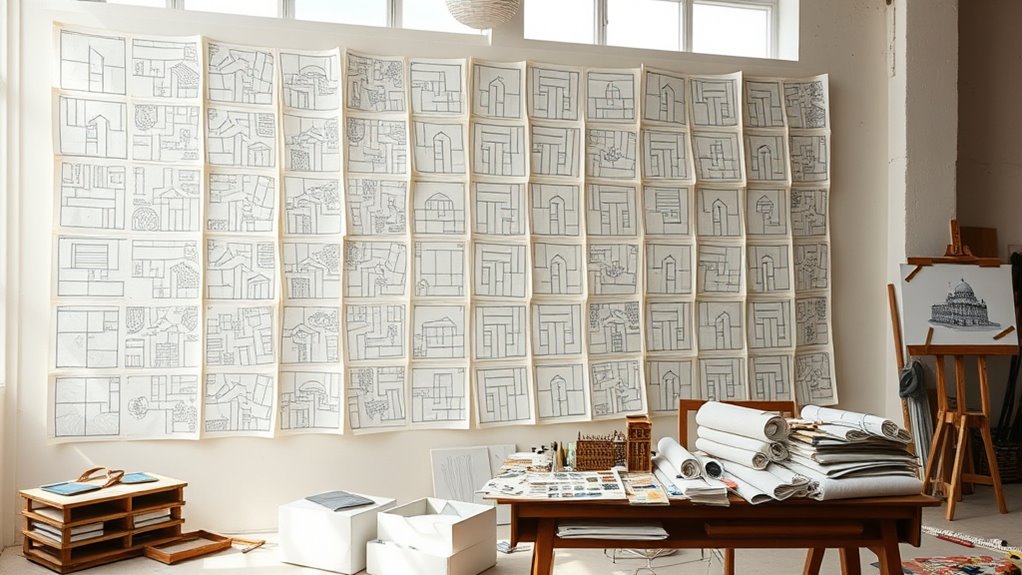
Thumbnail Sketching Techniques
Thumbnail sketching is an essential step to quickly develop and refine your ideas before committing to detailed artwork. These small, rough drawings allow you to experiment with composition, shapes, and visual flow without investing too much time.
Use color theory concepts to explore how different color combinations can evoke mood and harmony within your sketches. Incorporate mixed media techniques, like adding watercolor washes or collage elements, to test how different textures and materials interact at a small scale.
Thumbnails help you visualize how your ideas translate into larger formats, enabling adjustments early in the process. This practice keeps your creative process flexible, ensuring that your final piece is well-planned and cohesive from concept to execution.
Refining Composition Details
Once you’ve sketched out your initial ideas, focus on refining the composition details to bring clarity and impact to your concept. Apply color theory to create harmony and contrast, guiding the viewer’s eye through strategic color choices.
Use brush techniques to add texture and depth, emphasizing focal points and enhancing mood. Adjust the placement of elements to improve balance and flow, ensuring no detail feels out of place.
Consider how light and shadow can define forms and emphasize important areas. Fine-tuning these aspects helps transform rough sketches into a coherent visual narrative.
Keep experimenting with different color combinations and brushwork styles until the composition feels dynamic and purposeful. This stage is vital for translating your initial vision into a compelling, well-realized artwork.
How to Use Grids and Proportions for Accurate Scaling
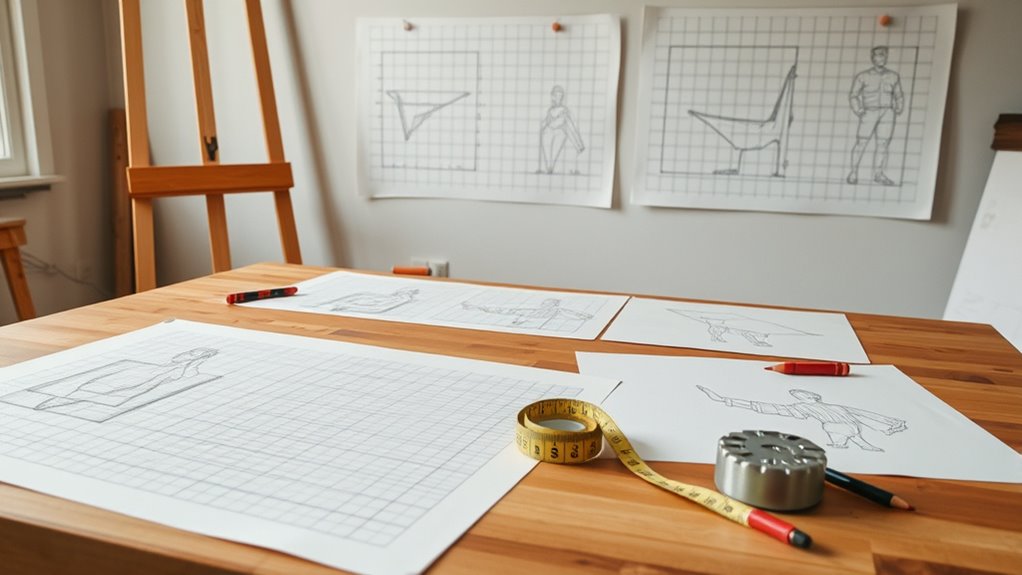
Using grids and proportions helps you transfer your design accurately from your sketch to the wall.
By mastering grid layout techniques, you can maintain proportional accuracy across different scales.
Precise measurement transfer guarantees your final piece matches your original vision perfectly.
Additionally, understanding measurement transfer techniques ensures your scaled work remains consistent and reliable throughout the project.
Grid Layout Techniques
Have you ever struggled with getting proportions just right in your artwork? Grid layout techniques help you achieve accuracy by dividing your composition into manageable sections. Use grids to plan proportions, ensuring consistent scaling from your sketch to the final piece. Incorporate framing techniques to focus on key areas, guiding viewers’ eyes and emphasizing harmony. Color theory also plays a role; understanding how colors interact within your grid enhances visual balance. Here’s a simple grid setup:
| Section 1 | Section 2 | Section 3 | Section 4 | Section 5 |
|---|---|---|---|---|
| Detail A | Detail B | Detail C | Detail D | Detail E |
| Color Focus | Color Focus | Framing Point | Framing Point | Highlight |
This structured approach keeps proportions consistent and your composition engaging.
Maintaining Proportional Accuracy
Maintaining proportional accuracy is essential to creating realistic and harmonious artwork, and grids are your best tool for this task. By using grids, you can apply effective scaling techniques that help keep your proportions consistent from your initial sketch to your final piece.
Start by dividing your reference image into equal sections, then replicate those sections onto your working surface, ensuring each part remains true to size. This method allows you to compare and adjust distances and angles, preventing distortion.
Transferring Measurements Precisely
To transfer measurements accurately, you need to understand how to interpret and replicate the grid divisions from your reference image onto your working surface. Using grid transfer techniques guarantees measurement accuracy, so your proportions stay true during scaling. Incorporating local automation can further streamline your process by setting up routines that assist in precise measurements and layout consistency. This method helps you maintain proportional integrity and reduces errors. Precise transfer techniques are essential for scaling complex images accurately. By focusing on measurement accuracy during this process, you create a reliable foundation for your artwork, ensuring the final piece aligns perfectly with your initial concept.
Making Small Mock-Ups to Test Your Design

Creating small mock-ups allows you to quickly test your design ideas without committing to full-scale construction. These models help you evaluate material selection and refine your concept, saving time and resources. Incorporating reliable, well-researched methods ensures your mock-ups accurately reflect the final outcome. When building mock-ups, draw on your artist inspiration to explore different textures, shapes, and structures. Focus on how the materials behave and interact, ensuring they align with your vision. Mock-ups also reveal potential challenges early, such as stability issues or scale discrepancies. By experimenting on a smaller scale, you gain insight into how your final piece will look and feel. Additionally, understanding material interactions helps you anticipate how different elements will work together in the finished work. This process sharpens your understanding of proportions and details, making your progression from concept to wall more confident and precise. Small mock-ups are an essential step in translating your artistic ideas into a successful large-scale work, and employing empirical methods can further enhance the accuracy of your prototypes. Moreover, analyzing website performance metrics can provide useful feedback on your process and help you optimize your approach. Incorporating cost considerations into your planning ensures your project remains feasible and aligned with your budget.
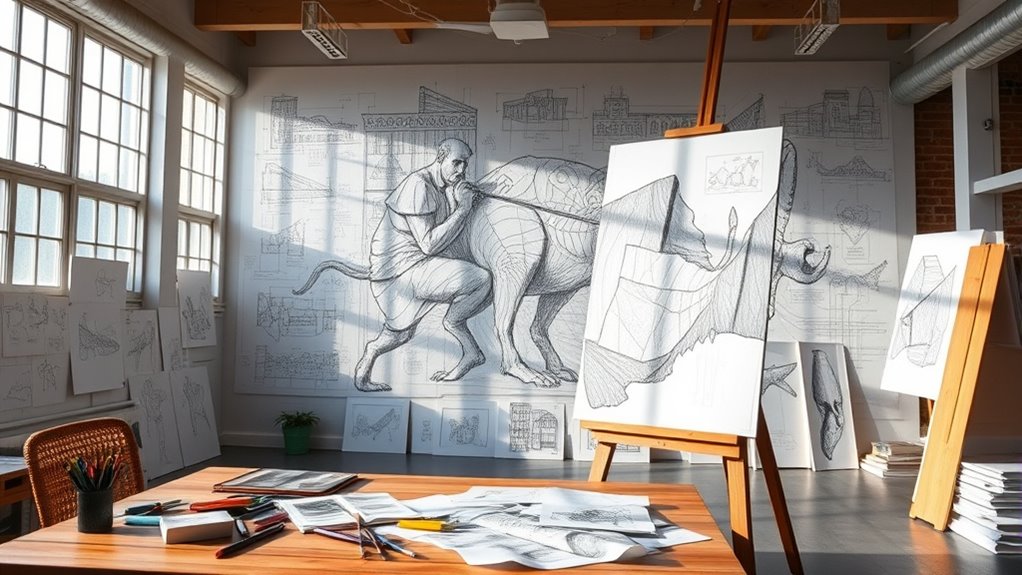
Digital Tools to Visualize Scale and Composition

Have you ever struggled to visualize how your design will look in real space? Digital tools like digital sketching and virtual modeling can help you overcome this challenge. Design principles such as proportion and balance are essential to creating harmonious artwork, and these tools can assist you in applying them effectively. Digital sketching allows you to quickly create detailed, scaled sketches that reflect the proportions and layout of your artwork. Virtual modeling takes it further by constructing 3D models that you can rotate and examine from different angles, giving you a clearer sense of scale and composition. These tools enable you to experiment with different arrangements and sizes before committing to physical work. Using digital sketching and virtual modeling, you gain a more accurate preview of how your piece will interact with its environment, making your planning process more precise and confident. Additionally, understanding visualization techniques can enhance your ability to interpret and utilize these digital representations effectively, similar to how connected fitness technology enhances real-world training and planning. Incorporating digital tools for artists into your workflow can streamline the creative process and help you make more informed decisions early on. Moreover, adopting these digital methods aligns with the evolving artistic workflows that leverage technology for better precision and creativity.
Transferring Your Sketches Onto Larger Surfaces
To transfer your sketches accurately, you need reliable techniques like tracing or using transfer paper.
Scaling and grid methods help you enlarge images while maintaining proportions.
Mastering these approaches guarantees your artwork stays true to your original concept on bigger surfaces.
Precise Transfer Techniques
Transferring your sketches onto larger surfaces requires careful precision to guarantee your design remains accurate and true to your original vision. To do this effectively, you must minimize perspective distortion, which can skew proportions and details. Using transfer paper or grid methods helps maintain correct proportions and alignment.
When applying the transfer, pay close attention to color matching, especially if your design involves specific hues or shading. Precise tools like graphite or carbon paper can help trace details accurately, reducing errors. Take your time to ensure lines are crisp and clear.
This step is vital for preserving your sketch’s integrity before you start adding paint or other materials. Accurate transfer techniques set a solid foundation, ensuring your final piece stays faithful to your initial concept.
Scaling and Grid Methods
Scaling and grid methods provide an effective way to maintain the proportions and details of your original sketch. By dividing your drawing and the surface into equal sections, you can accurately transfer the composition. This technique helps you preserve color harmony by ensuring each segment aligns correctly, creating a cohesive overall look. As you grid and scale, pay attention to texture contrast, making sure areas with different textures are proportionally represented. Incorporating visual planning techniques can further enhance your accuracy and efficiency during the transfer process. This approach minimizes distortions and keeps your design balanced, whether you’re working on a mural or a canvas. It also allows you to focus on the relationship between different elements, ensuring that the final piece reflects your initial vision with precision. Additionally, understanding interior design basics can help you create a more harmonious environment, even in large-scale artworks. Using measurement tools can improve your precision and help you achieve a professional finish.
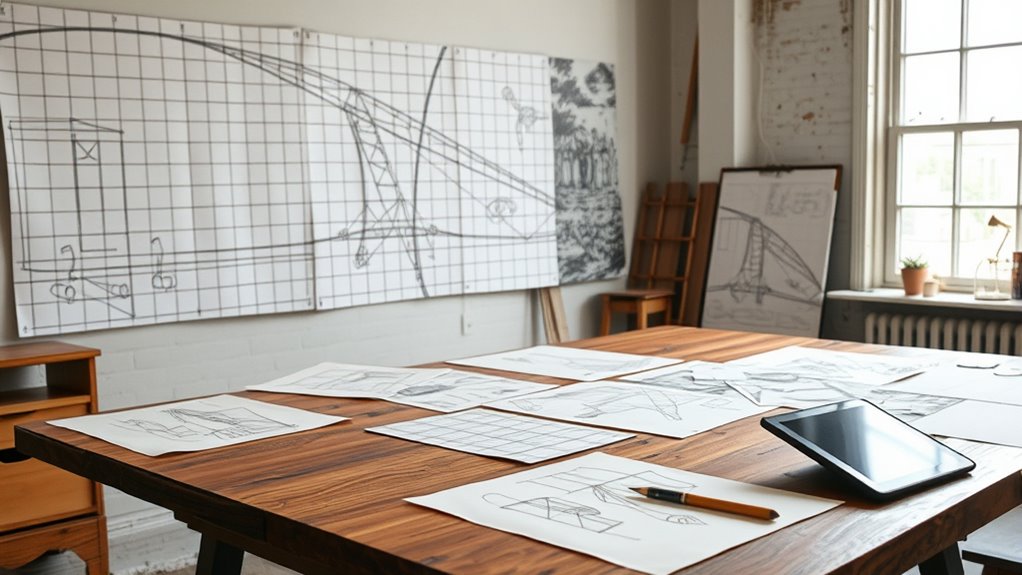
Techniques for Enlarging Artwork: Projection and Grids
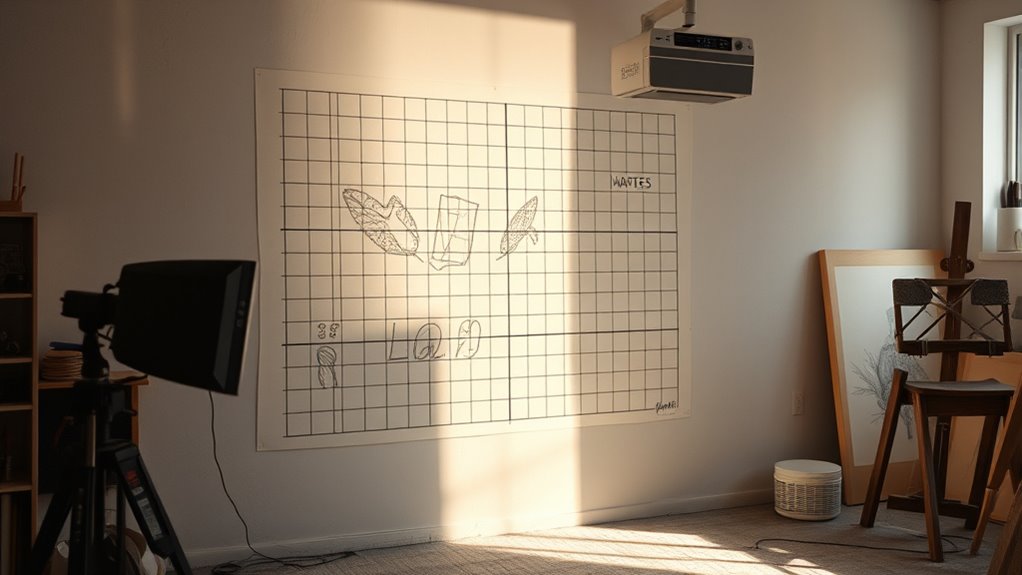
Enlarging artwork can be achieved effectively through techniques like projection and grids, which help maintain accuracy and proportions. Projection uses a light source to cast the original image onto a larger surface, allowing you to trace precise outlines directly onto your working space.
Grids involve drawing a scaled version of the image with a series of squares, guiding your transfer process and preserving proportions. When planning to enlarge, consider color theory to anticipate how colors will shift at scale, and select materials that suit the size—sturdy surfaces and compatible mediums enhance your process.
Both methods ensure your vision translates accurately, giving you control over the final composition while minimizing distortion. Mastering these techniques sets a solid foundation for larger-scale artworks, making the progression from studio to wall seamless.
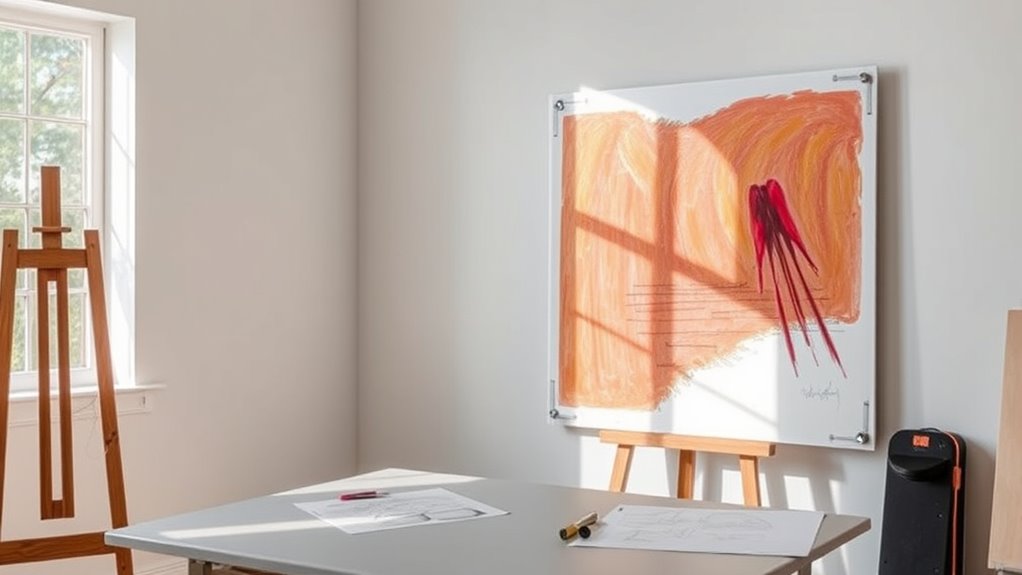
Planning Color, Details, and Texture at Large Scale

Planning color, details, and texture at large scale requires careful consideration to guarantee your artwork remains cohesive and impactful. Focus on establishing color harmony across the entire piece, ensuring that hues complement each other and create visual unity.
Think about how texture variation can add depth and interest; using different textures guides the viewer’s eye and emphasizes focal points. Consider testing color combinations and textures on smaller samples before applying them to the full scale. This helps you visualize how they work together and adjust as needed.
Be intentional with your choices—each color, detail, and texture should serve the overall composition. Proper planning ensures your large-scale work feels harmonious and engaging, preventing chaos and maintaining your artistic vision.
Considering Wall Space and Lighting for Your Art
Considering wall space and lighting is essential to make certain your artwork makes a strong impact. Before finalizing your piece, evaluate the available wall space carefully. Measure the area to guarantee your artwork fits comfortably without crowding or feeling lost. Additionally, exploring best anime movies can inspire your choice of art themes and styles that complement your space. Keep in mind the proportions and how the piece relates to other elements in the room. Lighting considerations are equally important; natural light can enhance colors and textures, but it may cause glare or fading over time. Artificial lighting, such as spotlights or wall-mounted fixtures, allows you to control the ambiance and highlight specific details. Position your art where it receives ideal light without shadows or reflections that could detract from its visual effect. Proper planning ensures your artwork stands out and resonates in its intended environment.
Getting Ready: Materials and Setup for the Final Work
Before you start the final work, gather all the necessary materials to guarantee a smooth and efficient process. Your artistic inspiration guides you, but clear studio organization ensures you won’t waste time searching for supplies.
Arrange your paints, brushes, canvases, and tools within easy reach, creating a dedicated setup that supports your workflow. Check that your workspace has proper lighting and ventilation, so you can work comfortably and see details clearly.
Having everything prepared minimizes disruptions and helps you stay focused on your creative vision. This organized foundation allows you to channel your energy into the art itself, rather than logistics, making the experience more enjoyable and productive.
Proper preparation sets the stage for a successful final piece.
Frequently Asked Questions
How Do I Choose the Right Scale for My Specific Art Medium?
To choose the right scale for your art medium, focus on proportional accuracy and material compatibility.
Consider how your medium responds at different sizes—clay might need smaller scales for detail, while murals require larger dimensions.
Think about your workspace and intended display.
Experiment with small prototypes to see how your materials behave at various scales, ensuring your final piece maintains proportional accuracy and works seamlessly with your chosen medium.
What Are Common Mistakes When Planning Scale That I Should Avoid?
You should avoid proportion inaccuracies and scale misjudgments by double-checking measurements early. Don’t rely solely on visual guessing, as it can lead to distorted proportions.
Always create a detailed sketch or maquette to test scale before committing to your final piece.
Keep in mind that small miscalculations can compound, so take your time measuring and comparing proportions throughout your planning process.
How Can I Adapt My Small Sketches for Irregular or Complex Wall Surfaces?
To adapt your small sketches for irregular or complex wall surfaces, focus on texture adaptation and surface mapping. You should first study the wall’s texture.
Then adjust your design to fit its contours, using grid or projection techniques for accurate scaling. This approach helps guarantee your artwork aligns with the surface’s unique features, making your final piece look seamless and professional despite the complexities.
What Safety Precautions Are Necessary When Working on Large-Scale Projects?
When working on large-scale projects, you need to prioritize workspace safety by wearing protective gear like masks, gloves, and goggles.
Make sure your workspace is clear of hazards, well-ventilated, and properly organized to prevent accidents.
Use stable scaffolding or ladders, and always follow safety guidelines.
Regularly inspect your tools and equipment to avoid malfunctions, ensuring a safe environment where you can focus on your creative process confidently.
How Do I Budget Time and Resources Effectively for Large-Scale Art Creation?
To budget time and resources effectively, start with a detailed project timeline that breaks down each phase.
Prioritize tasks and allocate resources accordingly, making certain you have enough materials, tools, and manpower.
Regularly review progress to stay on schedule, adjusting your plan as needed.
Conclusion
By carefully planning your scale from the start, you guarantee your artwork fits perfectly and communicates your vision effectively. Use sketches, grids, and mock-ups to test ideas before committing to the final piece. Digital tools can help you visualize the final result, while considering space and lighting ensures your work has the impact you want. With thorough preparation, you’ll bring your artistic vision to life confidently and accurately on any scale.