
To create a genuine artist studio process video, you’ll want to plan your narrative carefully, showcasing key moments from initial sketches to finished artwork. Set up your workspace for good lighting and organize your tools. Capture early ideas, then film the development stages using steady equipment and techniques like time-lapses and close-ups. Edit for clarity and engagement, adding titles, narration, and music. Keep watching to learn how to craft a compelling, behind-the-scenes journey that truly reflects your artistic process.
Key Takeaways
- Outline a clear narrative highlighting key moments of the artist’s creative journey.
- Set up a well-lit, organized workspace with professional camera angles and focus.
- Capture multiple stages: sketches, underpainting, layering, and final details for comprehensive documentation.
- Incorporate dynamic filming techniques like time-lapses, close-ups, and smooth transitions to maintain viewer engagement.
- Edit footage thoughtfully, balancing pacing, sound, and visual storytelling to showcase technical and emotional aspects.
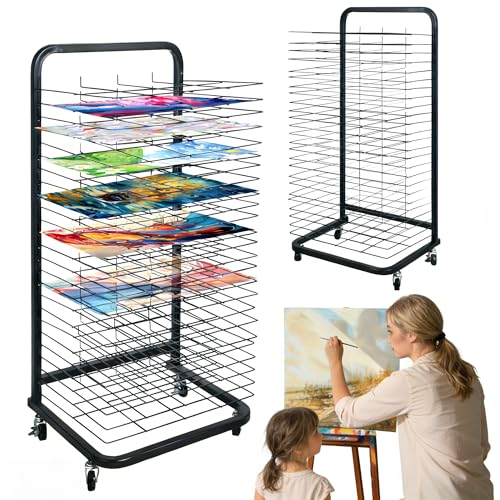
25 Removable Shelves Mobile Art Drying Rack for Classroom, Sturdy Metal Art Canvas Storage & Art Print Display Rack with Locking Wheels (32.22x14.6x17.3 In),Painting Drying Rack,paper drying rack
Efficient & Mobile Art Drying Rack: Effortlessly move and secure this versatile art drying rack with its 4...
As an affiliate, we earn on qualifying purchases.
How to Plan Your Artist Process Video Narrative
Planning your artist process video begins with identifying the story you want to tell. Focus on creating a clear concept that captures the essence of your artistic journey. Conceptual storytelling helps you shape a narrative that resonates with viewers and highlights key moments. Incorporating energy-efficient technology into your planning ensures your production aligns with sustainable practices and showcases innovative solutions. As you plan, consider how to utilize visual pacing—alternating between wide shots, close-ups, and time-lapses—to keep viewers engaged and convey your process effectively. Think about the sequence of events and how each shot progresses smoothly into the next. Your goal is to craft a compelling flow that guides your audience through your creative steps, emphasizing the emotional and technical aspects of your work. Paying attention to color accuracy can help ensure that the visual details of your artwork are represented authentically and vibrantly. Additionally, integrating natural elements can enhance the authenticity and atmosphere of your process, making your story more compelling. Incorporating wiring basics can also help you plan for equipment setup and safety considerations. Incorporating smart home automation ideas like remote-controlled lighting or equipment management can streamline your filming process and improve efficiency. With a thoughtful plan, your process video will feel cohesive, dynamic, and true to your artistic voice.

NEEWER Overhead Camera Mount Rig for Top Down Shot with 1s Quick Switch Lock Arca Type QR Plate, Heavy Duty Tabletop Multi Device Stand for Cooking Drawing Crafts Stream, Desk Width≥32"/80cm, ST200
【Flat Lay Photography Overhead Camera Rig】An overhead camera desk mount stand for streamer setup, cooking videos, drawing, unboxing,...
As an affiliate, we earn on qualifying purchases.
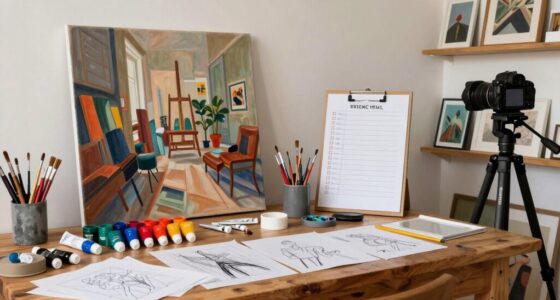
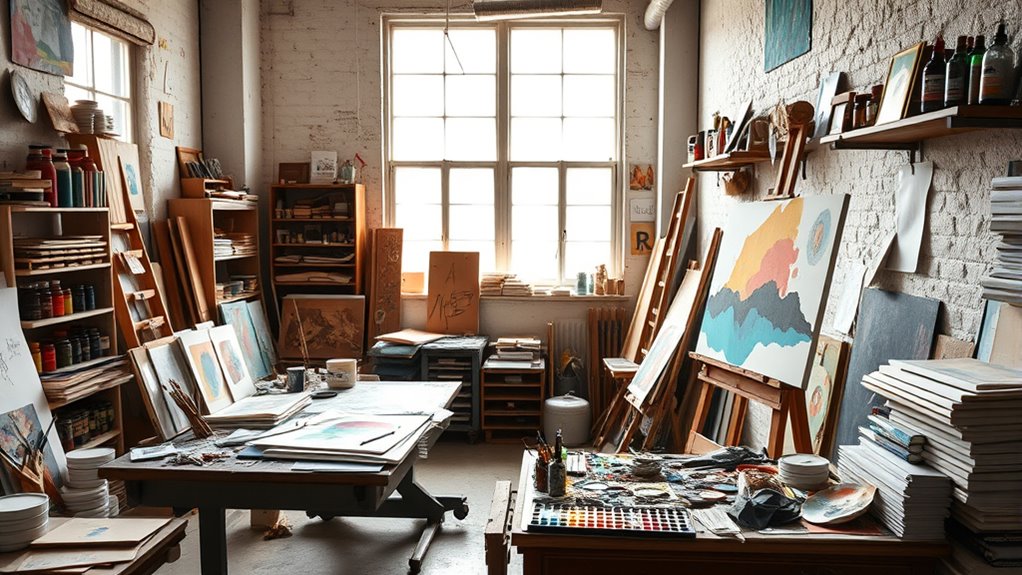
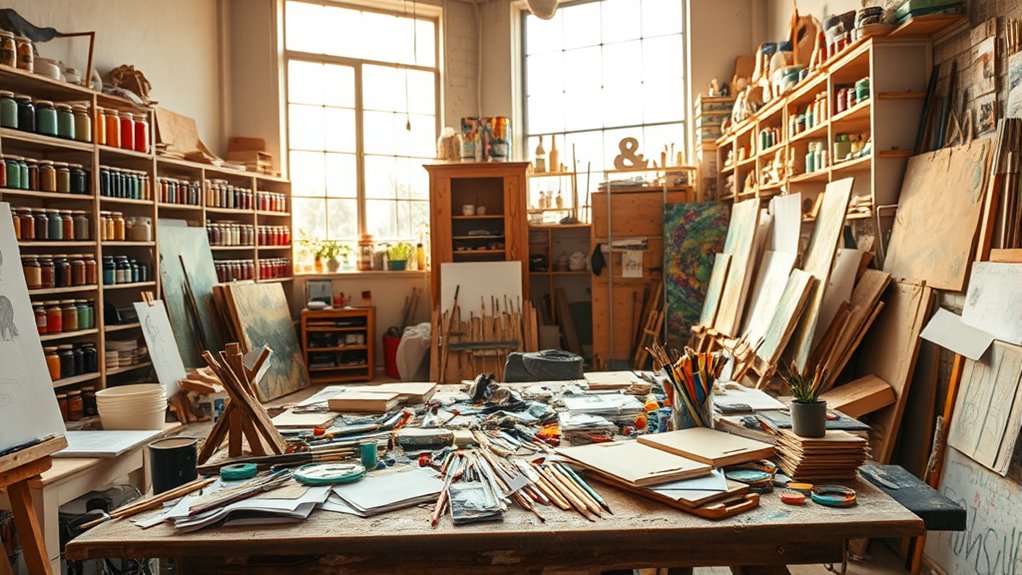
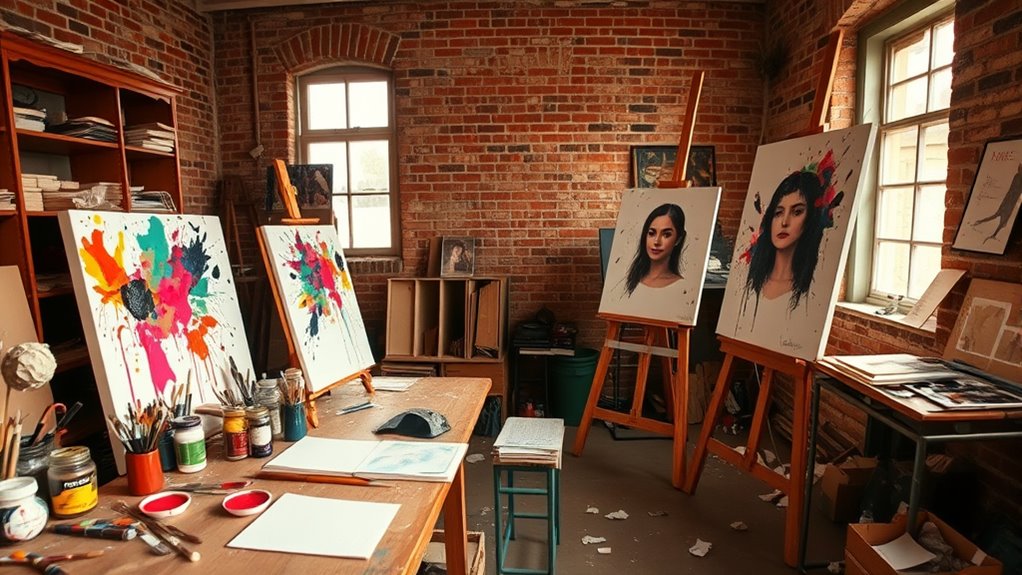
How to Set Up Your Workspace for Filming
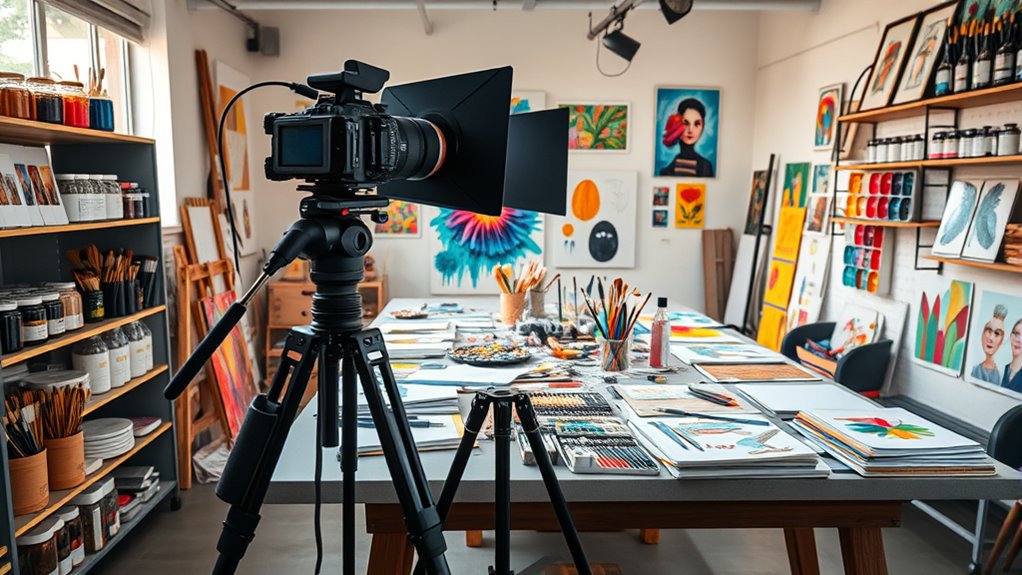
Setting up your workspace for filming is essential to capturing high-quality footage that highlights your artistic process. Start by ensuring your studio lighting is even and bright enough to avoid shadows or glare, which can obscure details. Use natural light or soft artificial lighting, positioning it to illuminate your work without creating harsh shadows. Proper lighting and thoughtful camera angles will help you produce a professional, engaging process video that truly showcases your studio practice. Next, consider camera angles—set your camera at eye level or slightly above to give viewers a clear view of your workspace and techniques. Keep the area tidy and organized, removing clutter that could distract viewers. Adjust your camera’s focus and framing to include your work surface and tools. Additionally, understanding lighting techniques can help you optimize your setup for the best visual results. Incorporating fabric decorating markers into your setup can also add vibrant details to your video content, making your process more visually appealing. Paying attention to studio organization can further enhance the overall quality and professionalism of your filming environment. To ensure your footage is clear and professional, consider using proper camera settings to adjust focus, exposure, and white balance for optimal results. Being aware of the visual composition principles can also significantly improve the overall aesthetic of your videos.

SMALLRIG Triangle Camera Desk Mount, Max. Load 3kg/ 6.6lbs, Overhead Mount with Auxiliary Support Rod, with Phone Holder and Small Ball Head for Camera/Phone/Light/Webcam
Stable Triangular Structure - The first desktop camera stand featuring a triangular stable support structure. The horizontal and...
As an affiliate, we earn on qualifying purchases.
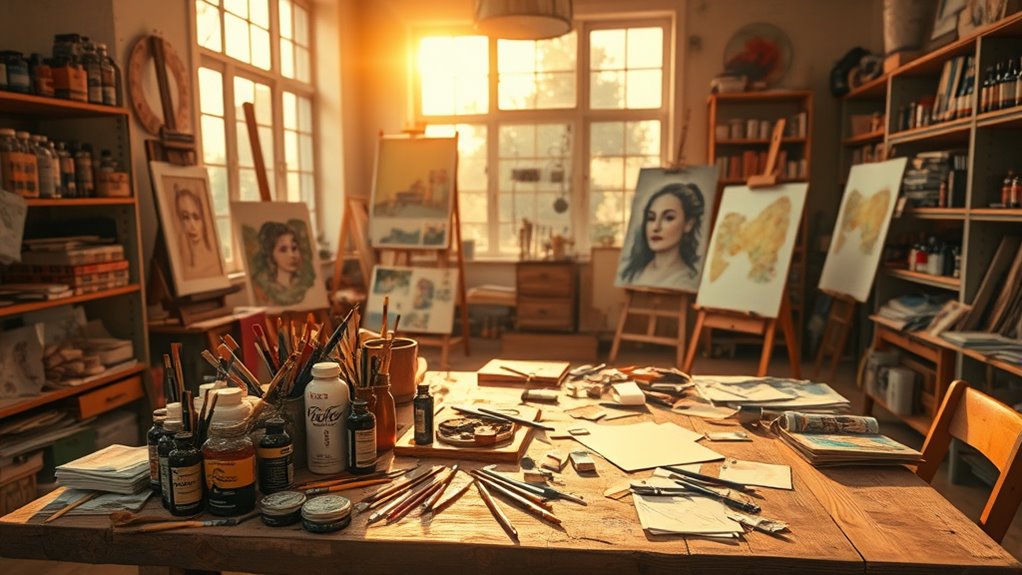
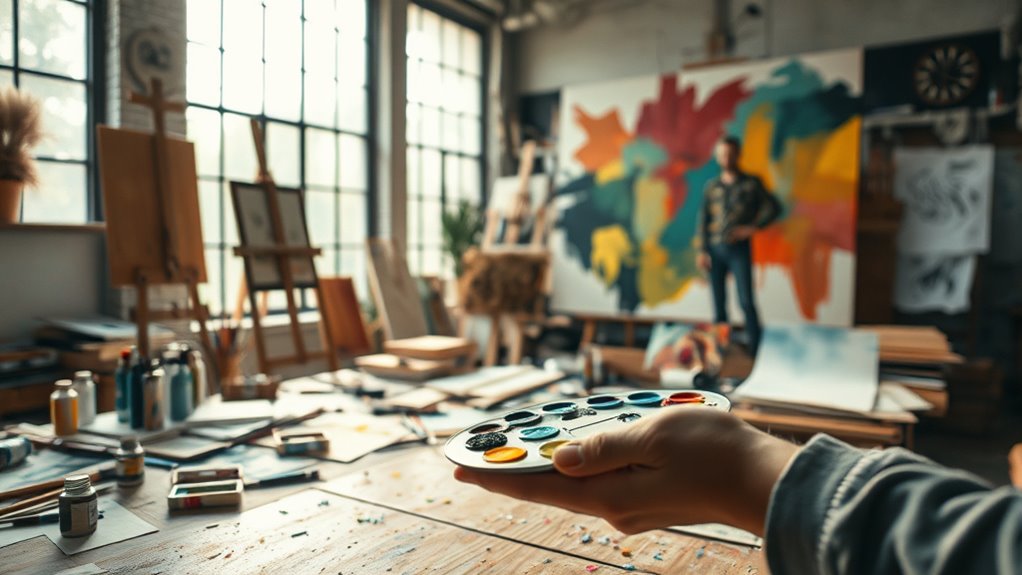
Capture Your Early Sketches and Concepts

Start by recording your initial ideas to keep track of your creative process. These sketches showcase your early concepts and help you see how your work evolves. Capturing these moments guarantees you can reflect on your progress and refine your vision. Utilizing professional techniques can further enhance the quality of your sketches and ensure your documentation is comprehensive.
Demonstrate Initial Ideas
How can you effectively showcase your initial ideas? Start by capturing quick sketches and rough concepts that reveal your concept development. These early visuals form the foundation of your creative process and demonstrate your thought progression.
Use your process video to highlight these raw ideas, emphasizing how they contribute to the overall story you want to tell. Incorporate close-up shots of your sketches, explaining what each represents, and show how your ideas evolve over time.
This not only clarifies your creative journey but also enhances visual storytelling, giving viewers insight into your problem-solving and decision-making. Remember, the goal is to communicate your initial inspiration clearly and authentically, setting the stage for the more refined stages of your project.
Show Sketch Evolution
To effectively showcase your sketch evolution, begin by selecting your earliest and most raw drawings that capture your initial ideas. These sketches highlight your initial concept development and serve as a foundation for your process video. Incorporating visual progression helps demonstrate how your ideas evolve, become more detailed, and refine over time. Including a series of sketches shows your thought process, highlighting key decisions and adjustments along the way. This step-by-step documentation not only reveals your creative journey but also helps viewers understand how your initial concepts mature into final designs. Demonstrating design refinement emphasizes your dedication to refining your ideas and provides insight into your artistic development. Additionally, emphasizing material choices can further illustrate the evolution of your design, revealing how different materials influence your final concept. Paying attention to design consistency ensures that your project maintains a cohesive aesthetic throughout the development process. Keep your selection clear and cohesive for a compelling narrative of your creative process.

NEEWER Overhead Camera Mount Rig with 2 Ball Heads, Super Clamp/Mobile Phone Holder/Camera Desk Mount, Multi Device Mount, Platform Overhead Tripod, Adjustable Height Width, Max Load 12 kg, NK002
【Heavy Duty Pro C Clamp Light Stand】 Robust anodized aluminum alloy design with 28mm max thickened tubes for...
As an affiliate, we earn on qualifying purchases.
Show the Creative Journey: From Underpainting to Details

As you progress from underpainting to adding details, you’ll see your work gain depth through layering and building textures. Incorporating layering techniques enhances the realism and complexity of your artwork. Refining these layers helps create a richer, more realistic appearance. This stage is where your creative vision truly takes shape, and understanding material quality plays a vital role in achieving long-lasting results. Additionally, paying attention to safe installation practices ensures your artwork remains secure and preserved over time. Being aware of proper handling and storage methods can further extend the lifespan of your art pieces, safeguarding your creative efforts for years to come. Utilizing art preservation methods can also help maintain the vibrancy and integrity of your artwork over the long term.
Layering and Building Depth
Layering and building depth are essential steps that bring your artwork to life, transforming flat shapes into a rich, textured scene. You achieve this by carefully applying multiple layers of color, focusing on color blending to create seamless progressions and realistic shading.
Texture layering adds tangible quality, giving surfaces a sense of dimension and materiality. As you work, vary your brushwork and opacity to build complexity, allowing underlying colors to peek through and enrich the overall composition.
Each layer contributes to the illusion of depth, guiding the viewer’s eye into your scene. Remember, patience is key—allow each layer to dry when needed, so you can add new details without disturbing previous work.
This process deepens your piece and enhances its visual impact.
Refining With Details
Refining with details is where your artwork truly comes alive, transforming a basic underpainting into a mesmerizing scene. Here, you carefully select your color palette to add vibrancy and harmony, ensuring each hue enhances the mood.
Pay close attention to material textures—whether smooth, rough, or intricate—to create a tactile sense that invites viewers in. This stage involves subtle brushwork, highlighting light and shadow, and emphasizing key features.
Fine-tuning these details brings depth and realism, making your scene more compelling. As you layer in these nuances, you shape the viewer’s experience, guiding their eye through the composition.
The process of refining with details elevates your work from a foundation to a finished piece filled with richness and visual interest.
Use Time-lapse and Real-Time Footage Effectively
Using time-lapse and real-time footage strategically can substantially enhance your studio documentation. Time-lapse captures long processes quickly, emphasizing progress and transformation, while real-time footage highlights detailed techniques and subtle nuances.
By combining these approaches, you create dynamic visual storytelling that guides viewers through your creative journey. Pacing techniques are essential here; use time-lapse to accelerate repetitive or lengthy steps, preventing viewer fatigue, and switch to real-time to showcase intricate work. This balance keeps your video engaging and informative.
Be intentional with your transitions, ensuring a smooth flow between fast and slow footage. When used thoughtfully, these methods help you communicate your process effectively, offering viewers both an overview and an in-depth look at your artistic practice.
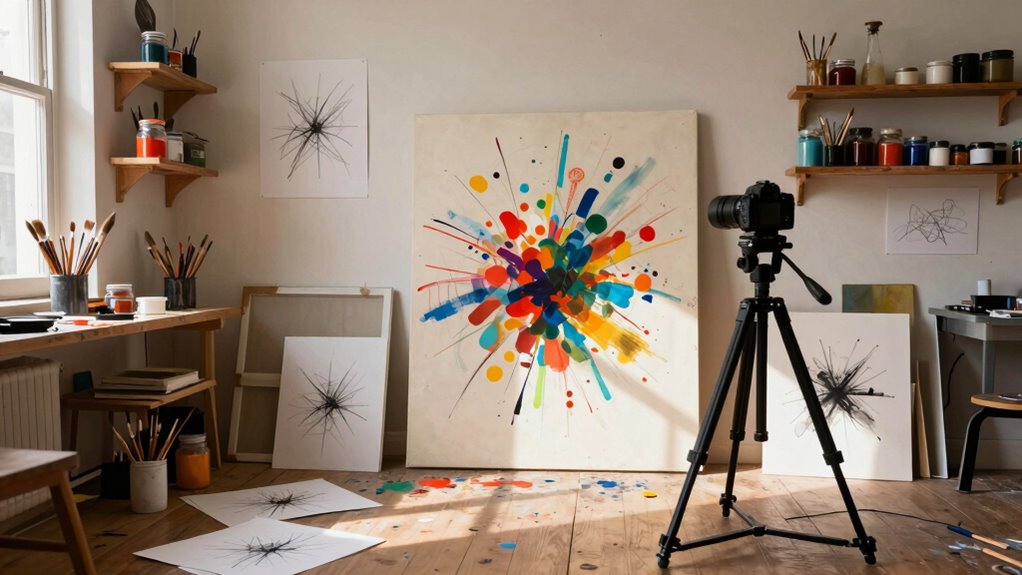
Choose the Right Equipment and Filming Techniques
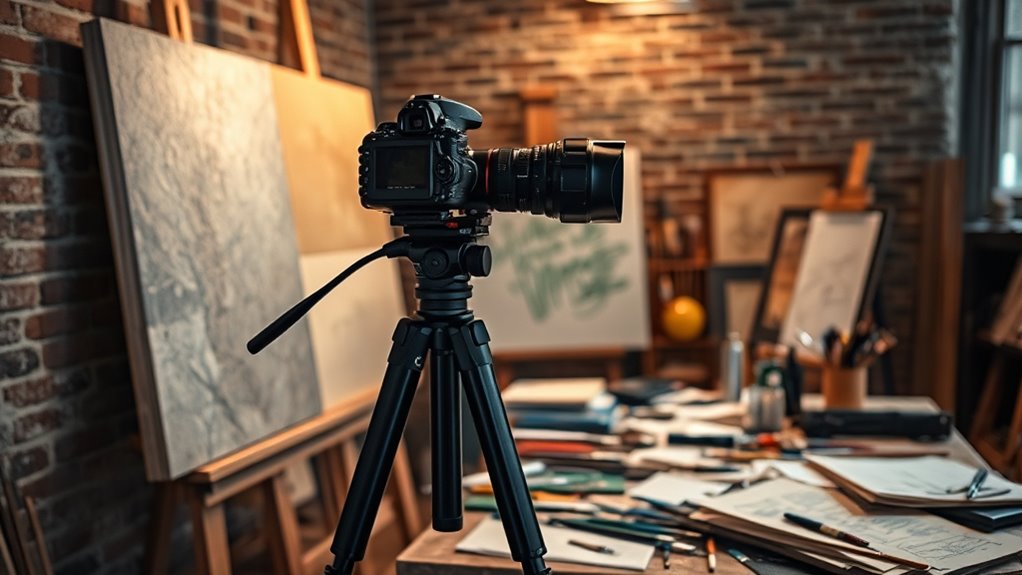
Choosing the right equipment and filming techniques is vital to capturing high-quality studio documentation. To guarantee steady shots, prioritize camera stabilization tools like tripods, gimbals, or handheld stabilizers. These help prevent shaky footage and keep your videos professional. Using trusted equipment can significantly enhance the clarity and stability of your recordings. Lighting techniques also play an essential role; use natural light when possible, and supplement with soft, diffused artificial lights to reduce harsh shadows. Adjust your lighting angles to highlight your work effectively without washing out details. Select a camera with good resolution and manual controls to fine-tune focus and exposure. Proper equipment and techniques allow you to record clear, stable images that accurately showcase your process, making your documentation engaging and easy to follow. Incorporating video quality standards can further ensure your footage meets professional benchmarks. Additionally, understanding filming best practices can help you optimize your setup for the best possible results. Establishing consistent lighting techniques ensures uniformity across your recordings, which is crucial for professional presentation. Paying attention to audio quality is also important, especially if you include narration or live commentary in your videos.
Edit Your Process Video for Maximum Engagement
Once you’ve captured your footage with stable shots and good lighting, the next step is editing to keep viewers engaged. Focus on pacing—trim unnecessary parts to maintain momentum and highlight key moments. Incorporate visual storytelling techniques to make your process more compelling and easier to follow. Thoughtful music selection plays an essential role in setting the tone and enhancing audience engagement; choose tracks that complement your process and evoke the right emotions. Use quick cuts to build excitement or slower transitions for reflection. Incorporate visual cues like zooms or overlays to emphasize important steps. Keep the flow dynamic but clear, guiding viewers smoothly through your artistic process.
Add Context With Narration, Titles, and Music
Adding context to your process videos with narration, titles, and music can considerably boost viewer understanding and engagement. Well-placed narration explains your techniques, while titles highlight key moments or tools, like your lighting setup or camera angles. Music sets the mood and maintains flow, guiding viewers through your creative process. To keep your audience engaged, consider varying camera angles to show details or different perspectives. Use titles to clarify complex steps or highlight important decisions. For example, a title like “Adjusting Lighting for Mood” can emphasize your lighting setup. Incorporate narration to describe your thought process, and select music that complements your artwork’s tone. This combination creates a richer, more immersive experience that helps viewers connect with your artistic journey.
| Technique | Benefit |
|---|---|
| Narration | Explains your process clearly |
| Titles | Highlights key moments and decisions |
| Music | Sets mood and maintains flow |
Share and Promote Your Artist Process Video
After you’ve enhanced your process videos with narration, titles, and music, sharing them effectively is the next step to reaching a wider audience. Focus on audience engagement by posting your videos where your viewers are most active, like social media platforms, art communities, or your website.
Optimize each platform by tailoring your content—use relevant hashtags, compelling descriptions, and eye-catching thumbnails. Encourage viewers to comment, ask questions, and share your videos to foster interaction.
Regular posting and engaging with your audience build momentum and visibility. Don’t forget to analyze your platform’s insights to understand what resonates best.
With strategic sharing and platform optimization, your artist process videos will attract more viewers and grow your community.
Frequently Asked Questions
How Long Should My Artist Process Video Be?
Your artist process video should be around 3 to 5 minutes long, striking a balance between engaging storytelling and concise content.
Use storytelling techniques to keep viewers interested, highlighting key moments of your creative journey.
Focus on clarity and pacing, ensuring each segment adds value.
Shorter videos tend to hold attention better, so aim to showcase your process effectively within this timeframe, making your story compelling and easy to follow.
What Common Mistakes Should I Avoid During Filming?
You should avoid shaky camera angles and inconsistent lighting techniques, as they distract viewers. Keep your camera steady and use multiple angles to showcase different stages clearly.
Proper lighting helps highlight details and maintains visual interest. Don’t forget to check your shots before filming, and avoid rushing through scenes.
These mistakes can undermine your process video’s professionalism and clarity, so plan your angles and lighting carefully for a polished result.
How Can I Make My Process Video More Engaging?
To make your process video more engaging, experiment with camera angles to add visual interest and emphasize key steps. Use varied shots like close-ups and wide angles to keep viewers intrigued.
Incorporate narration techniques that are clear and personable, guiding your audience through your creative journey.
Keep your pacing lively, and don’t be afraid to show imperfect moments—they make your process authentic and relatable.
Should I Include Failed Sketches or Only Successful Stages?
You should include failed sketches to enhance process transparency and make your video more engaging. Showing both successes and setbacks gives viewers a genuine look at your artistic journey, making your process relatable and authentic.
Failing is part of growth, so don’t shy away from sharing those moments. Including failed sketches adds depth, demonstrates your problem-solving, and keeps your audience invested in your creative evolution.
How Do I Protect My Work’s Copyright When Sharing Videos?
To protect your work’s copyright when sharing videos, you should consider copyright registration to establish legal proof of ownership.
Additionally, use watermarking techniques to discourage unauthorized use and guarantee your work is attributed correctly.
Always keep detailed records of your creation process and consider sharing lower-resolution clips online.
These steps help safeguard your art while allowing you to showcase your process confidently and securely.
Conclusion
By planning carefully, setting up your workspace, and capturing each stage of your process, you’ll create an engaging and authentic artist studio video. Use a mix of footage, effective editing, and clear narration to tell your creative story. Share your video confidently to inspire others and showcase your journey. Remember, the key is to be genuine and let your process shine through—your audience will connect with your artistic evolution.